When you add an organization using the modern app-only authentication method, Veeam Backup for Microsoft 365 automatically grants permissions for Microsoft Entra applications.
Anyway, if you prefer to use a custom application of your own, grant all the permissions as below.
| Components | API Name | Permissions Name | Type |
| Exchange Online | Microsoft Graph | Directory.Read.All | Application and Delegated |
| Group.Read.All | Application | ||
| offline_access | Delegated | ||
| Office 365 Exchange Online | full_access_as_app | Application | |
| Exchange.ManageAsApp | Application | ||
| EWS.AccessAsUser.All | Delegated | ||
| full_access_as_user | Delegated | ||
| SharePoint Online and OneDrive for Business | Microsoft Graph | Directory.Read.All | Application and Delegated |
| Group.Read.All | Application | ||
| Group.ReadWrite.All | Application | ||
| Sites.Read.All | Application and Delegated | ||
| offline_access | Delegated | ||
| Office 365
SharePoint Online |
Sites.FullControl.All | Application | |
| User.Read.All | Application and Delegated | ||
| AllSites.FullControl | Delegated | ||
| Microsoft Teams | Microsoft Graph | Directory.Read.All | Application and Delegated |
| Group.Read.All | Application and Delegated | ||
| Group.ReadWrite.All | Application | ||
| Sites.Read.All | Application and Delegated | ||
| TeamSettings.ReadWrite.All | Application | ||
| ChannelMessage.Read.All | Application | ||
| ChannelMember.Read.All | Application | ||
| Directory.ReadWrite.All | Application and Delegated | ||
| offline_access | Delegated | ||
| Files.ReadWrite.All | Application | ||
| ChannelMember.ReadWrite.All | Application and Delegated | ||
| Office 365 Exchange Online | full_access_as_app | Application | |
| Office 365
SharePoint Online |
Sites.FullControl.All | Application | |
| User.Read.All | Application | ||
| AllSites.FullControl | Delegated |
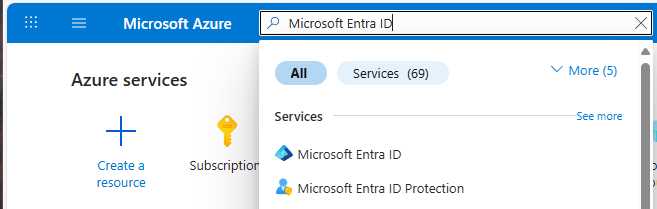
1. Sign in to the Azure portal with a Global Admin account.
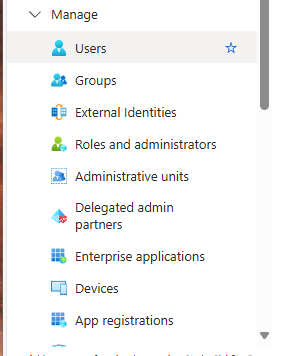
2. Search for and select Microsoft Entra ID.
3. Under Manage, select App registrations.
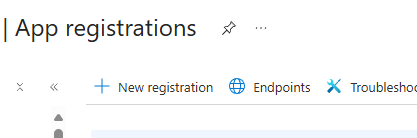
4. Select + New registration on the App registrations page.
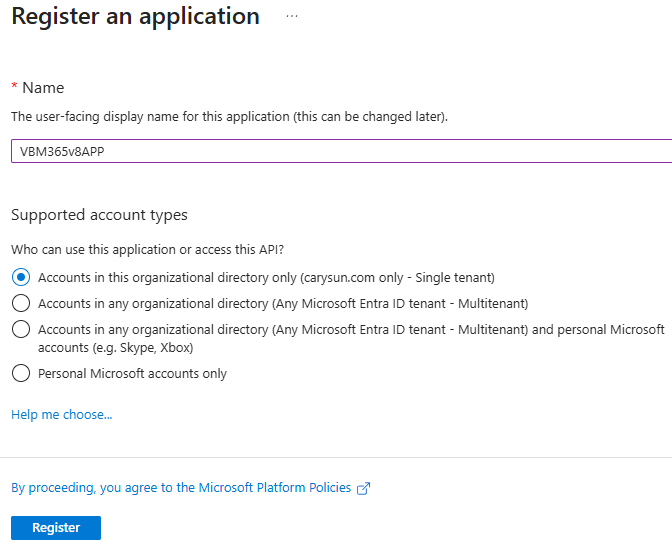
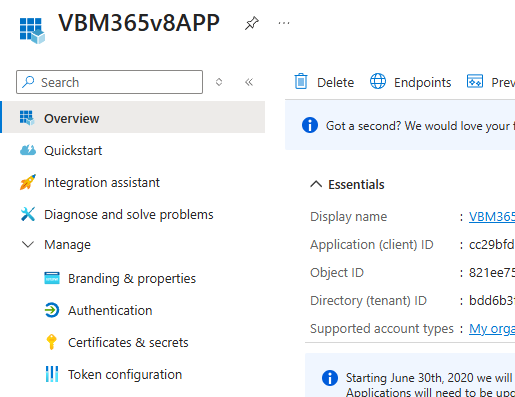
5. Enter VBM365v8APP as the application name on the Register an application page.
6. Select Accounts in this organization directory only and click Register.
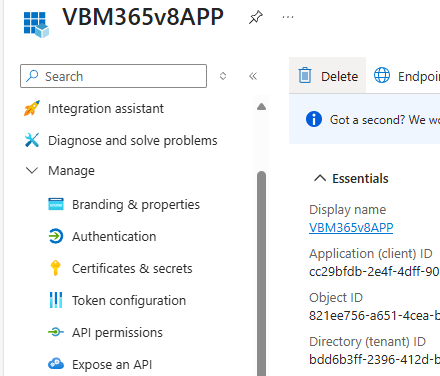
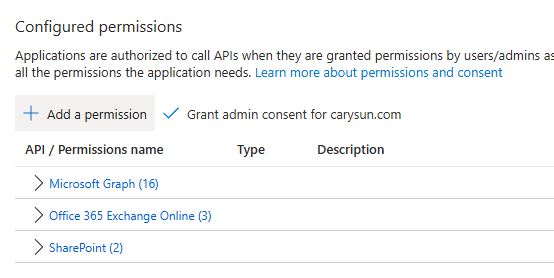
7. Expand Manage and select API permissions.
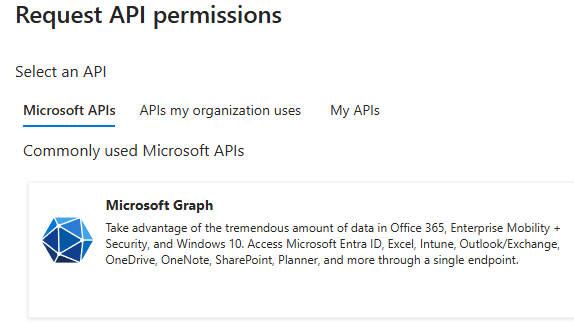
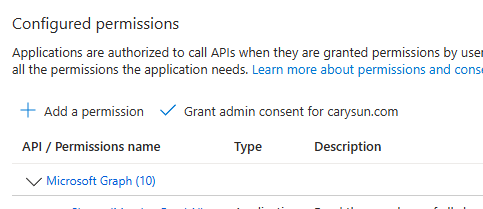
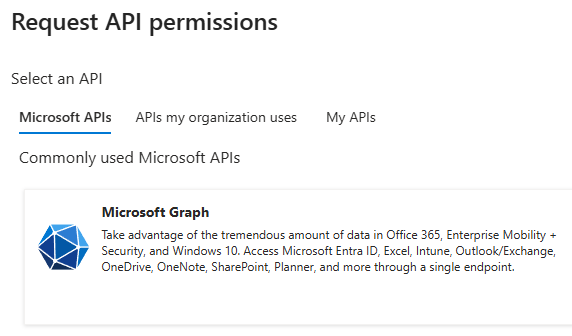
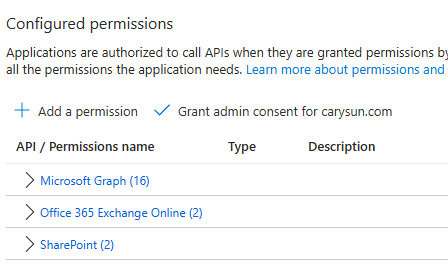
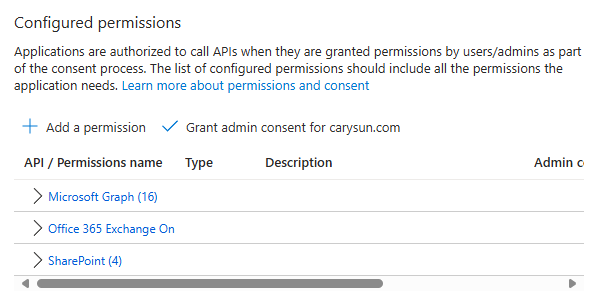
8. Select +Add permission on the Configured permissions page.

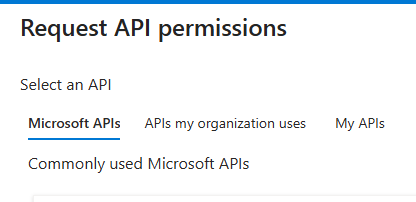
9. Select Microsoft APIs on the Select an API page.
10. Select Microsoft Graph.
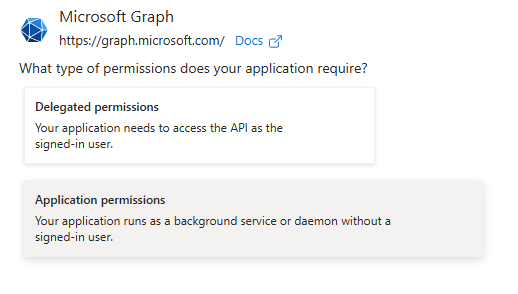
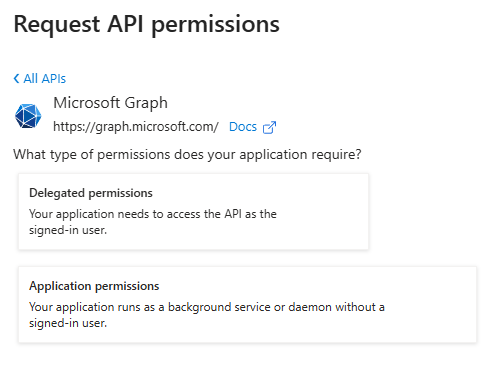
11. Select Application permissions on the Microsoft Graph page.
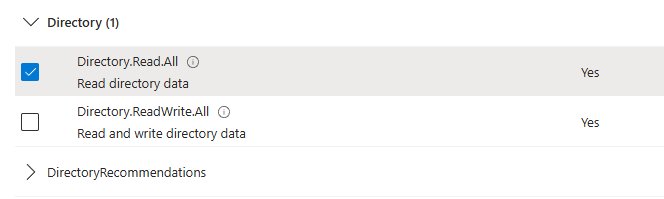
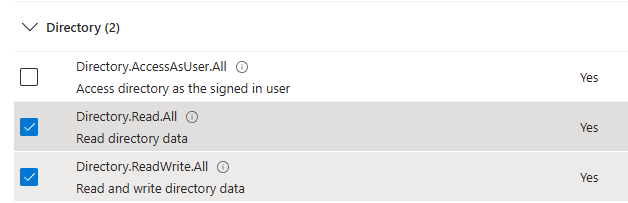
12. Expand the Directory on the Select permission page.
13. select Directory.Read.All.
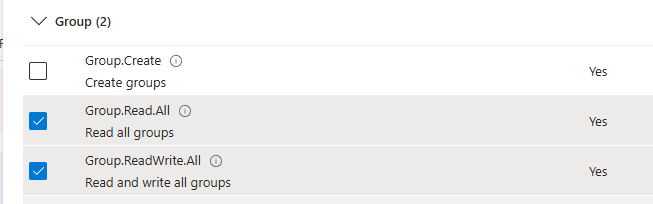
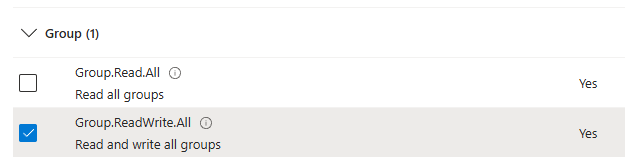
14. Expand the Group on the Select permission page.
15. Select Group.Read.All.
16. Select Group.ReadWrite.All.
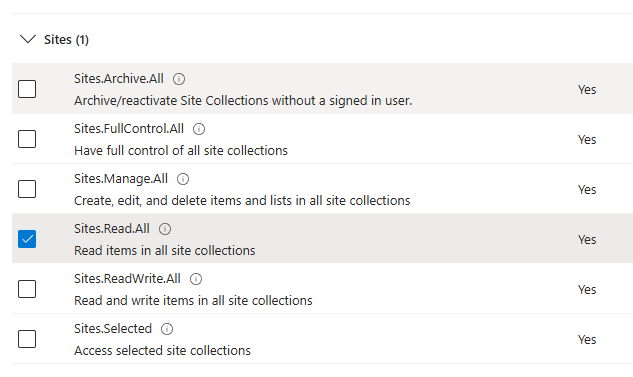
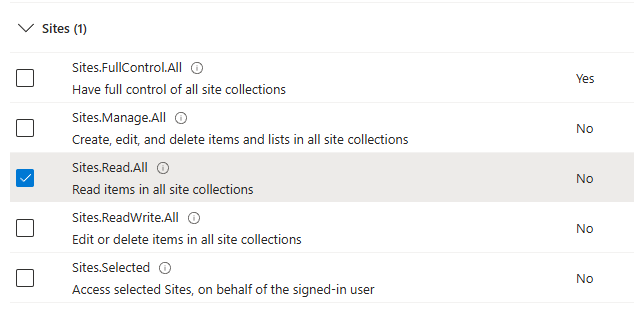
17. Expand the Sites on the Select permission page.
18. Select Sites.Read.All.
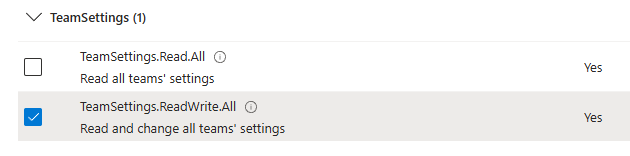
19. Expand the TeamSettings on the Select permission page.
20. Select TeamSettings.ReadWrite.All.
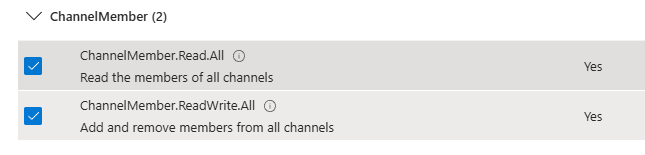
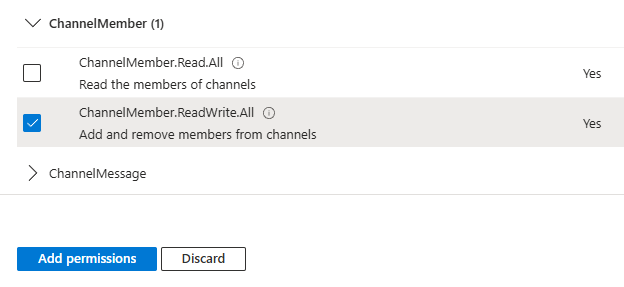
21. Expand the ChannelMember on the Select permission page.
22. Select ChannelMember.Read.All.
23. Select ChannelMember.ReadWrite.All.
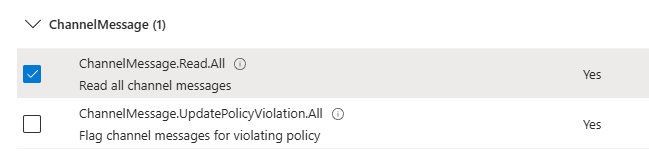
24. Expand the ChannelMessage on the Select permission page.
25. Select ChannelMessage.Read.All.
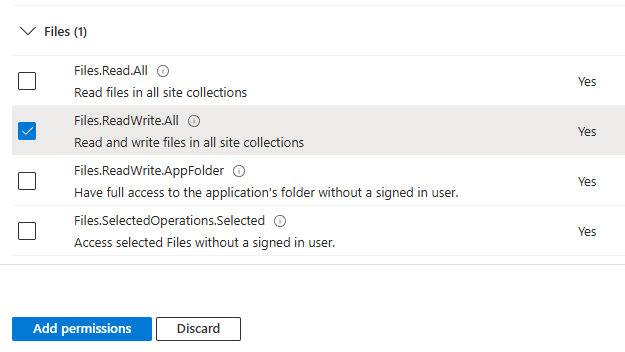
26. Expand the Files on the Select permission page.
27. Select Files.ReadWrite.All.
28. Click Add permissions.
29. Select +Add permission on the Configured permissions page.
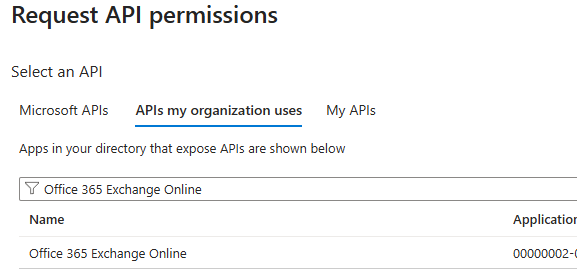
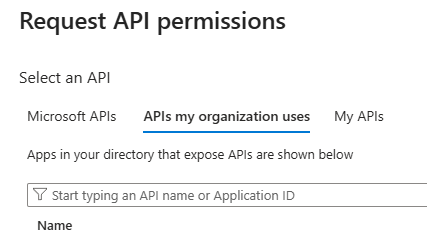
30. Select APIs my organization uses on the Select an API page.
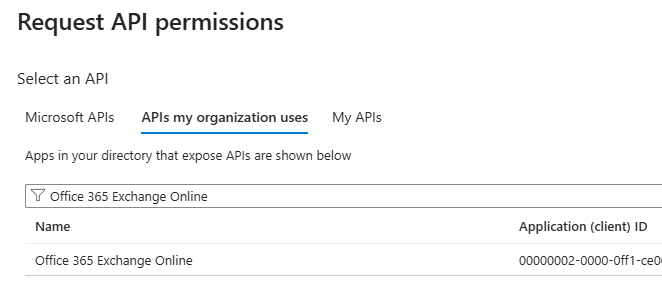
31. Search and select Office 365 Exchange Online API.
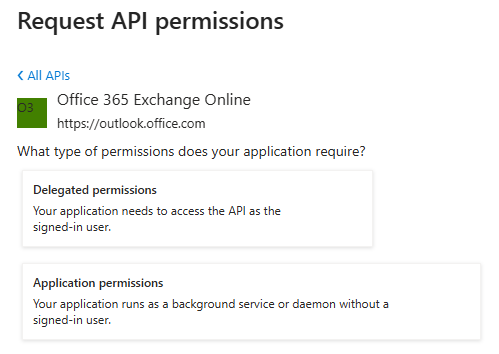
32. Select Application permissions on the Office 365 Exchange Online page.
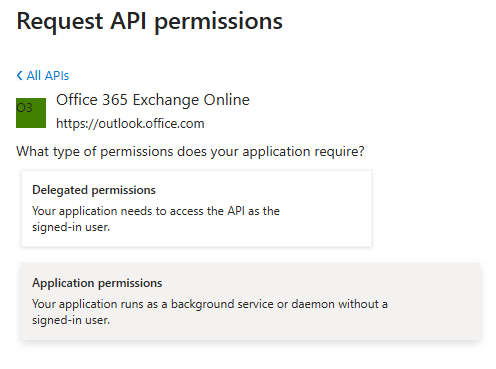
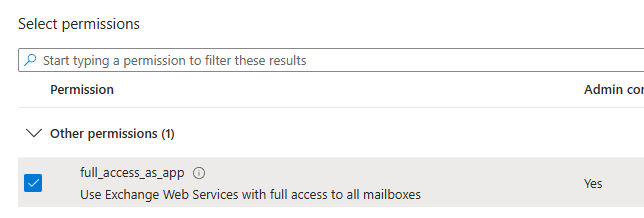
33. Expand Other permissions on the Select permission page.
34. Select full_access_as_app.
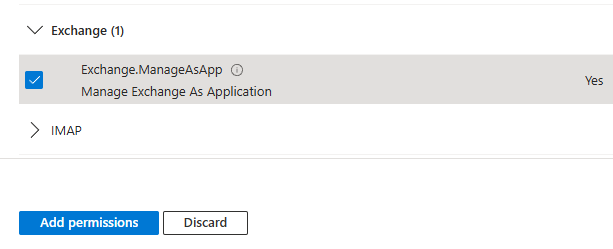
35. Expand Exchange on the Select permission page.
36. Select Exchange.ManageAsApp.
37. Click Add permissions.
38. Select +Add permission on the Configured permissions page.
39. Select Microsoft APIs on the Select an API page.
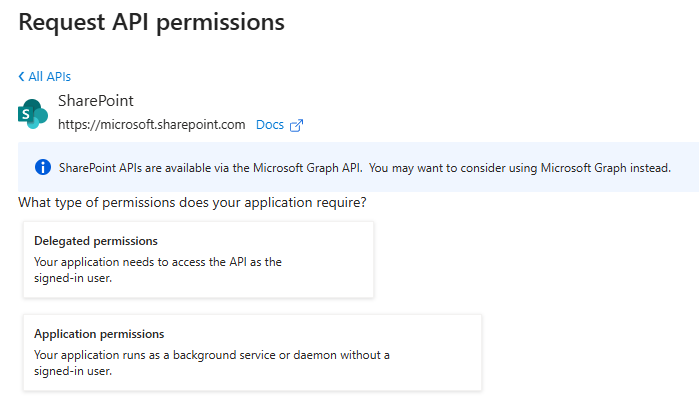
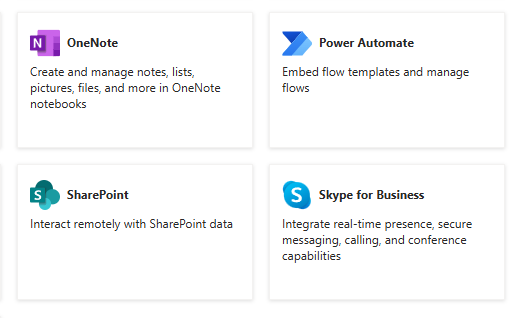
40. Click SharePoint.

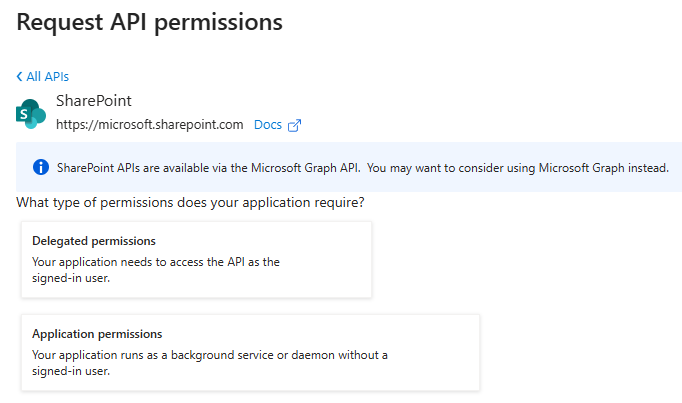
41. Select Application permissions on the SharePoint page.
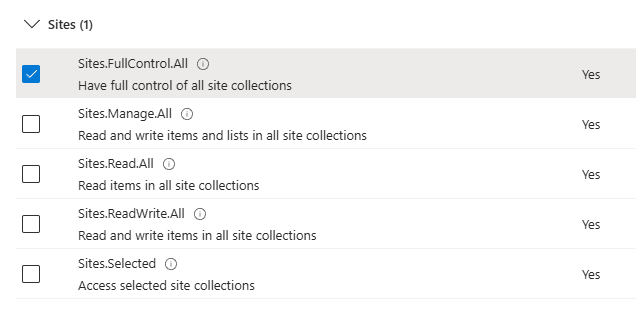
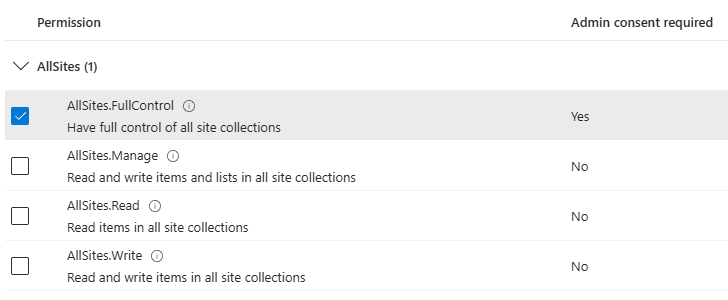
42. Expand Sites on the Select permission page.
43. Select Sites.FullControl.All.
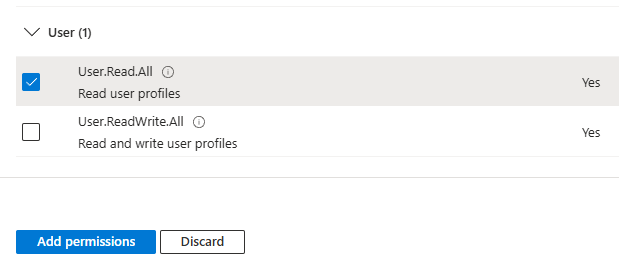
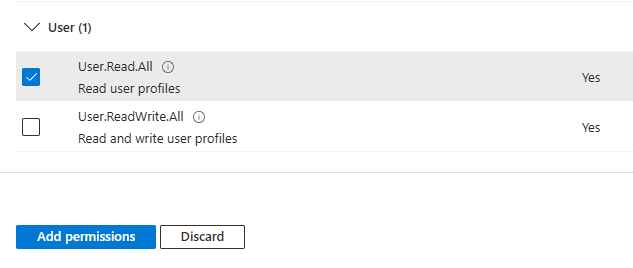
44. Expand Users on the Select permission page.
45. Select User.Read.All, click Add permissions.
46. Select +Add permission on the Configured permissions page.
47. Select Microsoft APIs on the Select an API page.
48. Select Microsoft Graph.
49. Select Delegated permissions on the Microsoft Graph page.
50. Expand the Directory on the Select permission page.
51. Select Directory.Read.All.
52. Select Group.ReadWrite.All.
53. Expand the Group on the Select permission page.
54. Select Group.ReadWrite.All.
55. Expand Sites on the Select permission page.
56. Select Sites.Read.All.
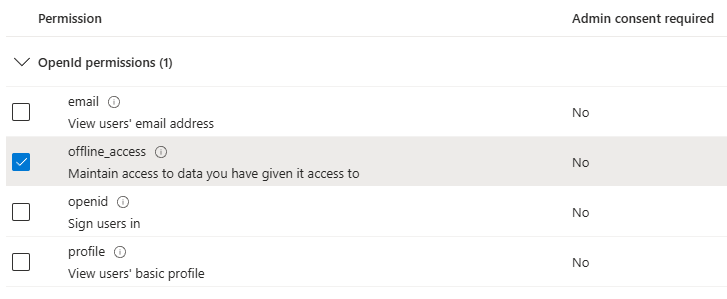
57. Expand OpenId permissions on the Select permission page.
58. Select offline_access.
59. Expand ChannelMember permissions on the Select permission page.
60. Select +Add permission on the Configured permissions page.
61. Select +Add permission on the Configured permissions page.
62. Select APIs my organization uses on the Select an API page.
63. Search and select Office 365 Exchange Online API.
64. Select Delegated permissions on the Office 365 Exchange Online page.
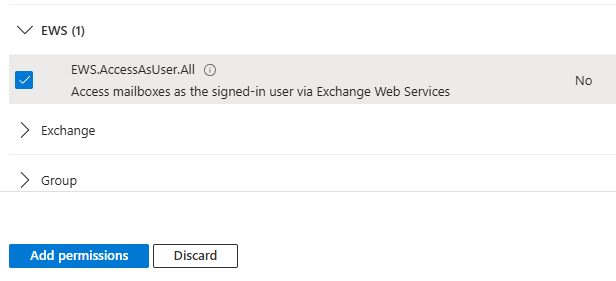
65. Expand the EWS on the Select permission page.
66. Select EWS.AccessAsUser.All and click Add permissions.
67. Select +Add permission on the Configured permissions page.
68. Select Microsoft APIs on the Select an API page.
69. Click SharePoint.
70. Select Delegated permissions on the SharePoint page.
71. Expand AllSites on the Select permission page.
72. Select AllSites.FullControl.
73. Expand Users on the Select permission page.
74. Select User.Read.All and click Add permissions.
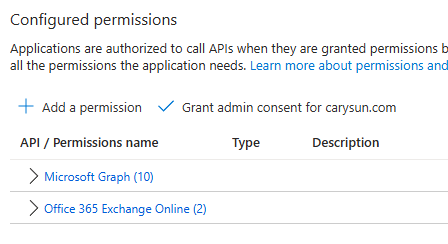
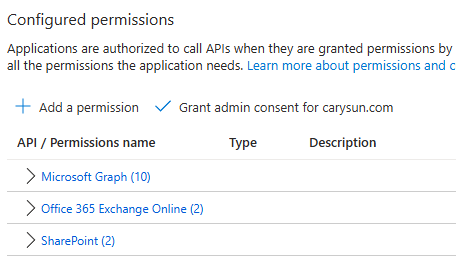
75. Click Grant admin consent for the domain name (carysun.com) on the Configured permissions page.
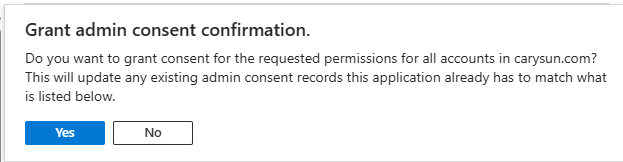
76. Click Yes on the Grant admin consent confirmation.
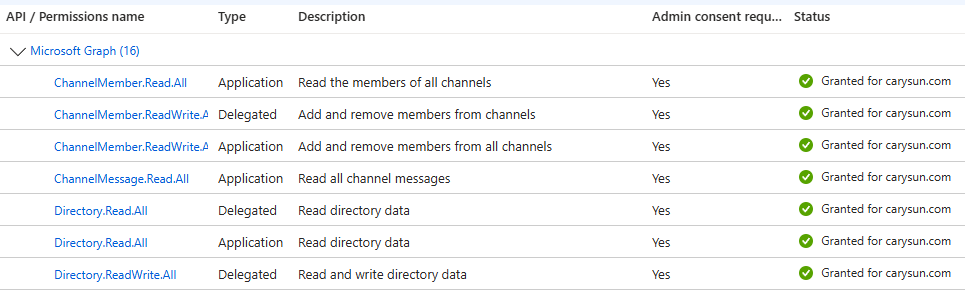
77. Verify the status of all APIs without warning.
78. Expand Manage on the Application page.
79. Select Certificates & Secrets.
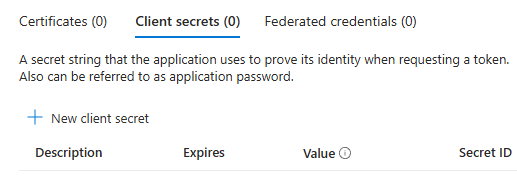
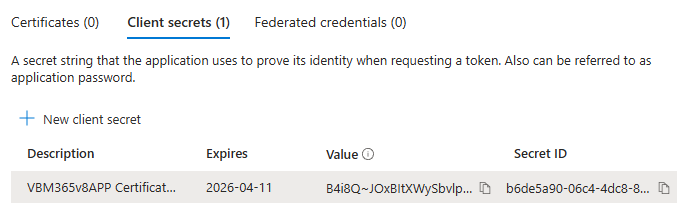
80. Select the Client secrets on the Certificates & secrets page.
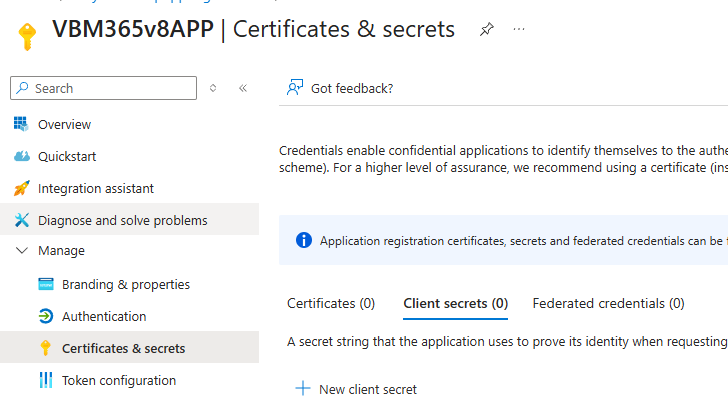
81. Select +New client secret on the Client secrets page.
82. Enter the secret description on the Add a secret client page.
83. Select the Expires period and click Add.
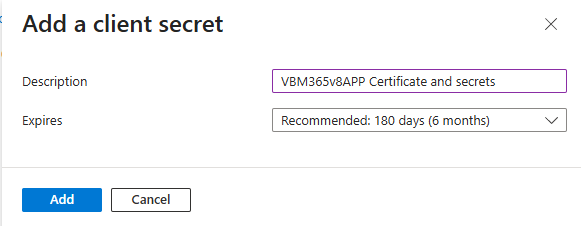
84. Copy the Value, it will be needed for the Application secret of Veeam Backup for Microsoft 365 settings.
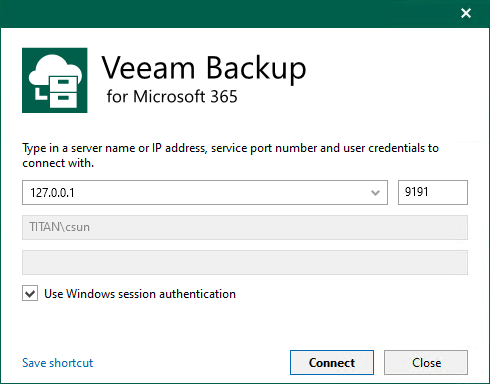
85. Login to the Veeam Backup for Microsoft 365 Manager server.
86. Open the Veeam Backup for Microsoft 365 console and click Connect.
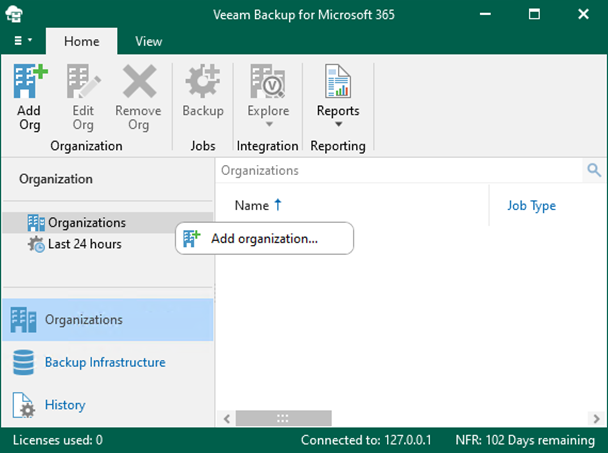
87. On the Veeam Backup for Microsoft 365 Console page, right-click Organizations and select Add an organization.
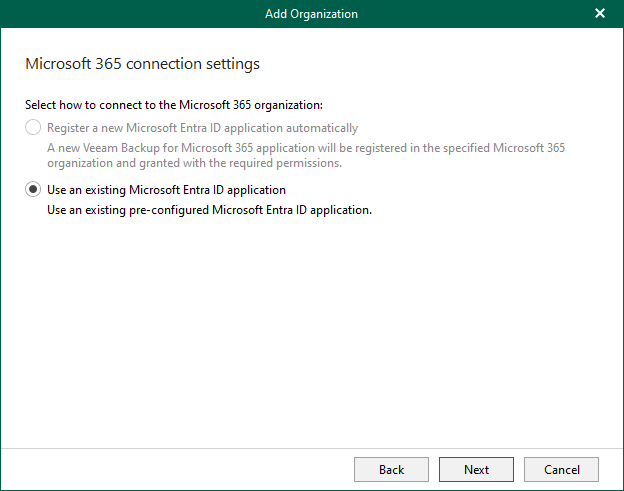
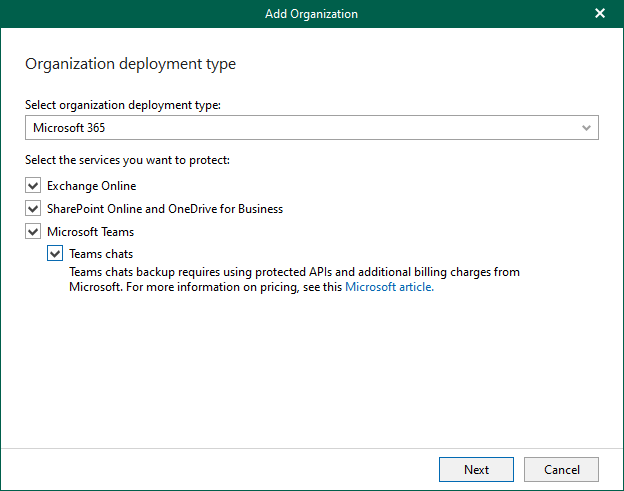
88. Select Microsoft 365 as the organization type on the Organization deployment type, select all services you want to protect and click Next.
89. Click Next on the Microsoft 365 connection settings page.
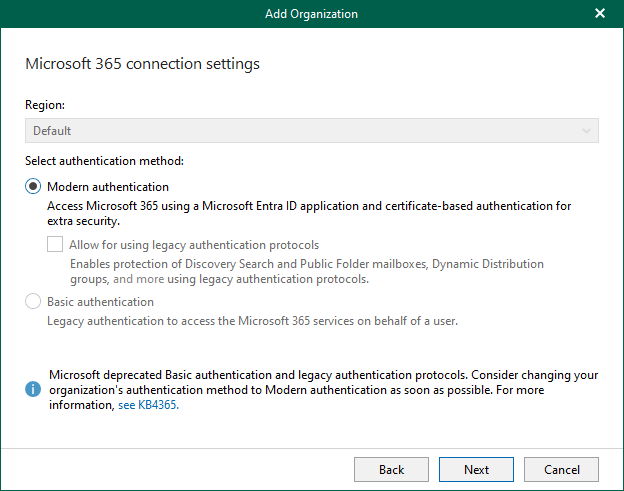
90. Click Next on the Microsoft 365 connection settings page.
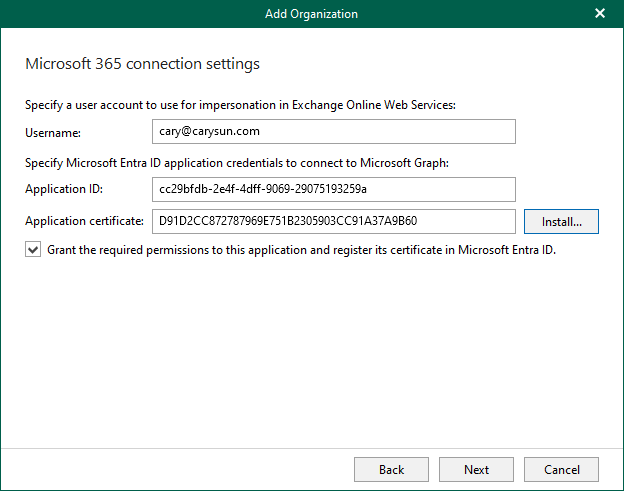
91. Enter a user account in the Username field.
92. Enter the VBM365v8APP application ID (created previously manually) in the Application ID field.
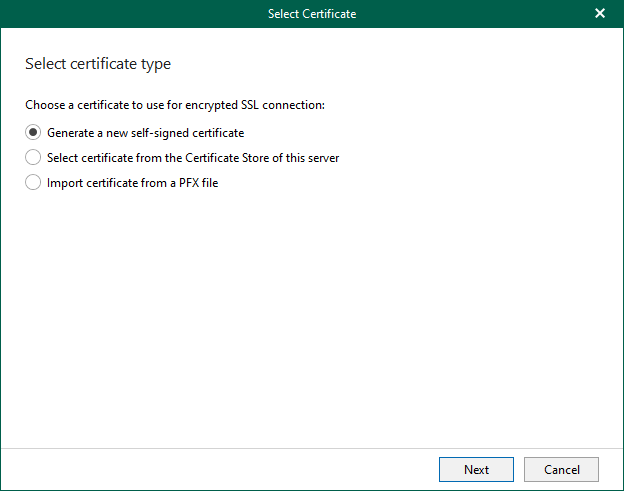
93. Click Install to install an application certificate.
Note:
If you want to back up public folder mailboxes, this user account must have the Owner role, a valid Exchange Online license, and an active mailbox within the Microsoft 365 organization.

94. Select Generate a new self-signed certificate on the Select certificate type page and click Next.
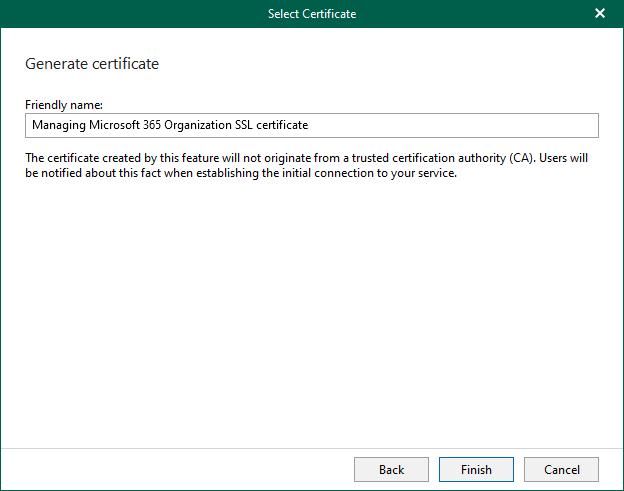
95. Enter the Friendly name of the certificate on the Select Certificate Page and click Finish.
96. Select the Grant the required permissions to this application and register its certificate in Microsoft Entra ID.
97. Click Next.
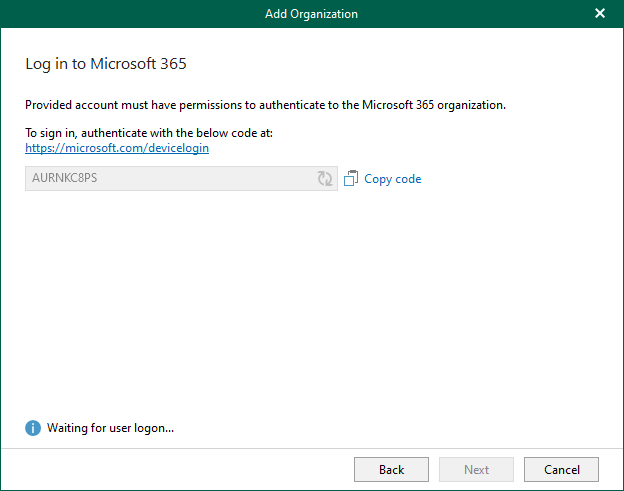
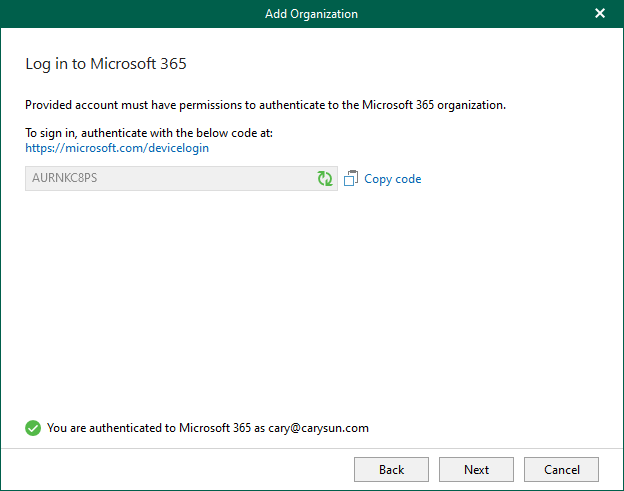
98. Click copy code on the Log in Microsoft 365 page and click the sign-in link.
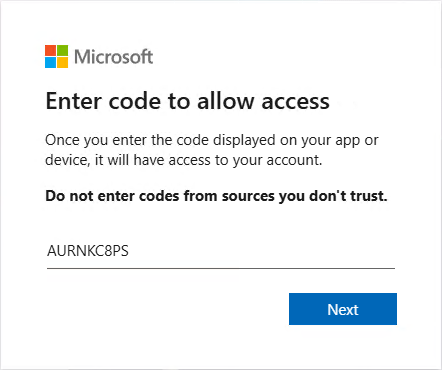
99. Enter the code on the Enter code to allow access page and click Next.
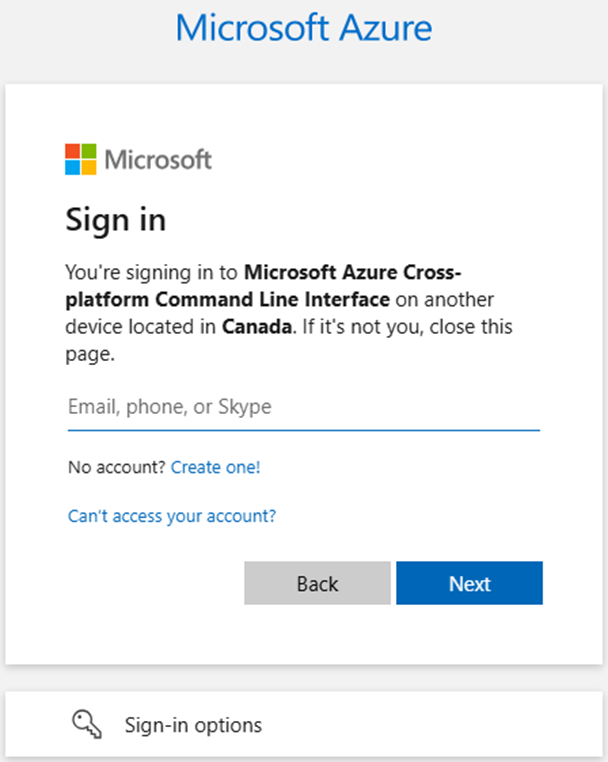
100. Enter your account name on the Sign in page and click Next. Ensure to sign in with the Global Administrator role’s user account.
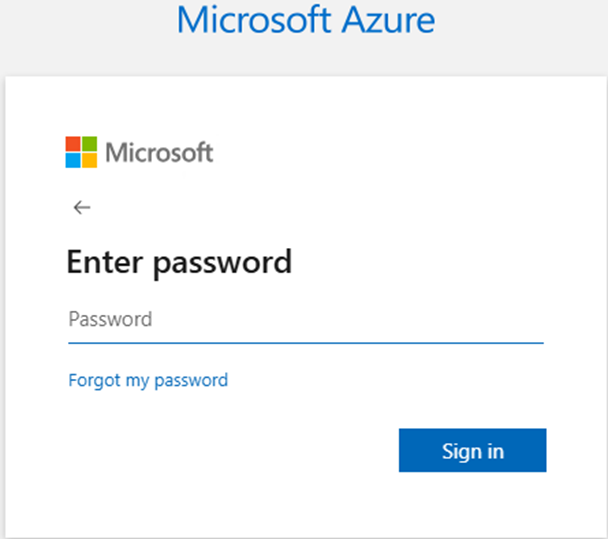
101. Enter your password and click Sign in.
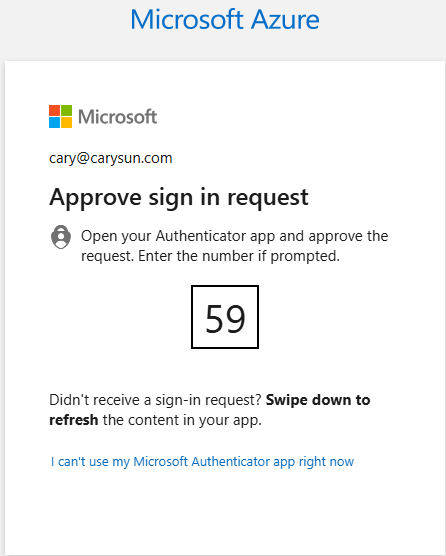
102. Approve the request on your Authenticator app.
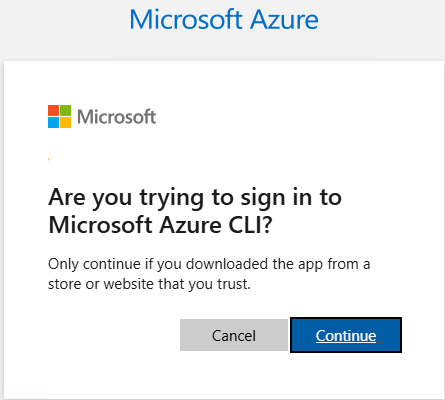
103. Click Continue on the sign-in confirm page.
104. Close the browser after ensuring you signed in successfully.
105. Ensure you are authenticated to Microsoft 365 on the Log in to Microsoft 365 page and click Next.
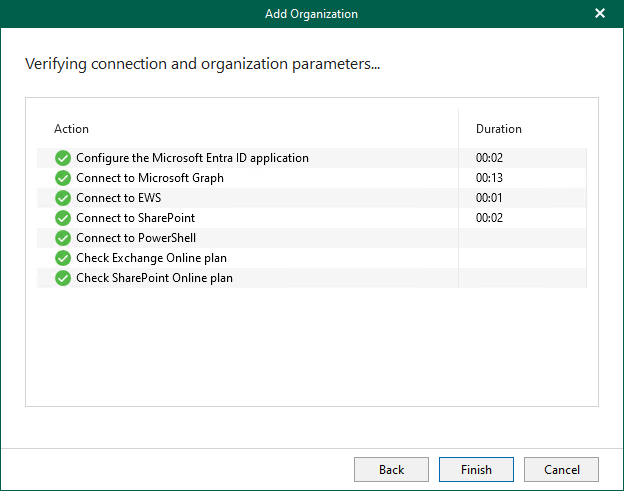
106. Ensure the connections are established on the Verifying connection page and click Finish.
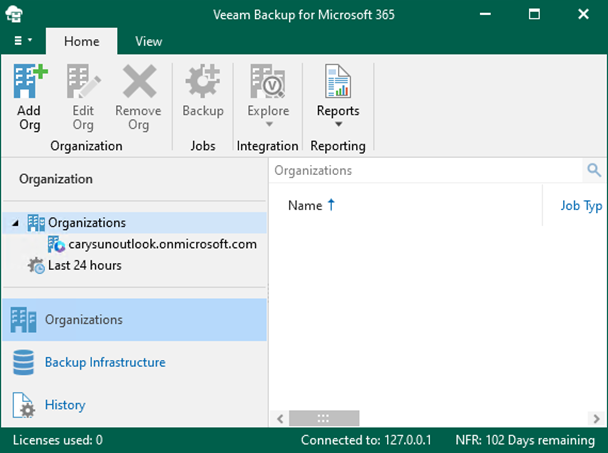
107. Verify that the organization has been added.
I hope you enjoy this post.
Cary Sun
X: @SifuSun
Web Site: carysun.com
Blog Site: checkyourlogs.net
Blog Site: gooddealmart.com
Amazon Author: Amazon.com/author/carysun
Author: Cary Sun
Cary Sun has a wealth of knowledge and expertise in data center and deployment solutions. As a Principal Consultant, he likely works closely with clients to help them design, implement, and manage their data center infrastructure and deployment strategies.
With his background in data center solutions, Cary Sun may have experience in server and storage virtualization, network design and optimization, backup and disaster recovery planning, and security and compliance management. He holds CISCO CERTIFIED INTERNETWORK EXPERT (CCIE No.4531) from 1999. Cary is also a Microsoft Most Valuable Professional (MVP), Microsoft Azure MVP, Veeam Vanguard and Cisco Champion. He is a published author with several titles, including blogs on Checkyourlogs.net, and the author of many books.
Cary is a very active blogger at checkyourlogs.net and is permanently available online for questions from the community. His passion for technology is contagious, improving everyone around him at what they do.
Blog site: https://www.checkyourlogs.net
Web site: https://carysun.com
Blog site: https://gooddealmart.com
Twitter: @SifuSun
in: https://www.linkedin.com/in/sifusun/
Amazon Author: https://Amazon.com/author/carysun