Veeam Backup for Microsoft 365 uses the Veeam Azure archiver appliance, a small virtual machine deployed in Azure, to efficiently move backed-up M365 data (Exchange, SharePoint, Teams, OneDrive) into Azure Archive Storage (cold tier) for long-term, low-cost retention, minimizing data egress and speeding up copy jobs by processing data locally within Azure. It serves as a middleman, compressing data and facilitating the transition from hot/cool blob storage to the ultra-cheap archive layer, which is critical when your primary Veeam server is not in Azure.
1. Sign in Azure portal with the global admin account.

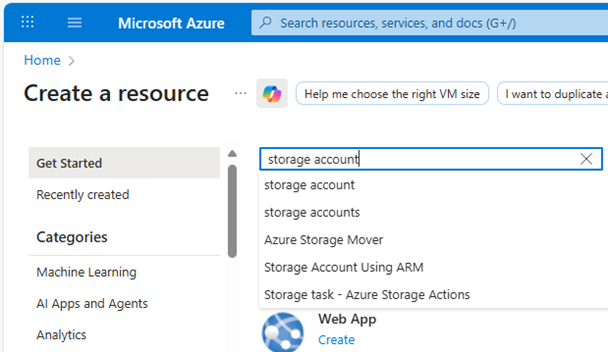
2. On the Azure services page, select +Create resource.
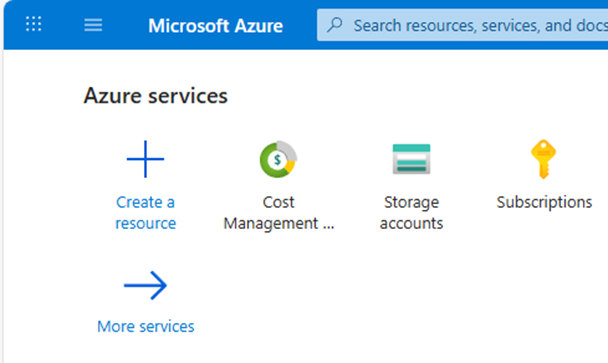
3. Search and select the storage account on the Create a resource page.
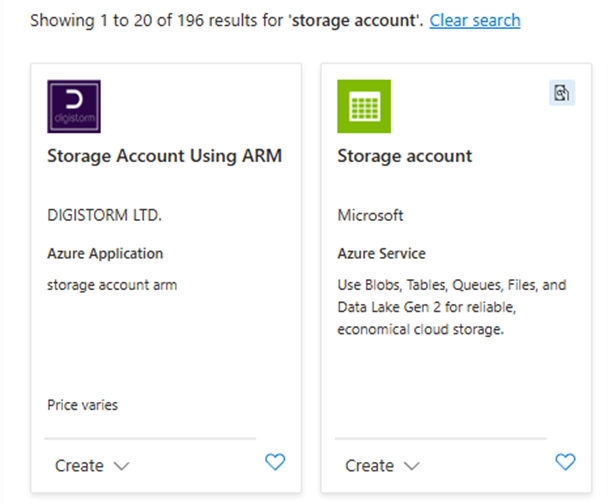
4. Click Create on the Storage account page.
5. In the Basics tab, under Project details, ensure the correct subscription is selected.
6. Under the Project details, click Create New to create a new resource group (or select an existing resource group).

7. Under Instance details, type the name for the new storage account.
8. Select the Region for the new storage account.
9. Select Azure Blob Storage or Azure Data Lake Storage Gen 2 as the Preferred storage type.

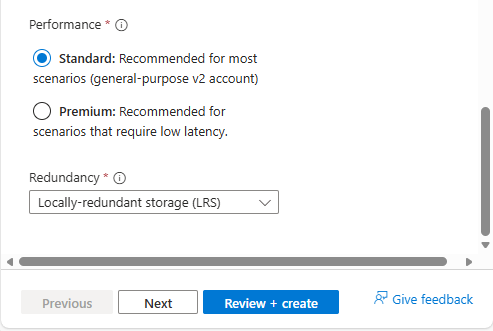
10. Select Standard as Performance.
11. Select Locally-redundant storage (LRS) as Redundancy.
Note:
Veeam Backup for Microsoft 365 supports all types of Azure Storage redundancy.
12. Click Next.
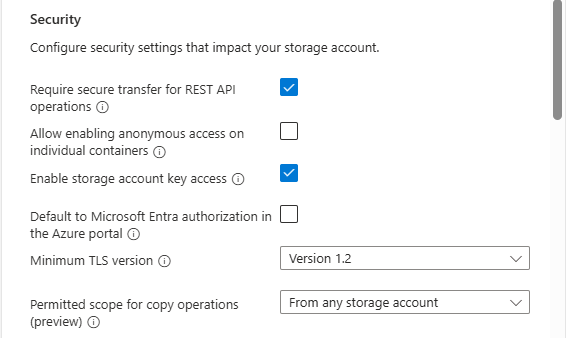
13. In the Advanced tab, under Security, keep the default settings.
14. Under Security, ensure that you unselect Enable hierarchical Namespace.

15. Under Access protocols, keep the default settings.

16. Under Blob storage, select Cold as the Access tier.

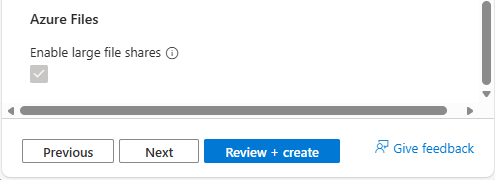
17. Under Azure files, keep the default settings.
18. Click Next.
19. In the Networking tab, under Networking connectivity, select Enable for the Public network access.

20. Select Enable from all networks for the public network access scope.
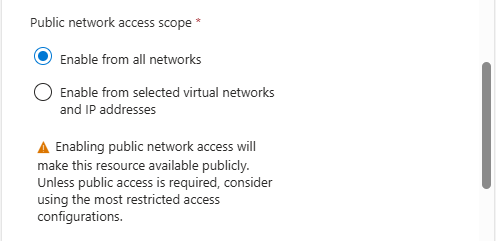
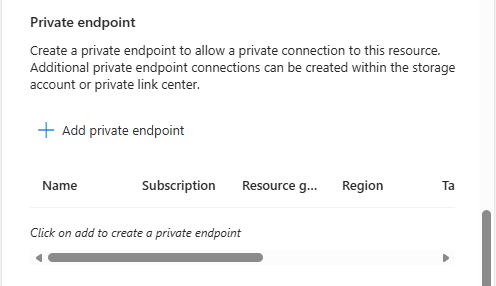
21. When a customer has an ExpressRoute or Site-to-Site VPN connecting directly on-premises to Azure, you can create private endpoints for the storage account and turn off the public endpoint. Ensures the blob container is accessible only on the organization’s site.
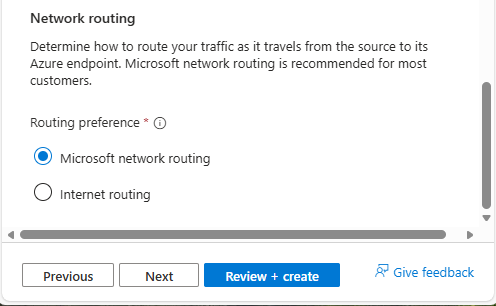
22. Under the Network routing, keep the default settings and click Next.
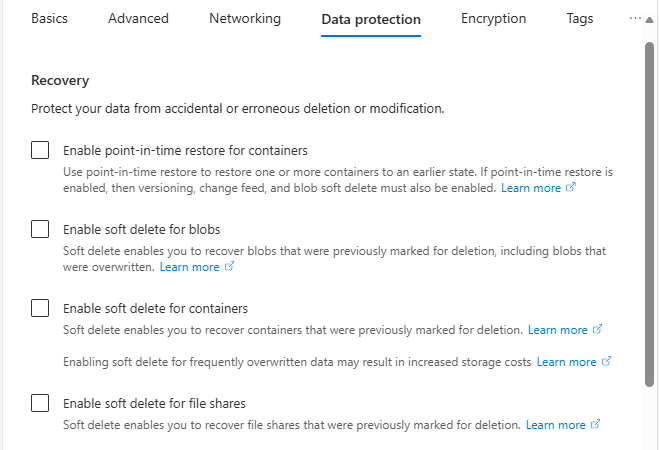
23. In the Data protection tab, under Recovery, unselect Enable Point-in-time restore for containers.
24. Unselect Enable soft delete for blobs.
25. Unselect Enable soft delete for containers.
26. Unselect Enable soft delete for file shares.
27. Under Tracking, select Enable versioning for blobs.
28. Unselect Enable blob change feed.

29. Under Access control, unselect Enable version-level immutability support.
30. Click Next.

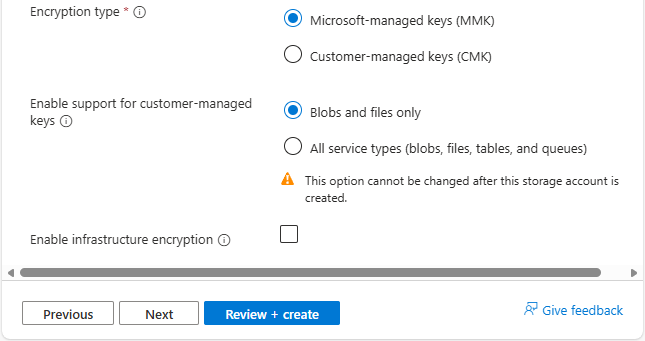
31. In the Encryption tab, under the Encryption type, select Microsoft-managed keys (MMK).
32. Under Enable support for customer-managed keys, select Blobs and files only.
33. Ensure unselect Enable infrastructure encryption.
34. Click Next.
35. In the Tags tab, you can specify the Resource Manager tags on the Tags tab to help organize your Azure resources.
36. Click Next.

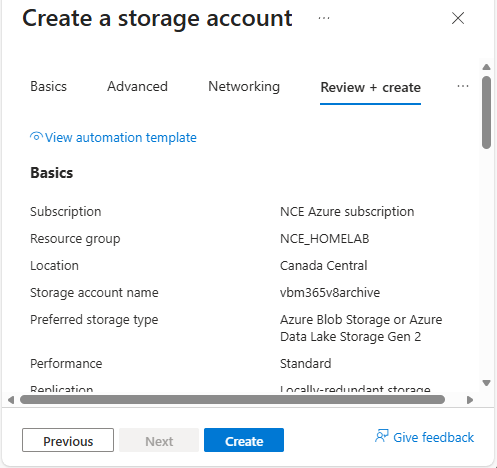
37. In the Review + create tab, click Create.
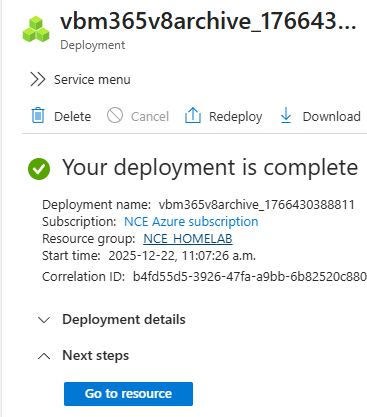
38. Creating the new storage account may take a few minutes.
39. Click Go to the resource.
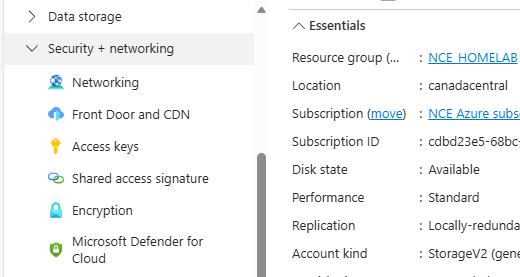
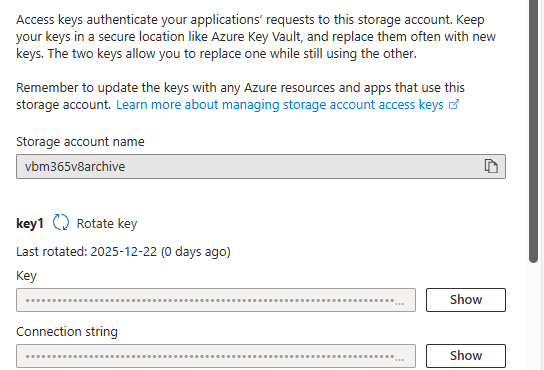
40. On the newly created storage account page, under Security + networking, select Access keys.
41. On the Access keys page, under key1, select Show Key and copy the storage account name and key of key1. We need them for Veeam storage repository settings later.
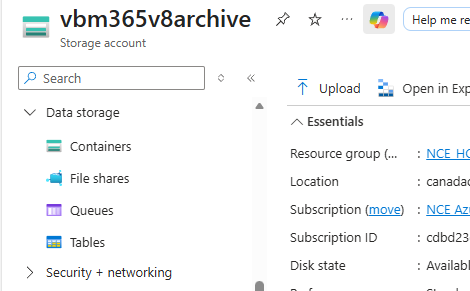
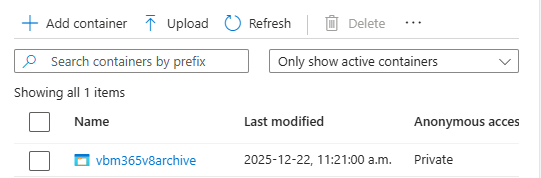
42. On the newly created storage account page, under Data storage, select Containers.
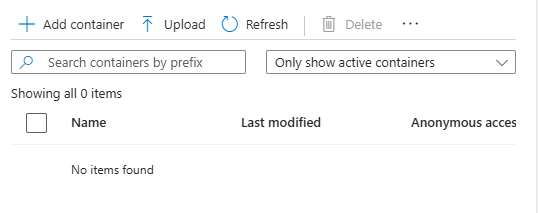
43. On the Containers page, click +Add container.
44. On the new container page, enter a name for your new container.
45. Expand Advanced, select Enable version-level immutability support and click Create.

46. Verify the new container was created.
47. Login to the Veeam Backup for Microsoft 365 Manager server.
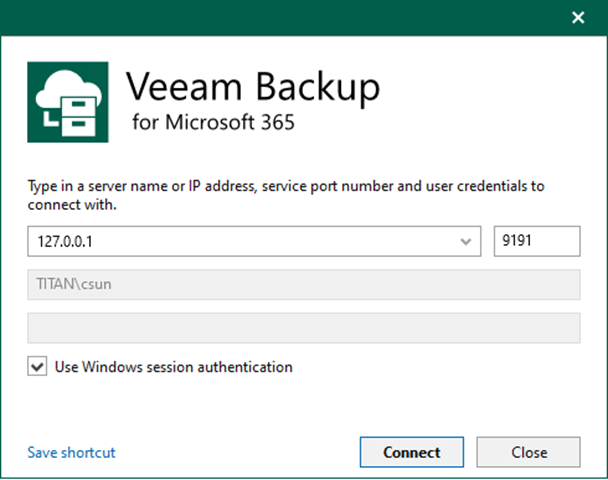
48. Open the Veeam Backup for Microsoft 365 console and click Connect.
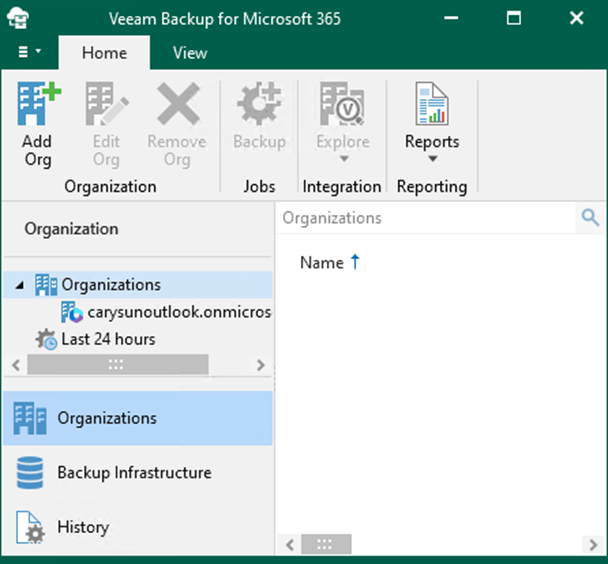
49. Select Backup Infrastructure on the Veeam Backup for Microsoft 365 Home page.
50. On the Backup Infrastructure page, select Object Storage Repositories.

51. Right-click Object Storage Repositories and click Add object storage.

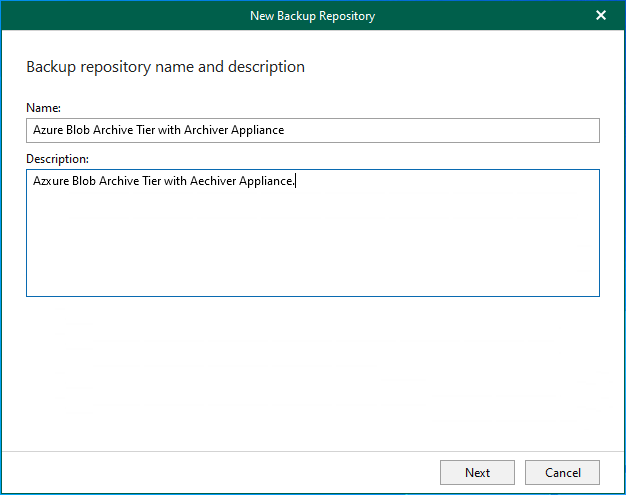
52. On the Object storage repository name and description page, type Azure Blob Archive Tier with Archiver Appliance as the Object storage repository name and click Next.
53. Select Backup to object storage on the Target location for your backups page and click Next.

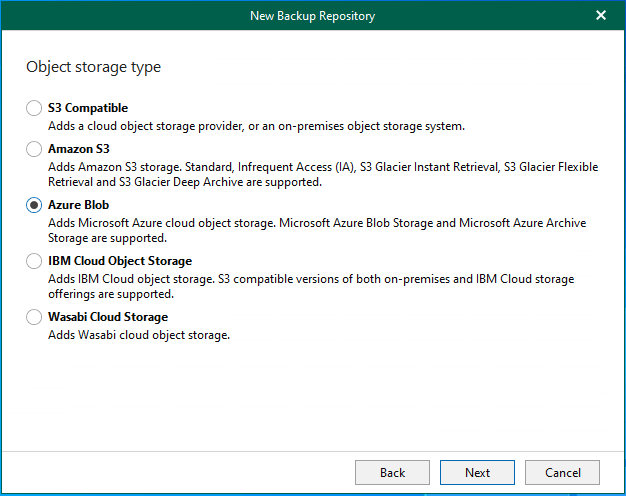
54. On the Object storage type page, select Azure Blob and click Next.
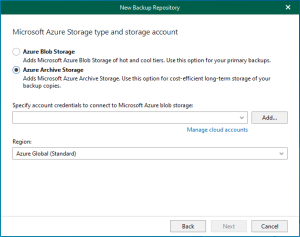
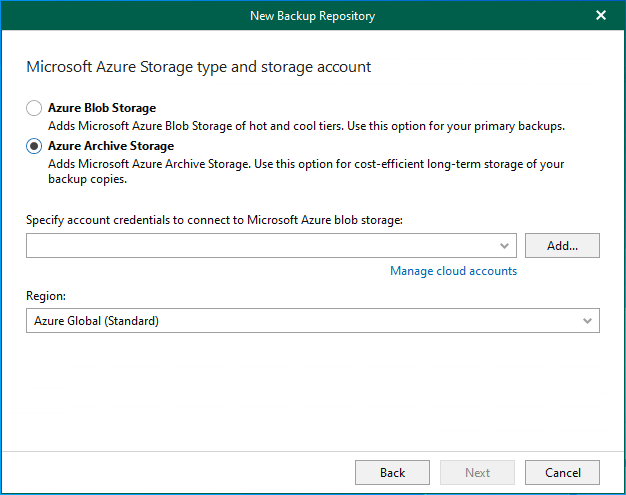
55. On the Microsoft Azure Blob Storage type page, select Azure Archive Storage.
56. Click Add in Specify account credentials to connect to the Microsoft Azure blob storage field.
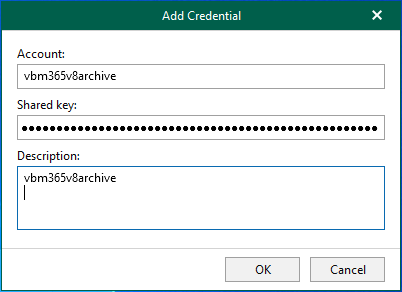
57. Type the Azure storage account name in the Account field and paste key1 in the Shared key field (you copied them when you created the Azure storage account).
58. Click OK.
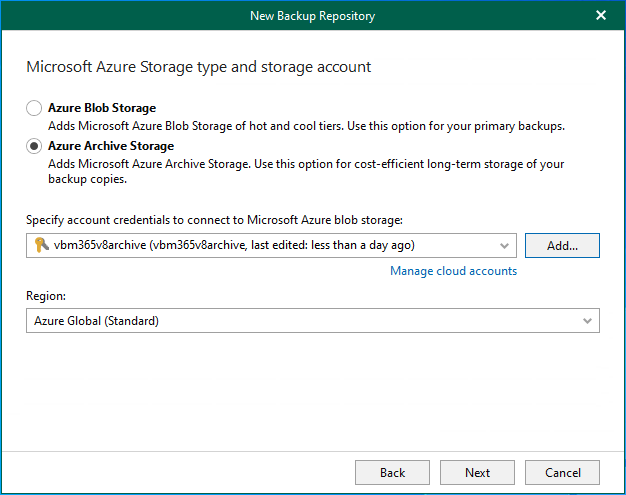
59. On the Microsoft Azure Storage Account page, select Azure Global (Standard) in the Region field and click Next.
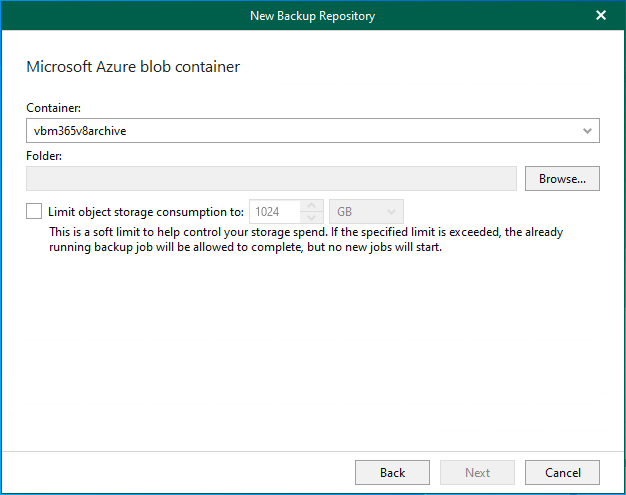
60. On the Microsoft Azure blob container page, select an Azure Blob container (you created it previously when you created your Azure Storage Account and settings) and click Browse on Folder.
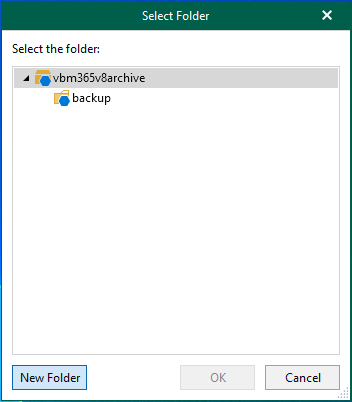
61. Click New Folder on the Select the folder page.
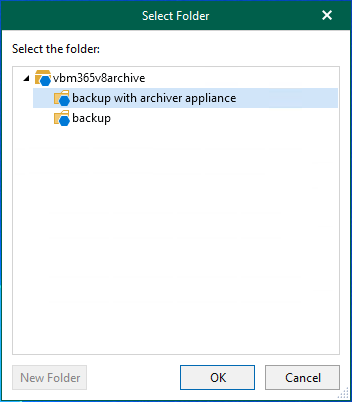
62. Type the name as the new folder name and click OK.
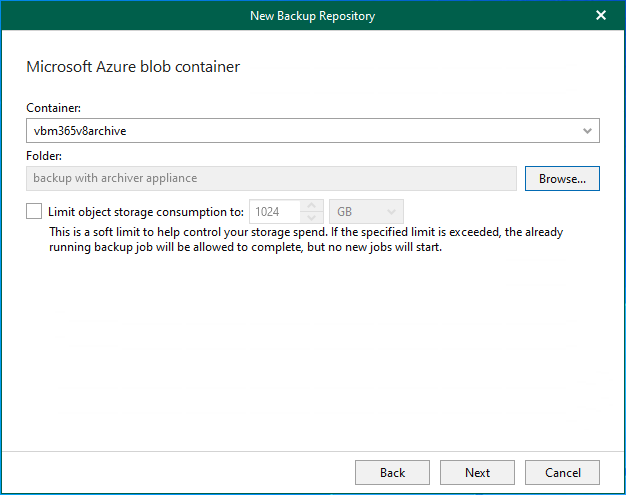
63. If you want to control the storage spend, select Limit object storage consumption, enter the storage size and click Next.
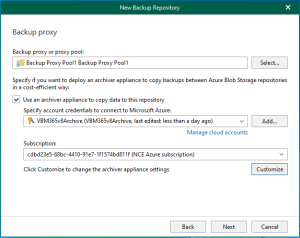
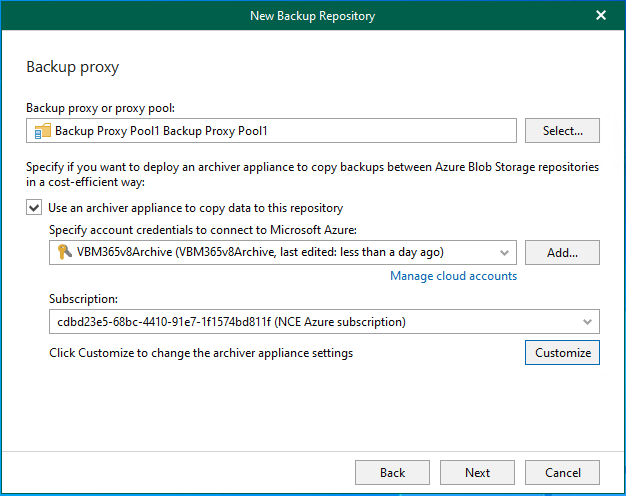
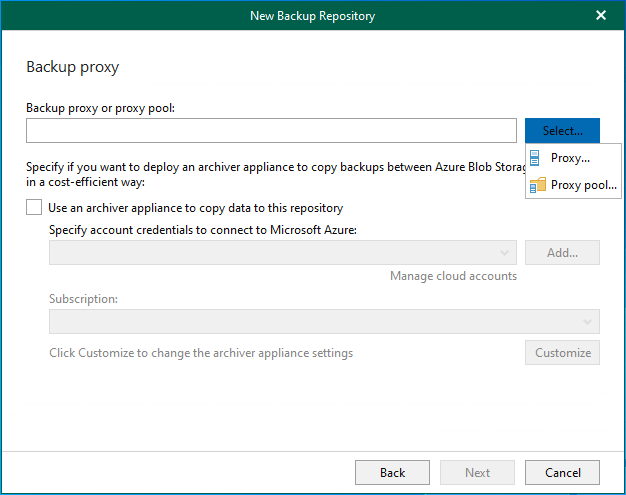
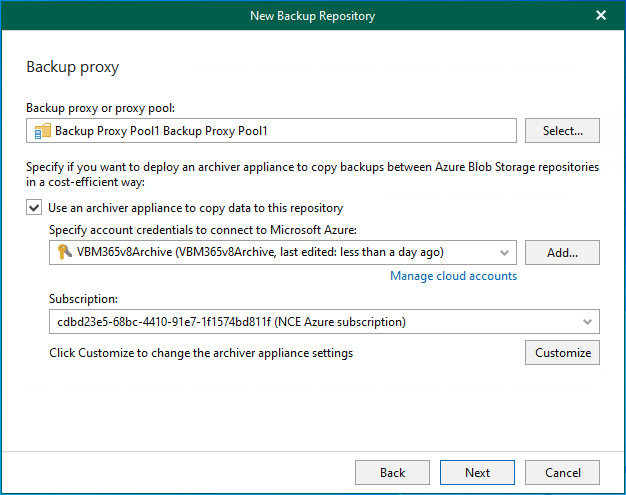
64. On the Backup proxy page, click Select in the Backup proxy or proxy pool field.
65. Select Proxy pool (or Proxy).
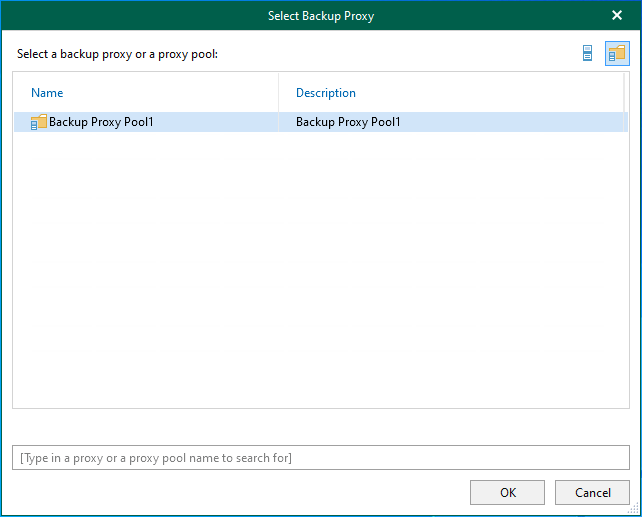
66. On the Select Backup Proxy page, select the backup proxy pool and click OK.
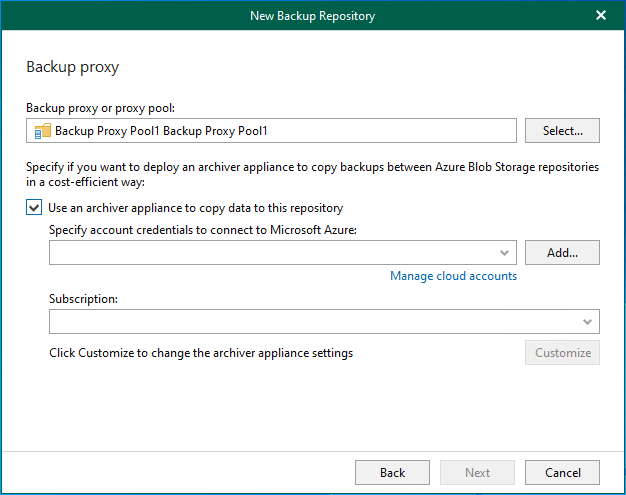
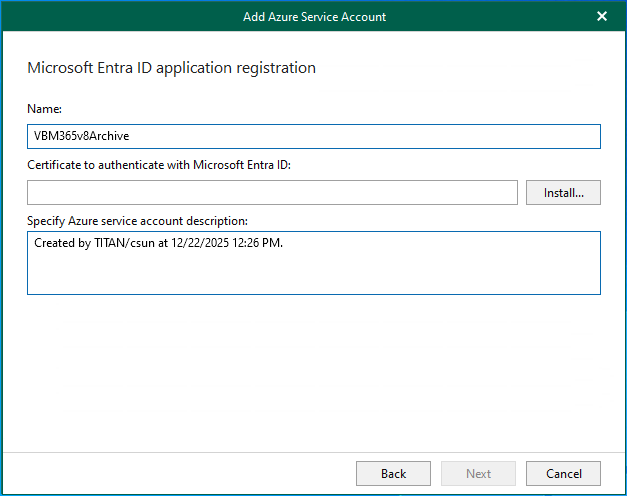
67. On the Backup proxy page, select Use an archiver appliance to copy data to this repository and click Add to specify account credentials to connect to Microsoft Azure.
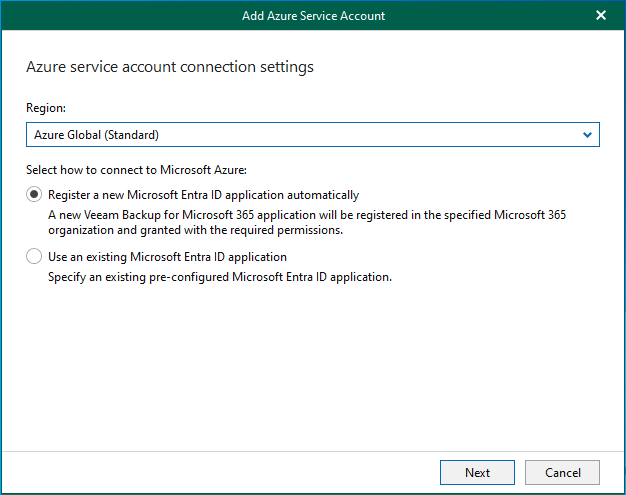
68. Select Register a new Microsoft Entra ID application automatically on the Azure service account connection settings page and click Next.
69. On the Microsoft Entra ID application registration page, type the application name in the Name field.
70. Click Install in the Certificate to authenticate with Microsoft Entra ID field.
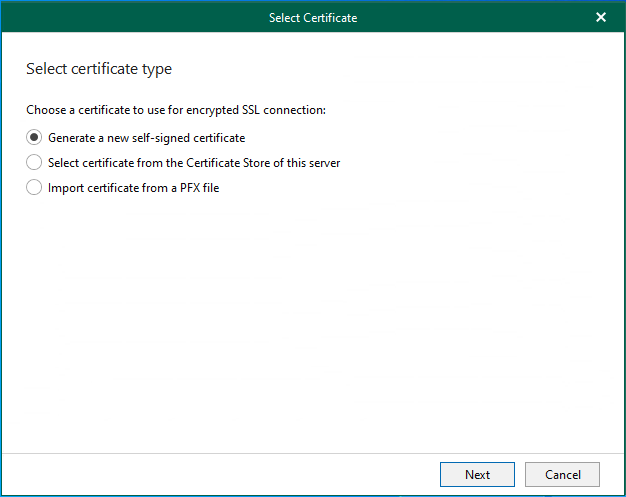
71. Select Generate a new self-signed certificate on the Select certificate type page and click Next.
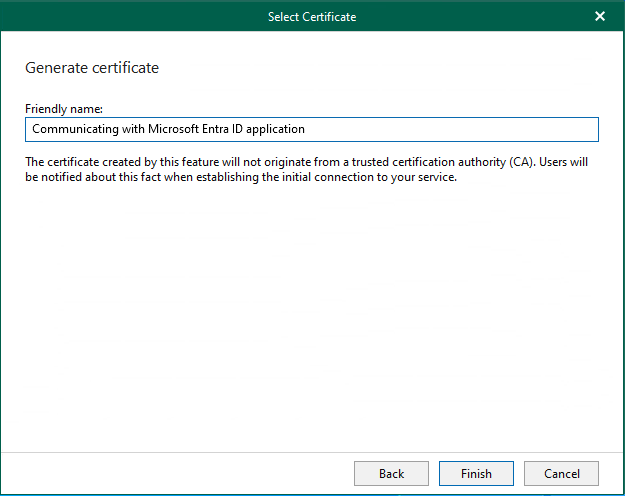
72. On the Generate certificate page, type certificate name in the Friendly name field and click Finish.
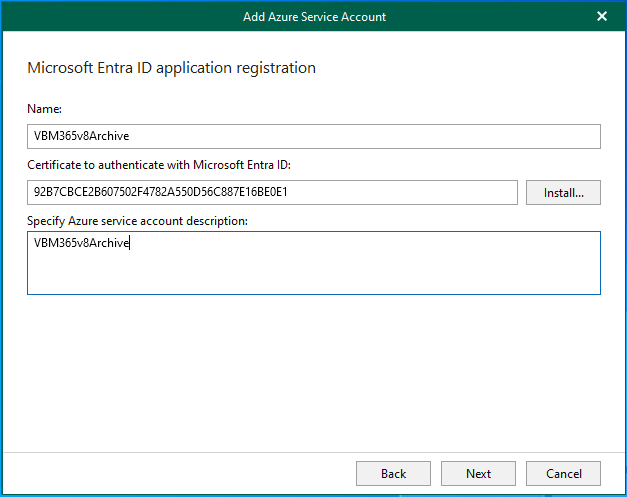
73. Click Next on the Microsoft Entra ID registration page.
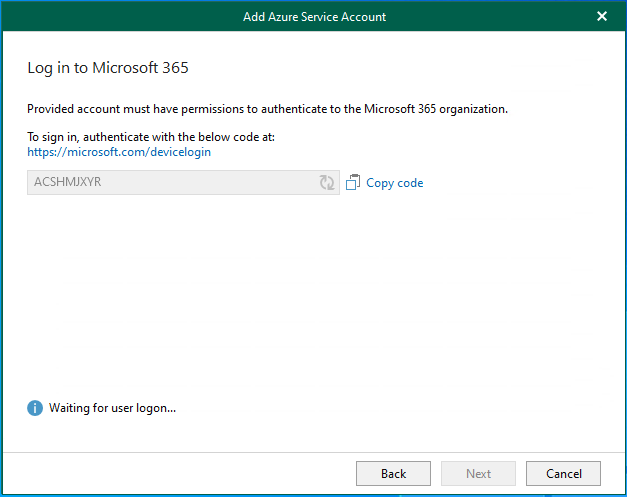
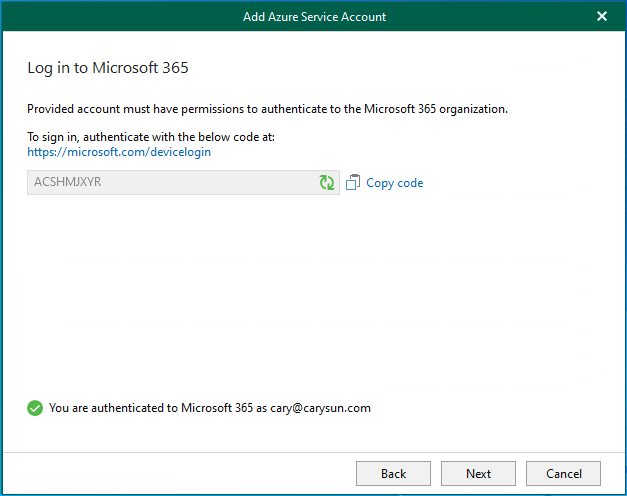
74. On the Log in Microsoft 365 page, click copy code and click the sign-in link.
75. On the Enter code to allow access page, paste the code and click Next.

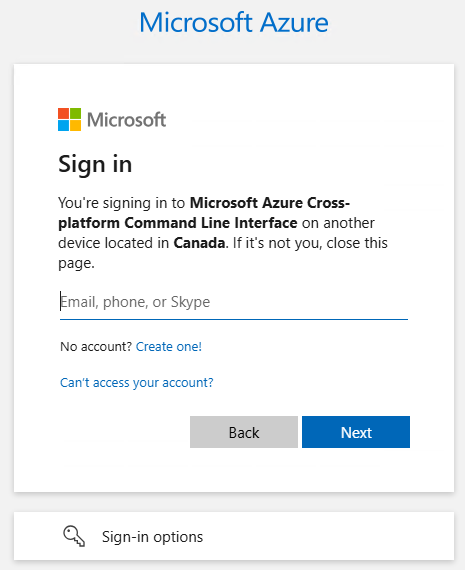
76. On the Sign in page, enter your account name and click Next.
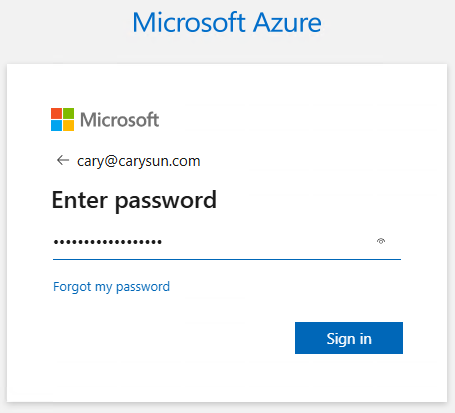
77. On the Enter password page, enter your password and click Sign in.
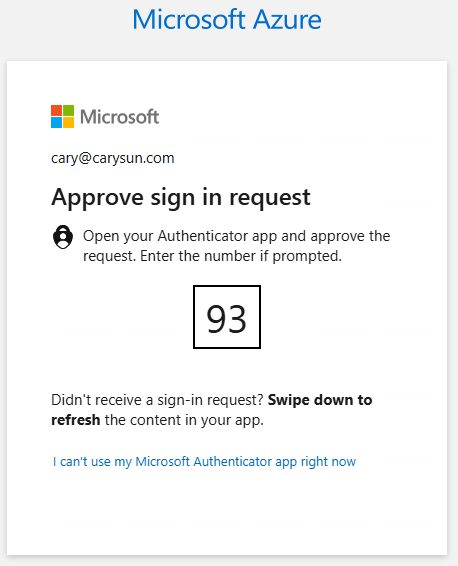
78. Approve sign in request from the Authenticator APP.
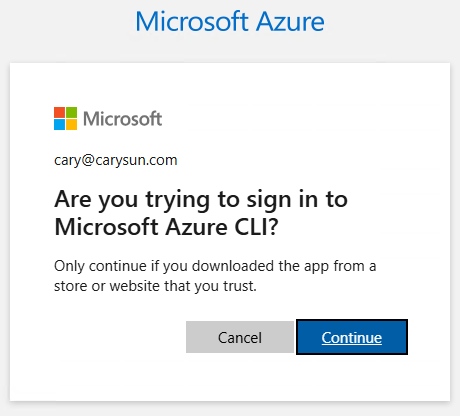
79. Click Continue to sign in to Microsoft Azure CLI.
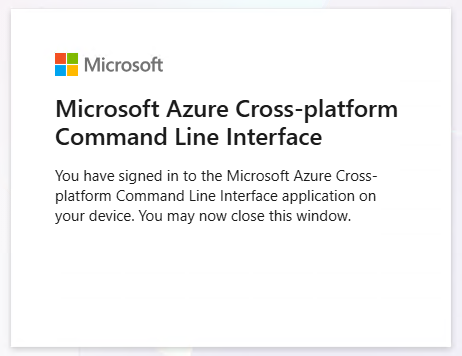
80. Ensure signed in success and close the browser.
81. On the Log in to Microsoft 365 page, ensure you are authenticated to Microsoft 365 and click Next.
82. On the Select Microsoft Azure subscription page, select your Azure subscription and click Finish.
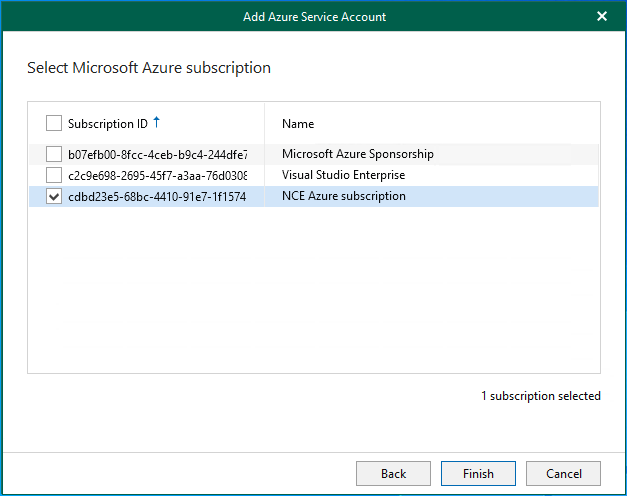
83. Select your Azure subscription in the Subscription field.
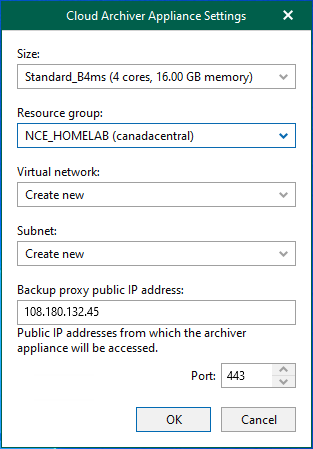
84. Click Customize to change the archiver appliance settings.
85. On the Cloud Archiver Appliance Settings page, from the Size drop-down list, select the size of the appliance.
86. From the Resource group drop-down list, select a resource group associated with the archiver appliance.
87. From the Virtual network drop-down list, select a network to which the archiver appliance must be connected.
88. From the Subnet drop-down list, select the subnet for the archiver appliance.
89. Specify the port that Veeam Backup for Microsoft 365 will use to route requests between the archiver appliance and backup infrastructure components and click OK.
90. Click Next on the Backup proxy page.
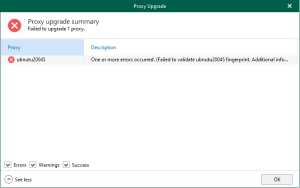
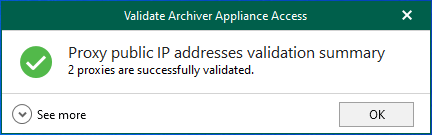
91. Click OK on the Validate Archiver Appliance Access page.
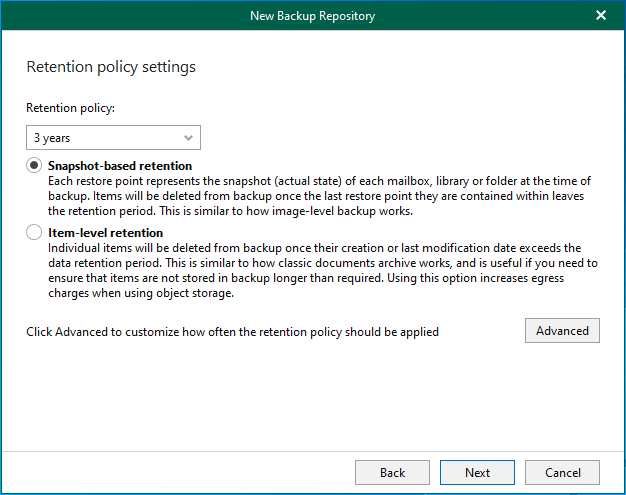
92. On the Retention policy settings page, select the retention period in the Retention policy field.
93. Select the retention type.
Note:
The retention type of the object storage repository cannot be changed once set.
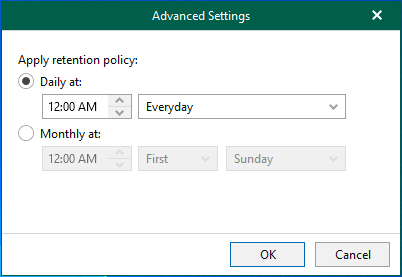
94. Click Advance.
95. On the Advance page, select how often the retention policy should be applied and click OK.
96. Click Next on the Retention policy settings page.

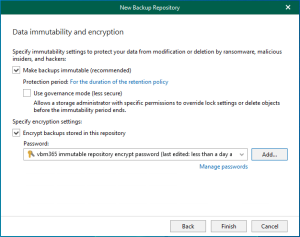
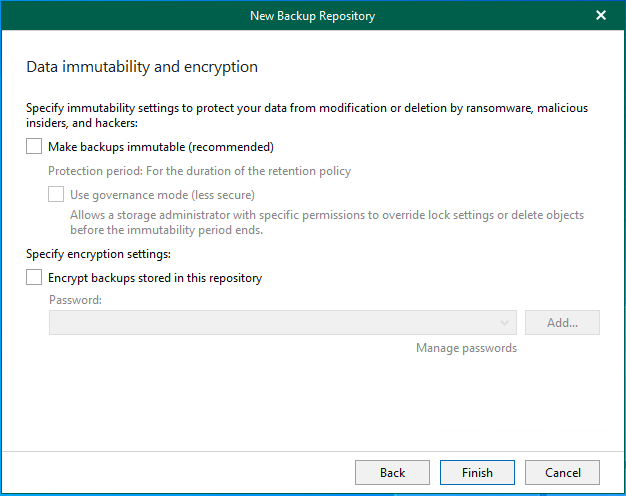
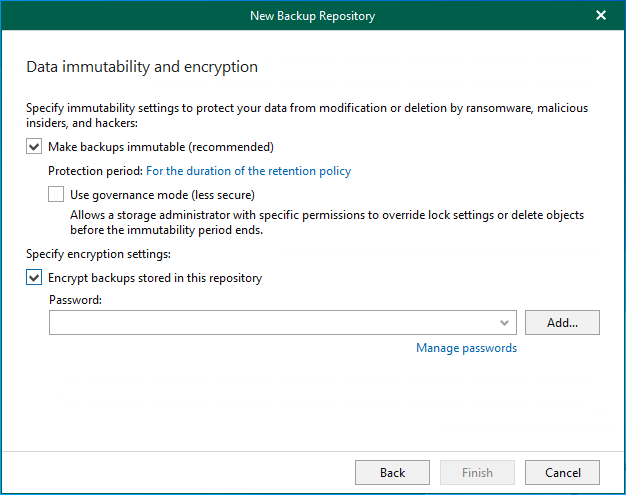
97. On the Data immutability and encryption page, select Make Backups immutable (recommended).
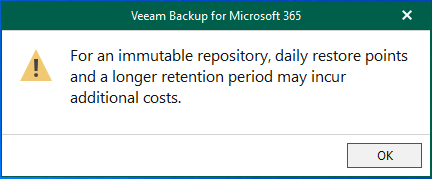
98. Click OK on the addition cost warning message.
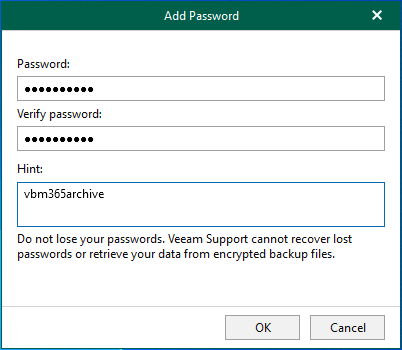
99. Select Encrypt backups stored in this repository and click Add.
100. On the Add Password page, enter the password in the Password and Verify Password fields.
101. Click OK.
102. Click Finish on the Data immutability and encryption page.

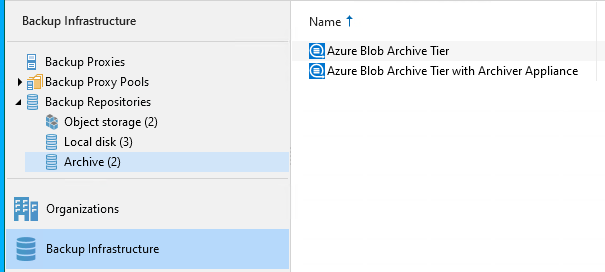
103. Verify that the new Azure Blob Archive Tier Repository has been added.
I hope you enjoy this post.
Cary Sun
X: @SifuSun
Web Site: carysun.com
Blog Site: checkyourlogs.net
Blog Site: gooddealmart.com
Amazon Author: Amazon.com/author/carysun
Author: Cary Sun
Cary Sun has a wealth of knowledge and expertise in data center and deployment solutions. As a Principal Consultant, he likely works closely with clients to help them design, implement, and manage their data center infrastructure and deployment strategies.
With his background in data center solutions, Cary Sun may have experience in server and storage virtualization, network design and optimization, backup and disaster recovery planning, and security and compliance management. He holds CISCO CERTIFIED INTERNETWORK EXPERT (CCIE No.4531) from 1999. Cary is also a Microsoft Most Valuable Professional (MVP), Microsoft Azure MVP, Veeam Vanguard and Cisco Champion. He is a published author with several titles, including blogs on Checkyourlogs.net, and the author of many books.
Cary is a very active blogger at checkyourlogs.net and is permanently available online for questions from the community. His passion for technology is contagious, improving everyone around him at what they do.
Blog site: https://www.checkyourlogs.net
Web site: https://carysun.com
Blog site: https://gooddealmart.com
Twitter: @SifuSun
in: https://www.linkedin.com/in/sifusun/
Amazon Author: https://Amazon.com/author/carysun