You can configure Microsoft 365 MFA account for notification settings if you want Veeam Backup & Replication to send email notifications about backup job results.
1. Sign in Microsoft 365 portal with a Global Admin account, and select Admin.
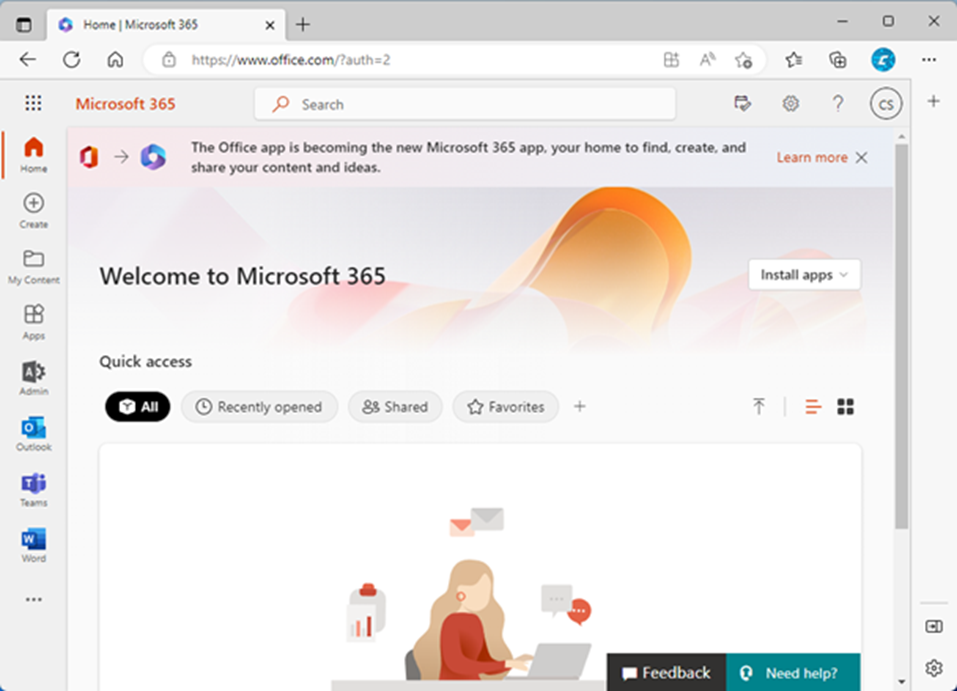
2. On the Microsoft 365 admin center, expand Users and select Active users.

3. On the Active users page, click Veeam service account (VEEAMMFA, in my case).
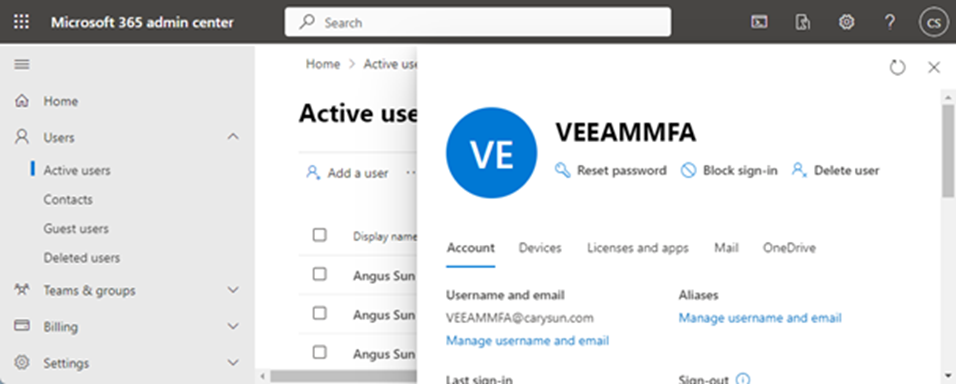
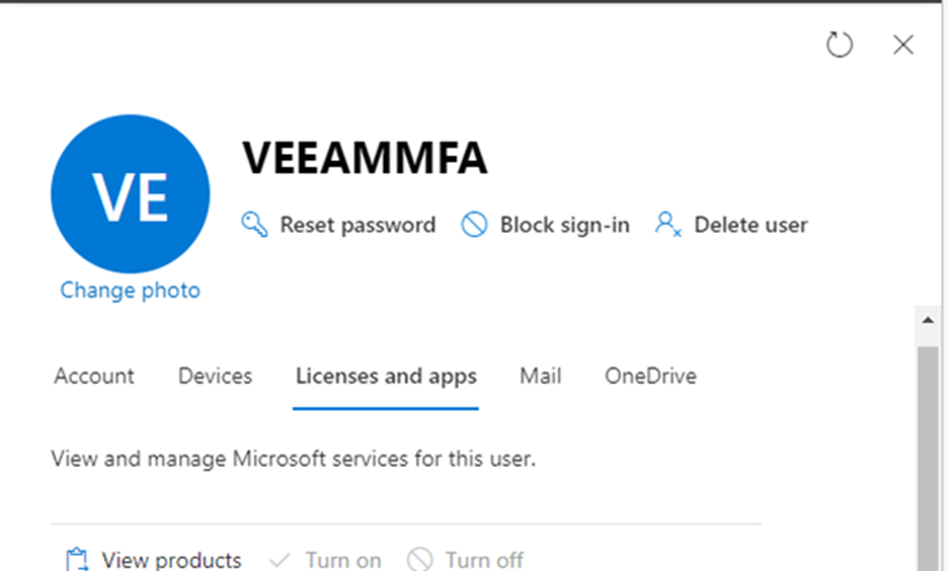
4. On the account page, select License and apps.
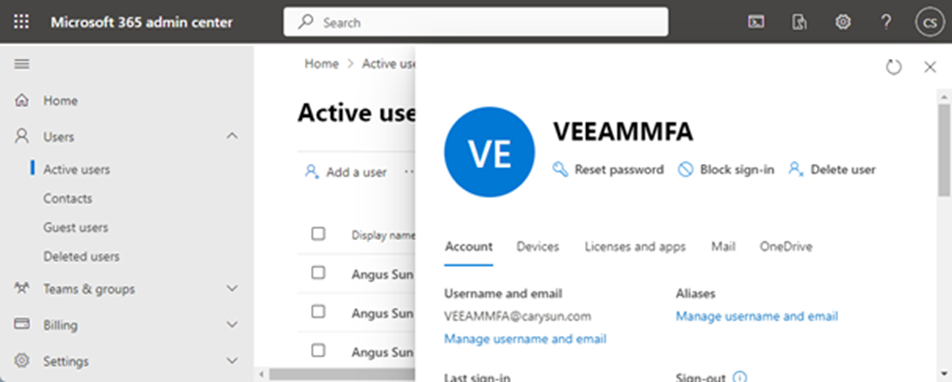
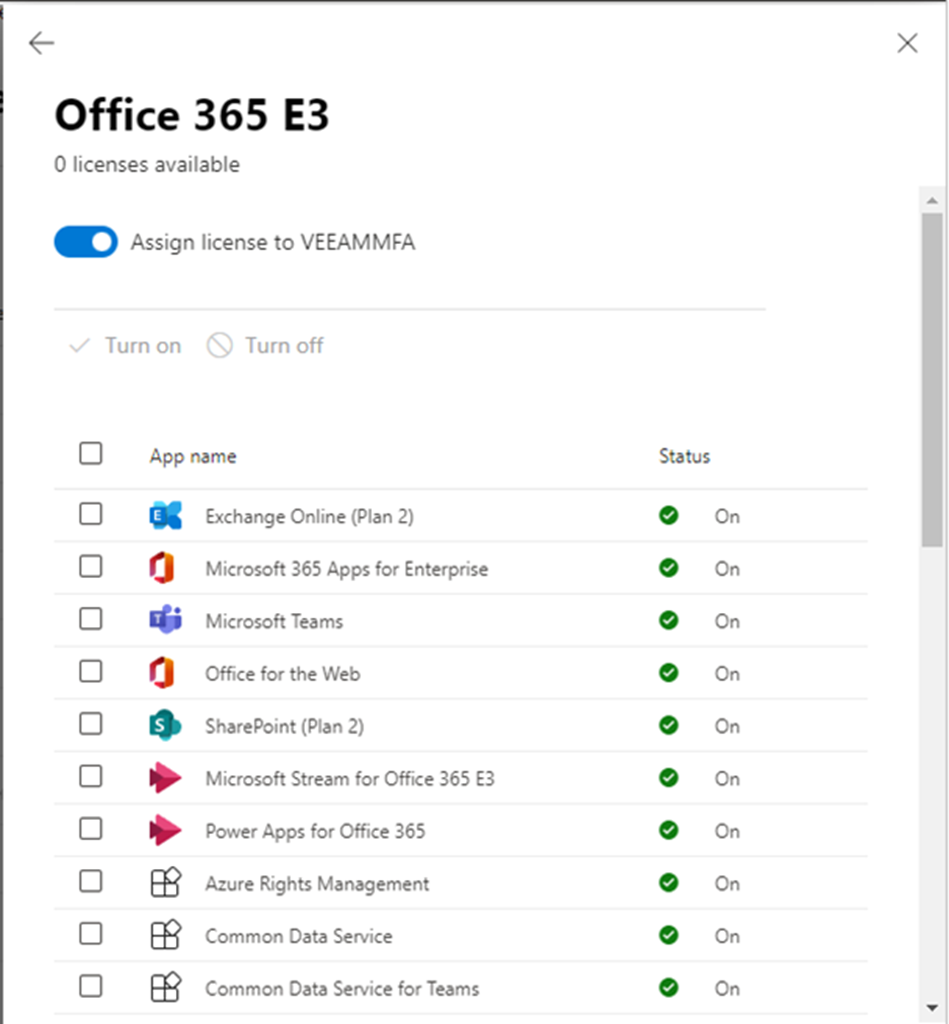
5. On the License and apps page, click Add license.
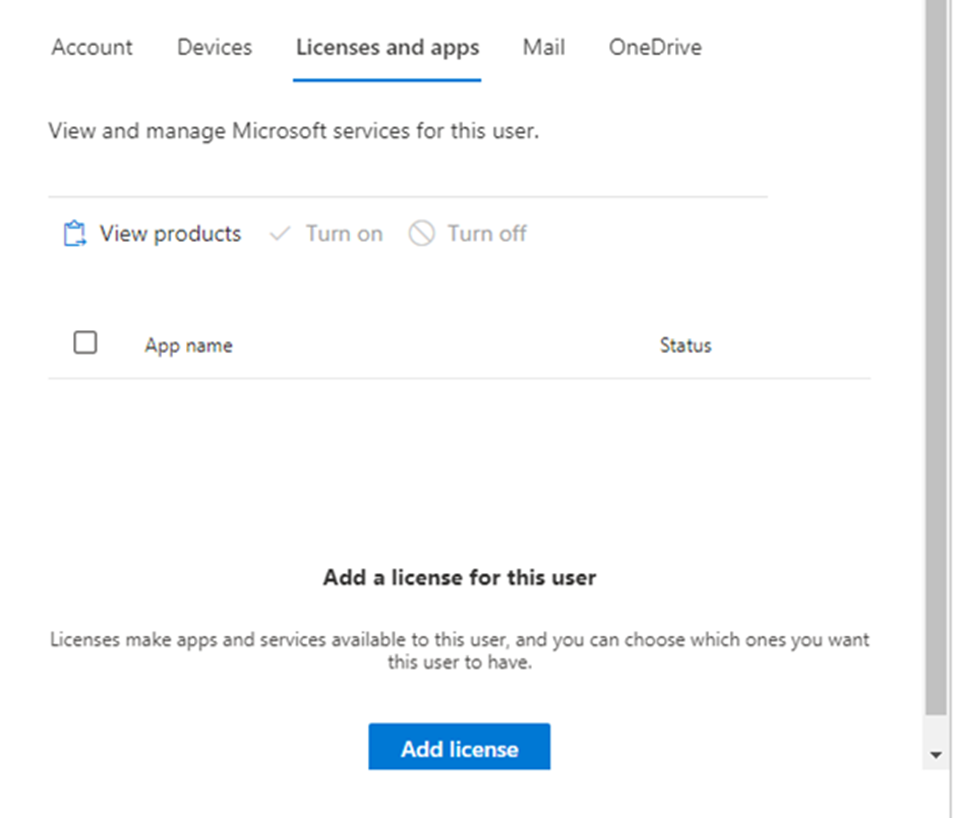
6. On the Office 365 license page, enable Assign license to the account, and click Save changes.
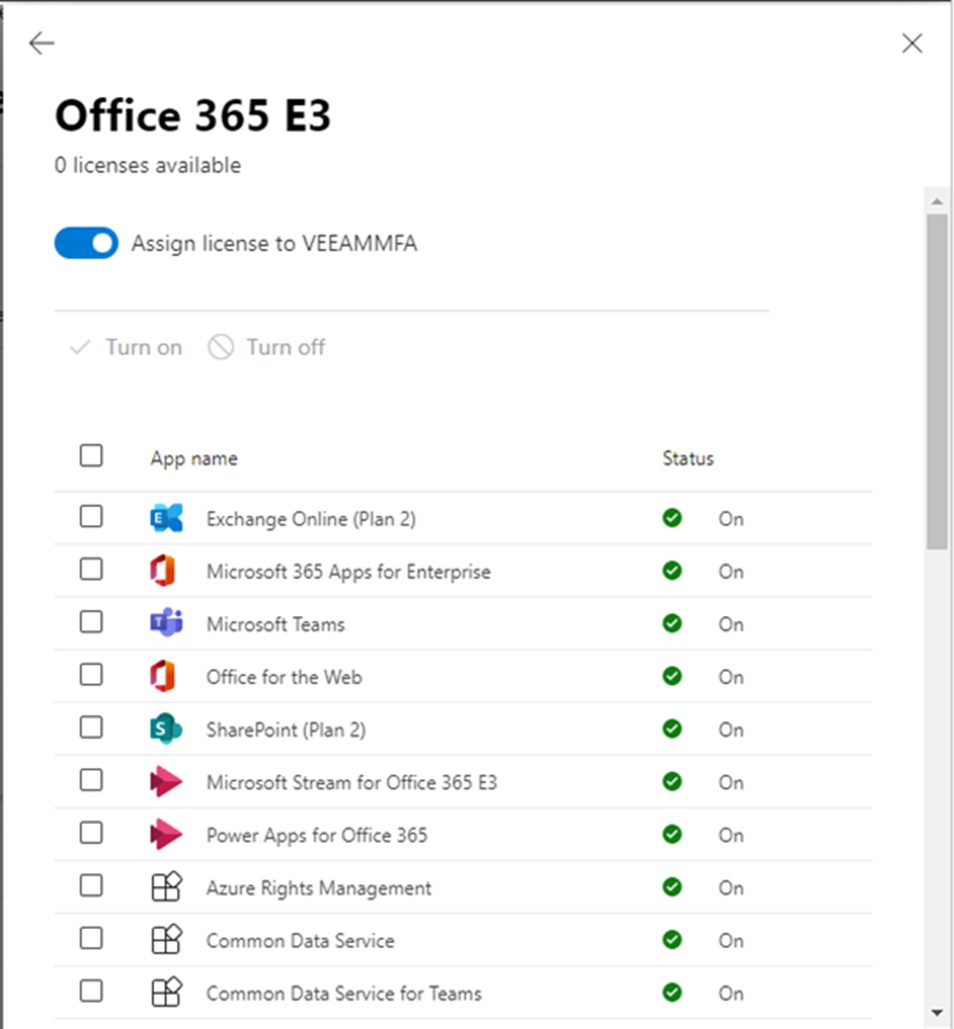
7. Click Back <–.
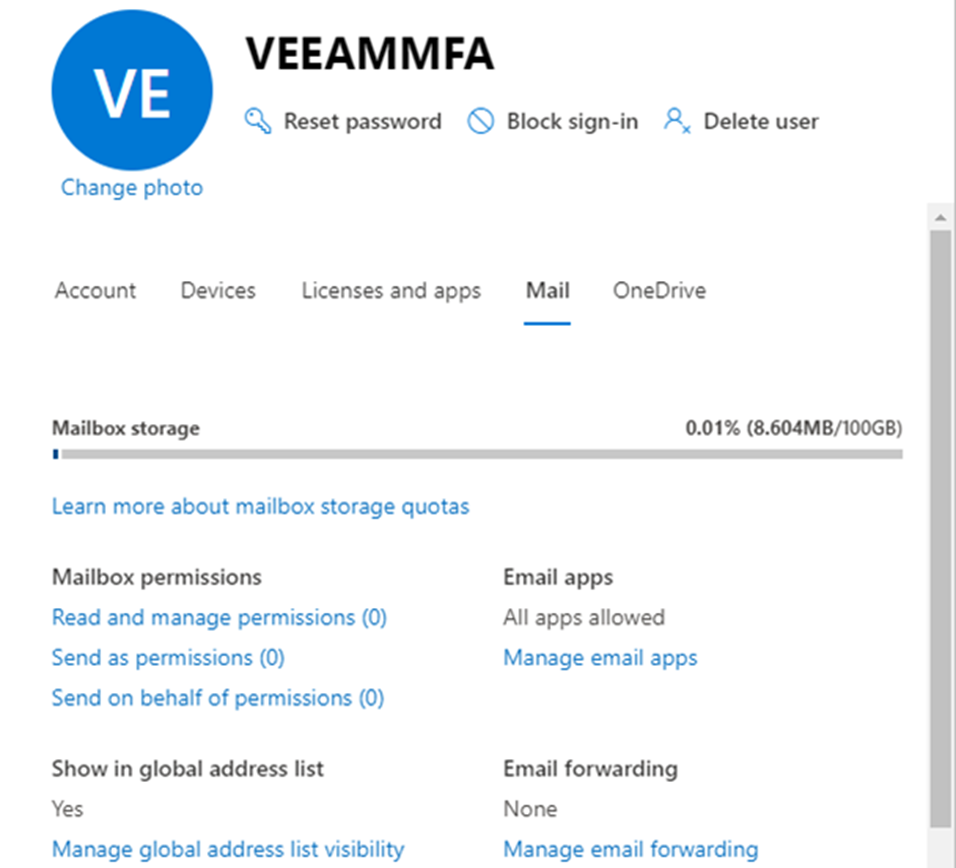
8. On the account page, select Mail. It would be preferable to wait a few minutes before preparing a mailbox for the user.
9. On the Mail page, select Manage email apps.
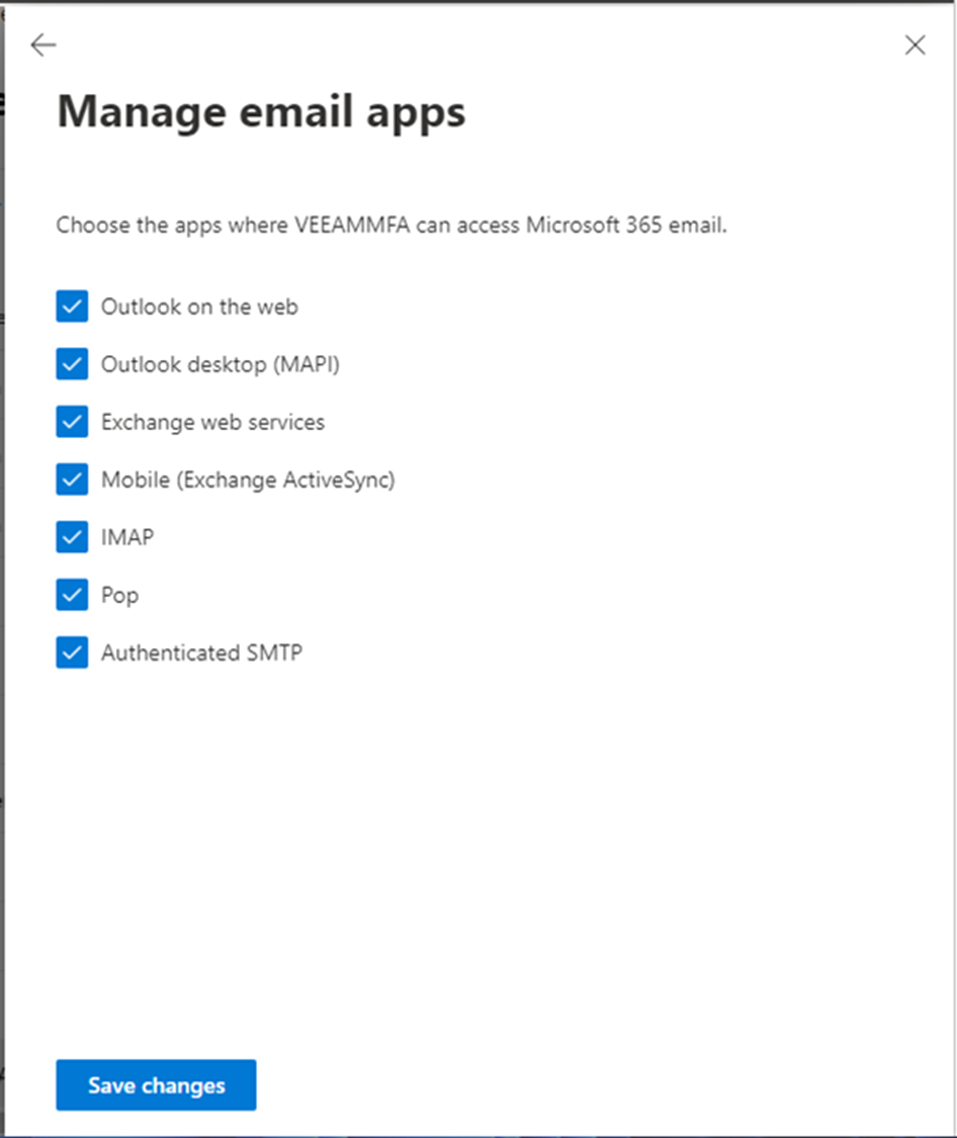
10. On the Manage email apps, select Authenticated SMTP and click Save changes.
11. On the Active Users page, select Multi-factor authentication.

12. Sign in with a Global admin account.
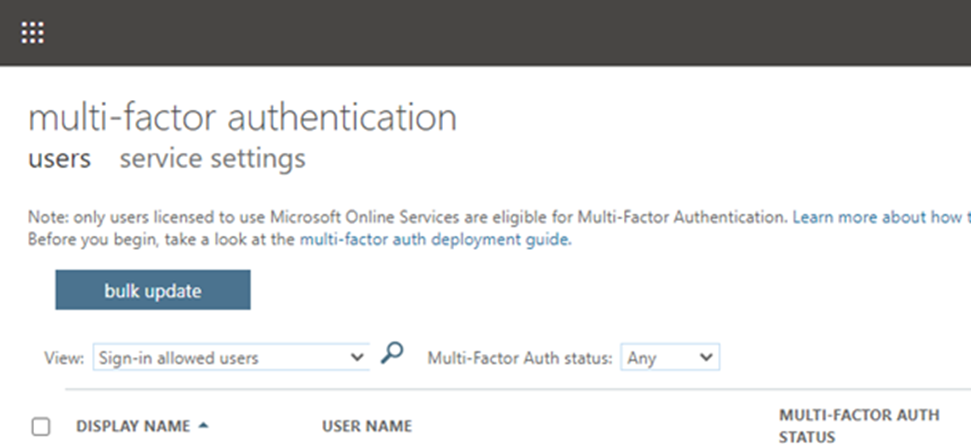
13. On the multi-factor authentication page, select service settings.
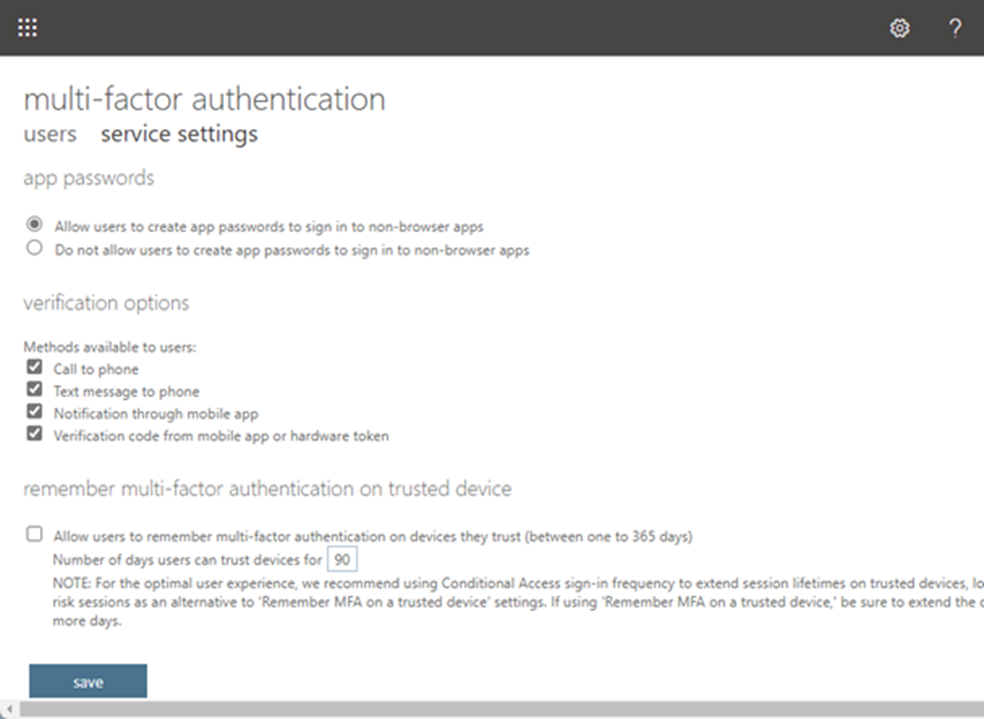
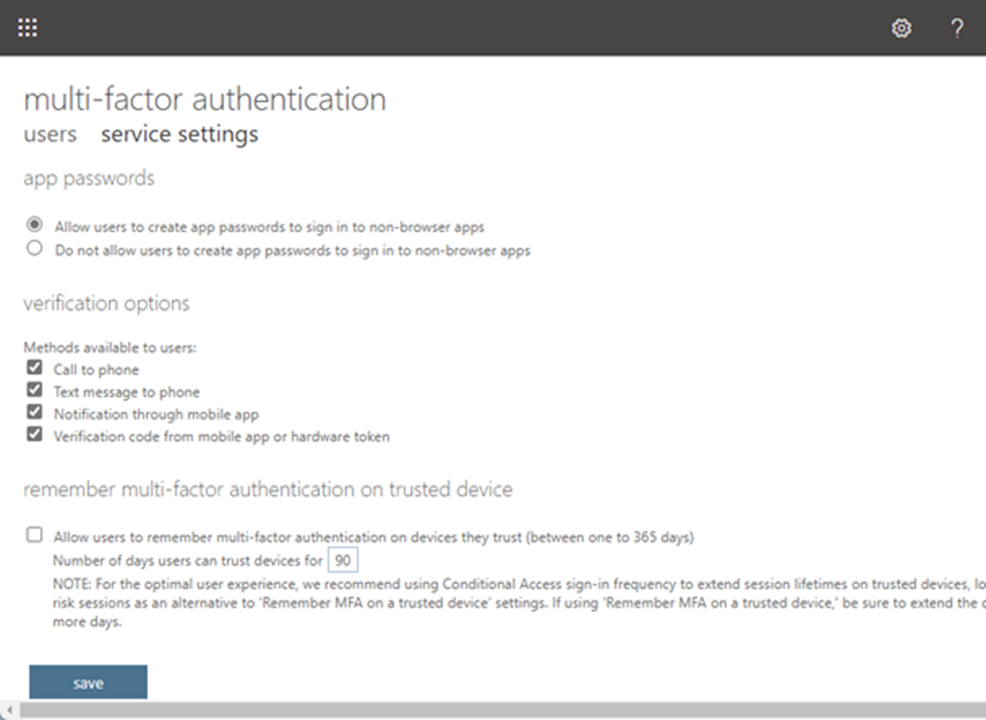
14. On the service settings page, select Allow users to create an app password to sign in to non-browser apps, click save and then sign out from the office 365 portal.
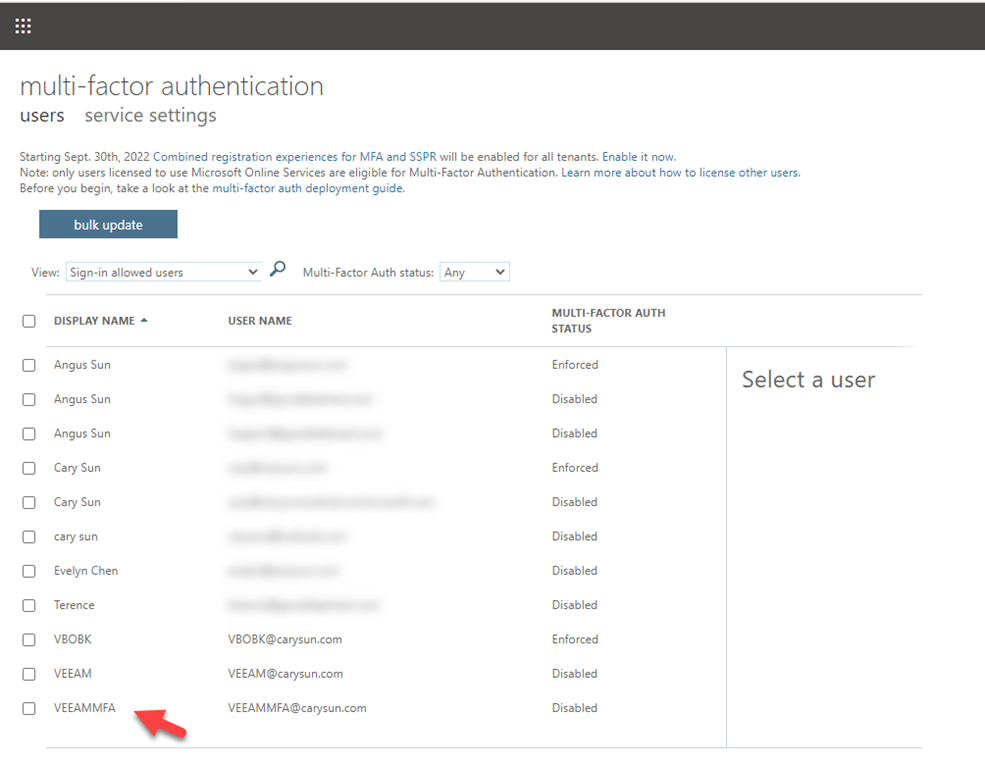
15. On the multi-factor authentication page, select users.
16. If the Veeam service account is non-MFA, follow the steps below to enable MFA.
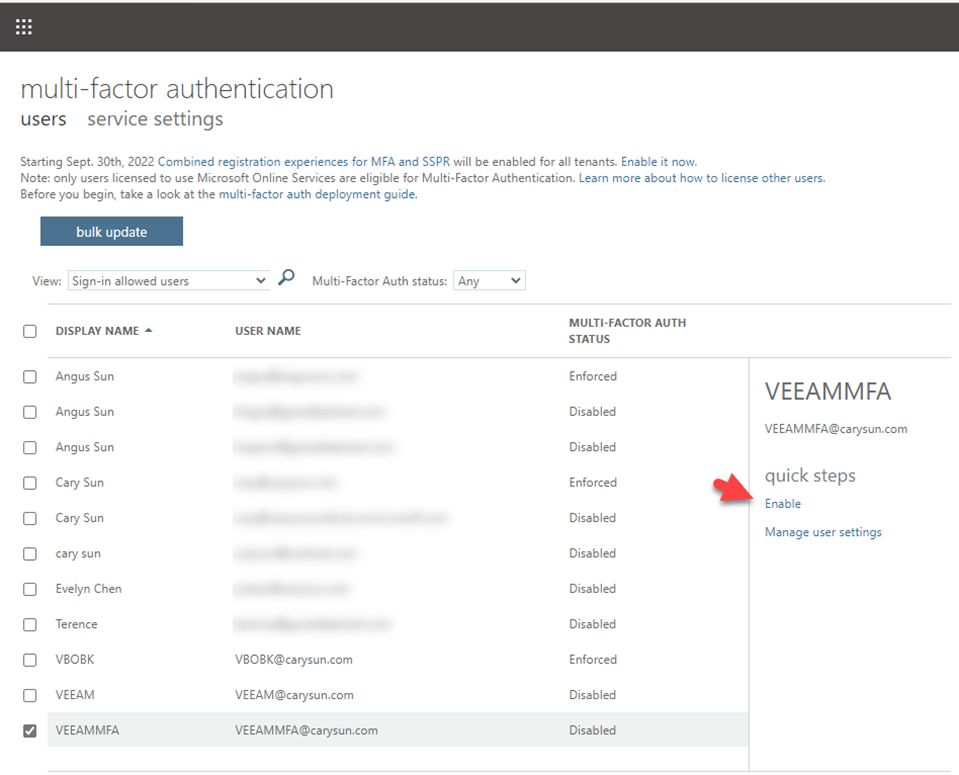
17. On the users page, click Veeam service account.
18. On the quick steps page, select Enable.
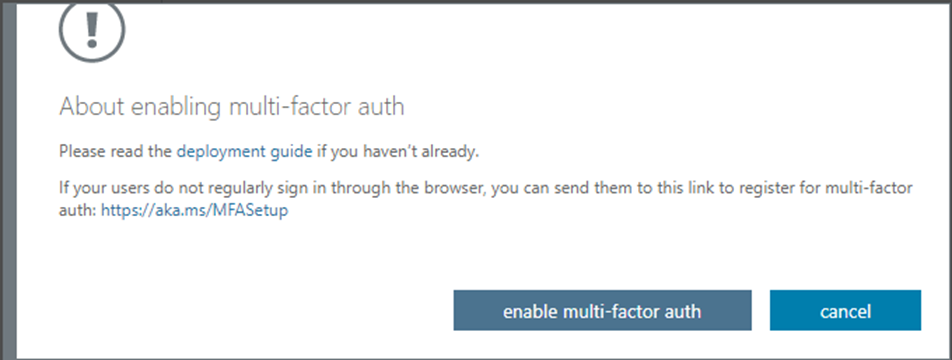
19. Click enable multi-factor auth on the About helping multi-factor auth page.
20. On the Updates successful page, click Close.

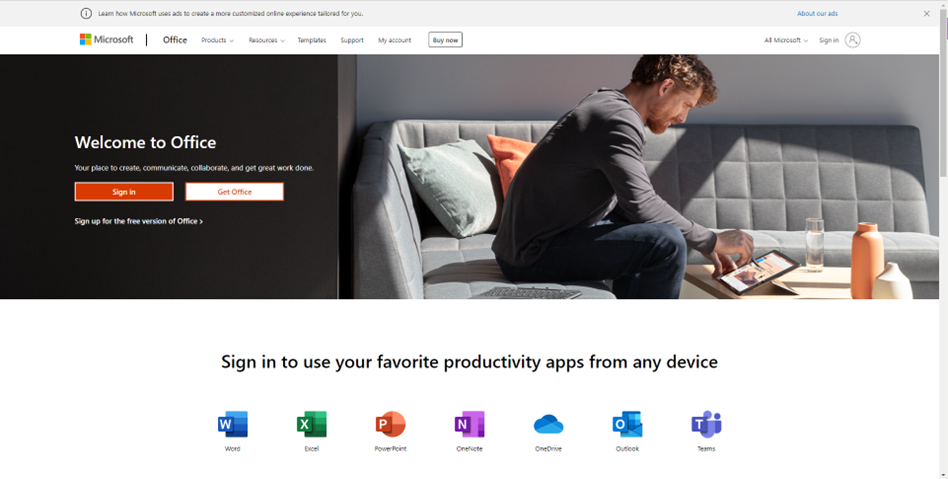
21. Sign in Microsoft 365 portal with a Veeam service account.
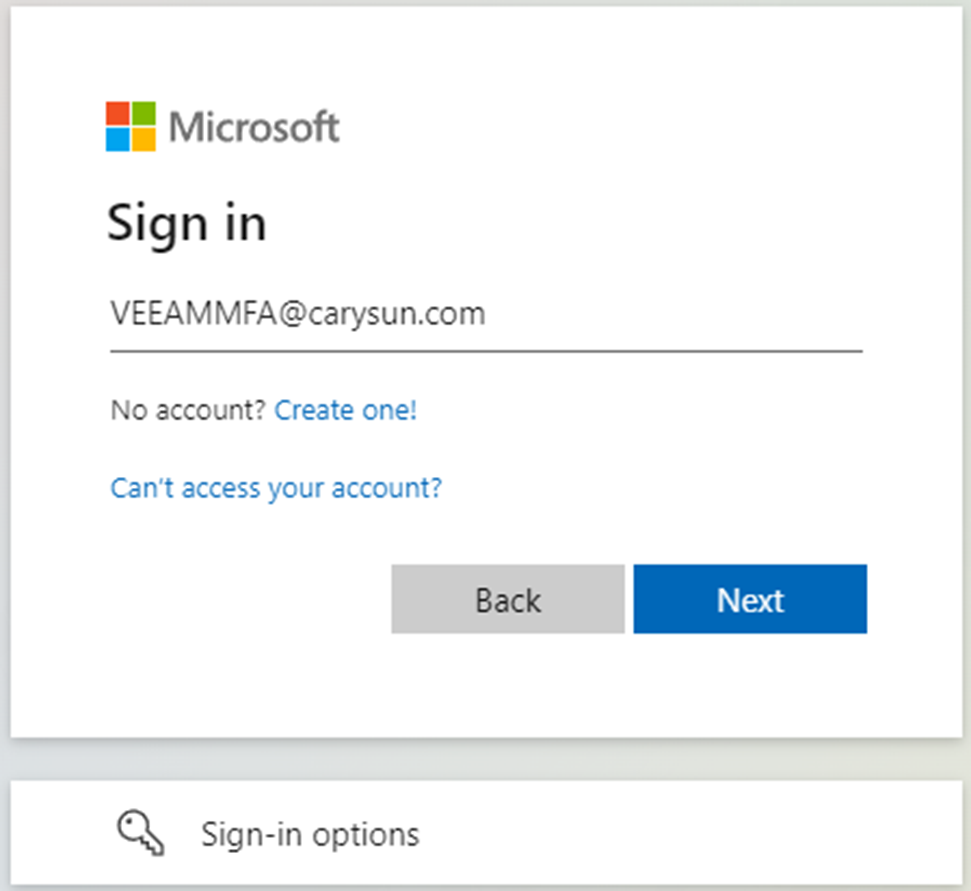
22. On the Sign in page, enter the Veeam services account email address.
23. Enter the password.
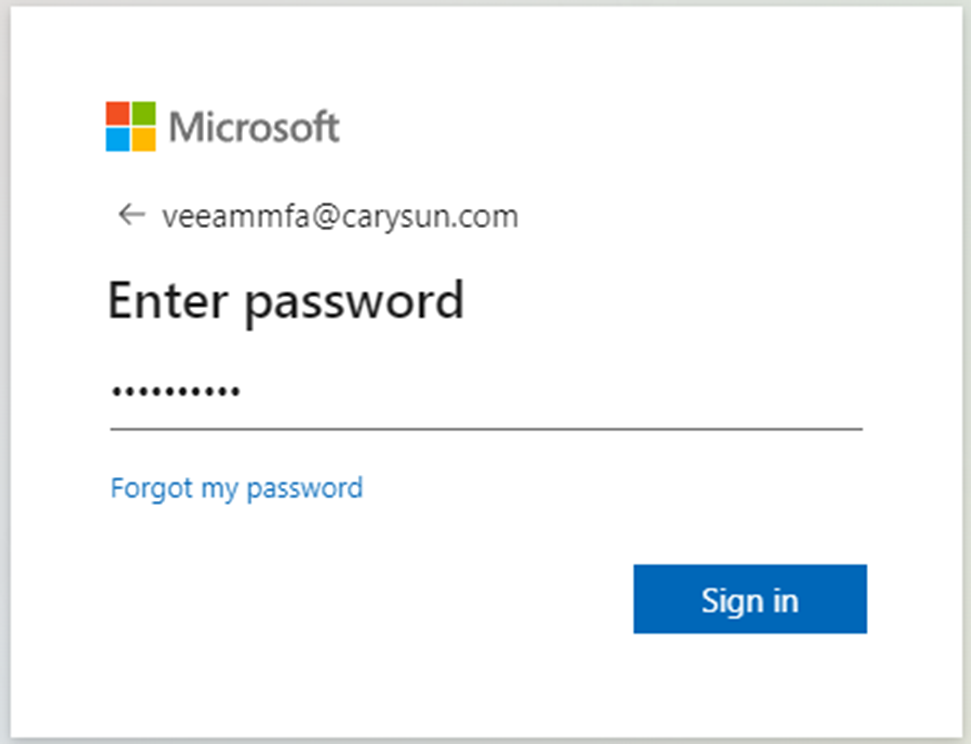
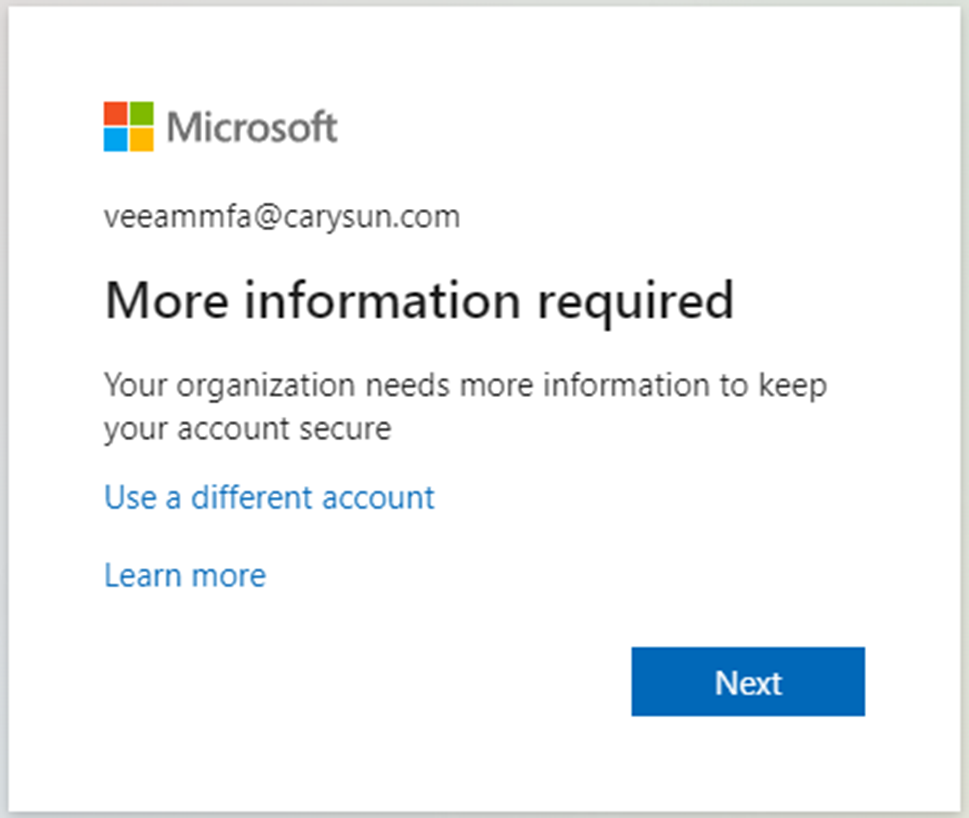
24. On the More information required page, click Next.
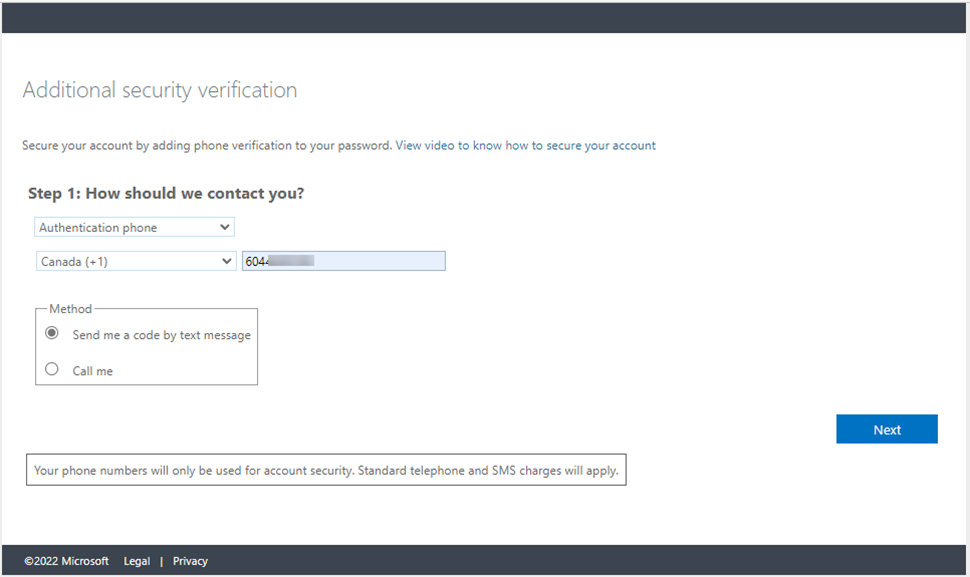
25. Select Fill in the information on the Step 1 page and click Next.
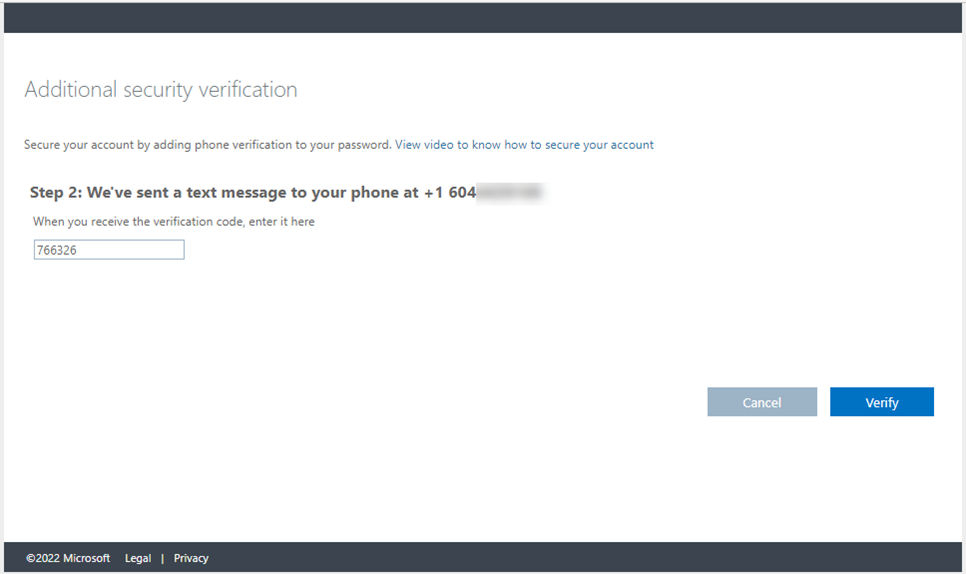
26. On the Step 2 page, enter the verification code and click Verify.
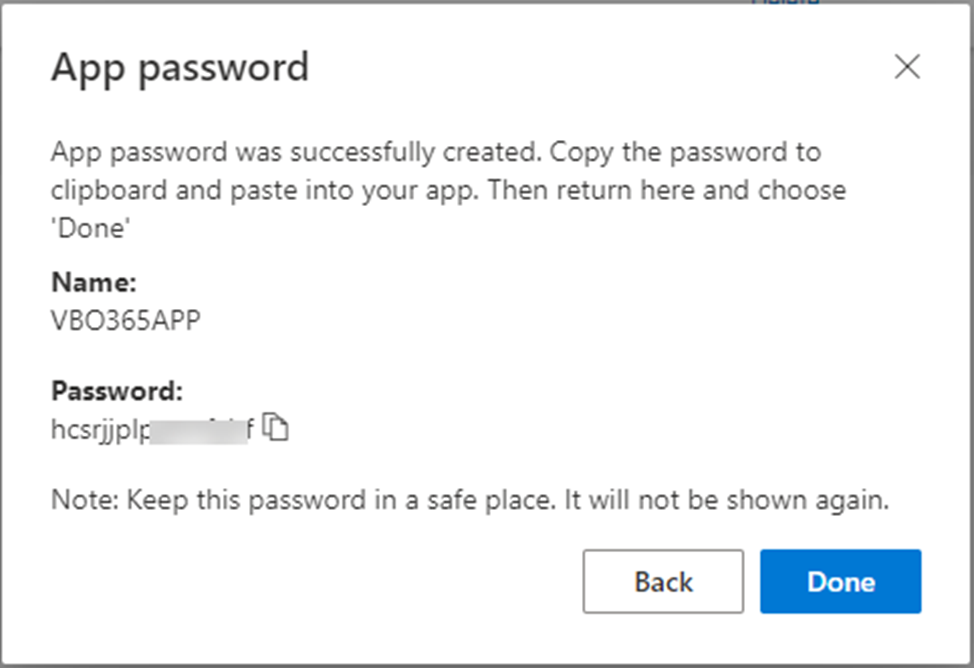
27. In Step 3, copy and save the app password, and click Done.
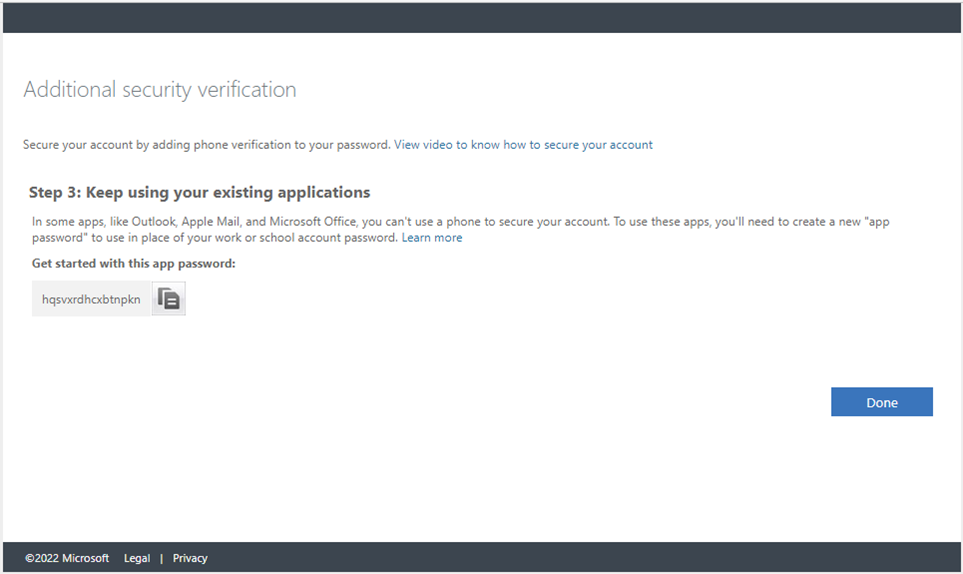
28. If the Veeam service account is an existing MFA account, follow the below steps to add App password authentication.
29. Sign in the Microsoft 365 portal with the Veeam service account and select View account.

30. On the My account page, select Security info.
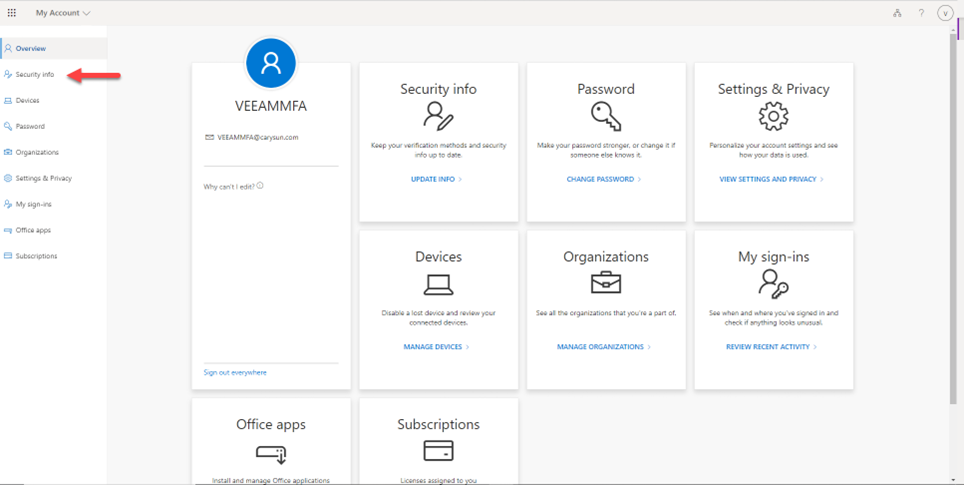
31. On the Security info page, select the +Add method.

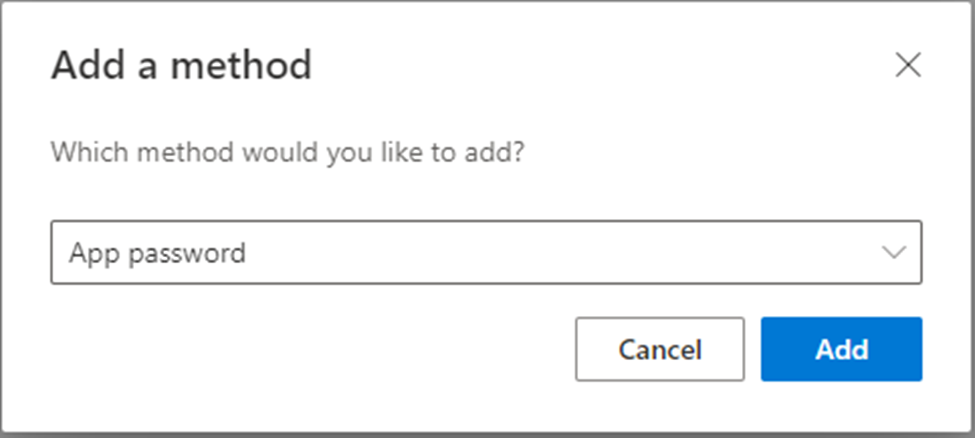
32. On the Add a Method, select App password and click Add.
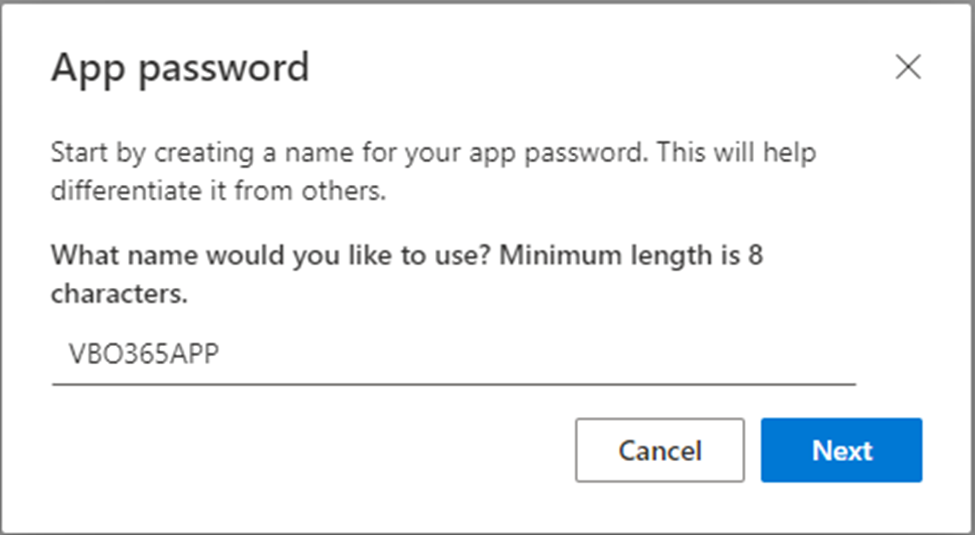
33. Type VBO365APP as the name of the App password and click Next.
34. Copy and keep the password in a safe place. It will not be shown again.
35. Click Done.
36. Login to the Veeam Backup and replication manager server.
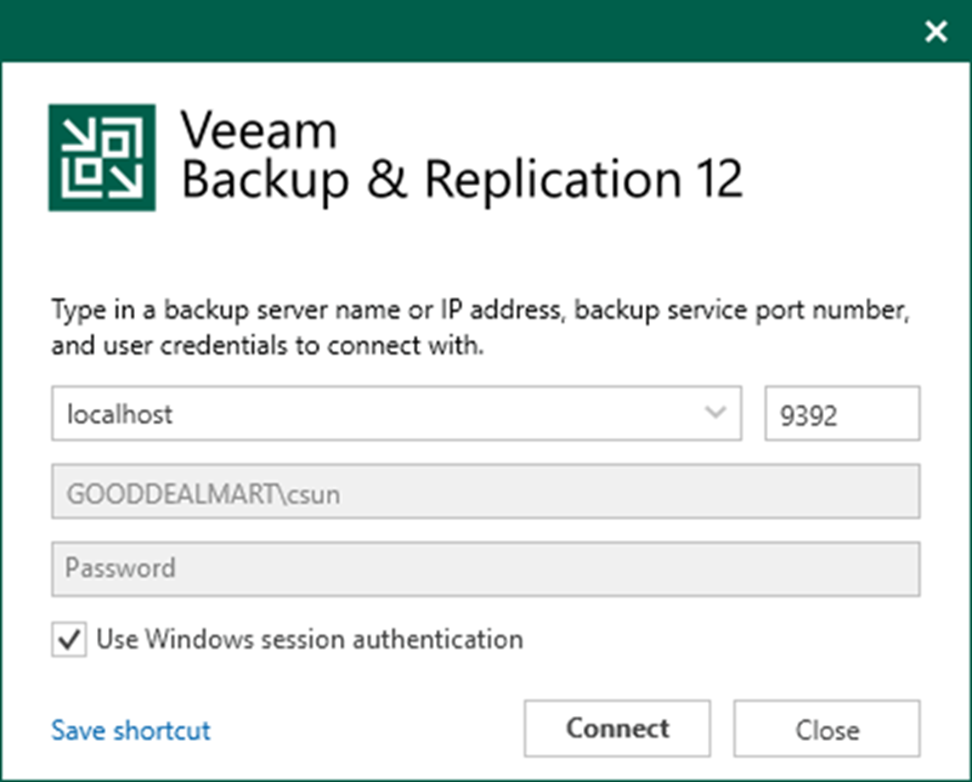
37. Open the Veeam Backup & Replication Console and click Connect.
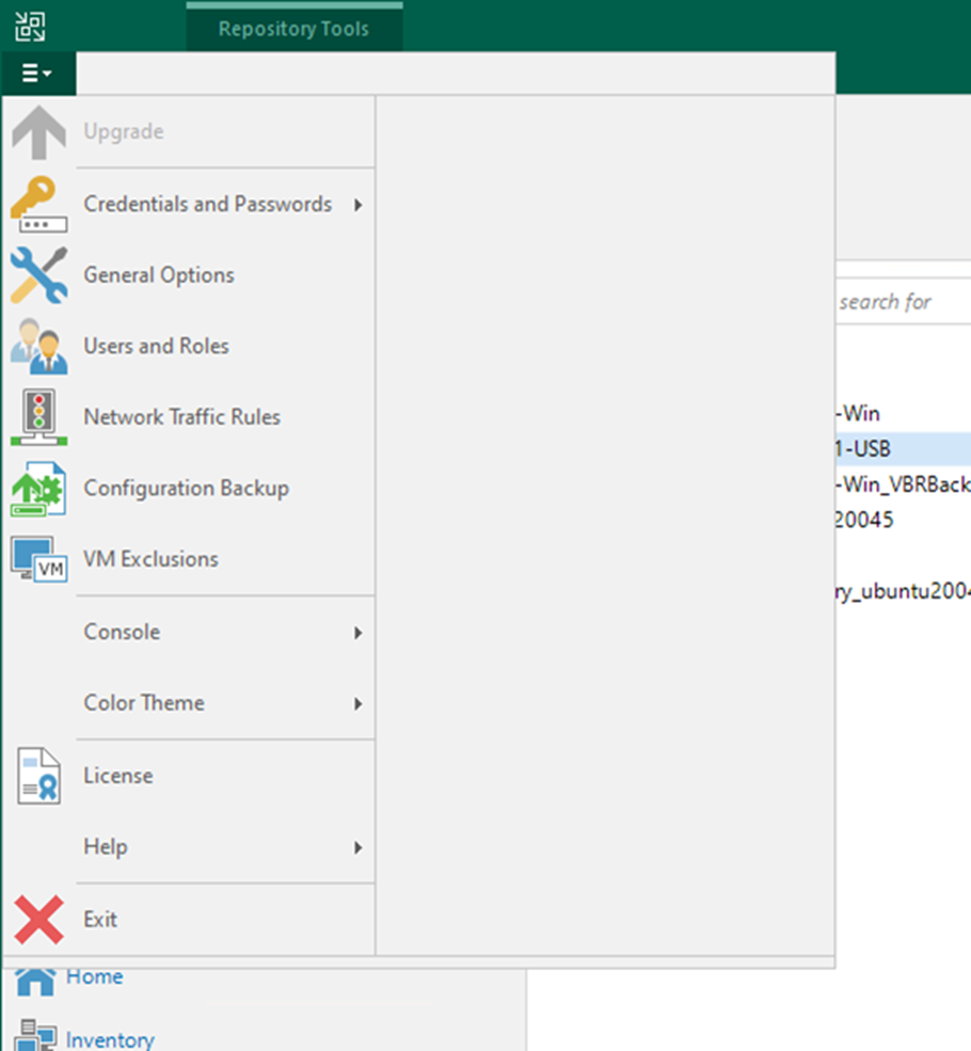
38. Select General Options from the main menu.
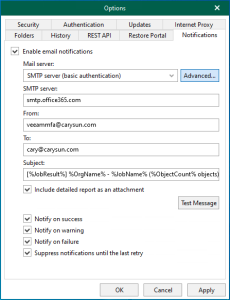
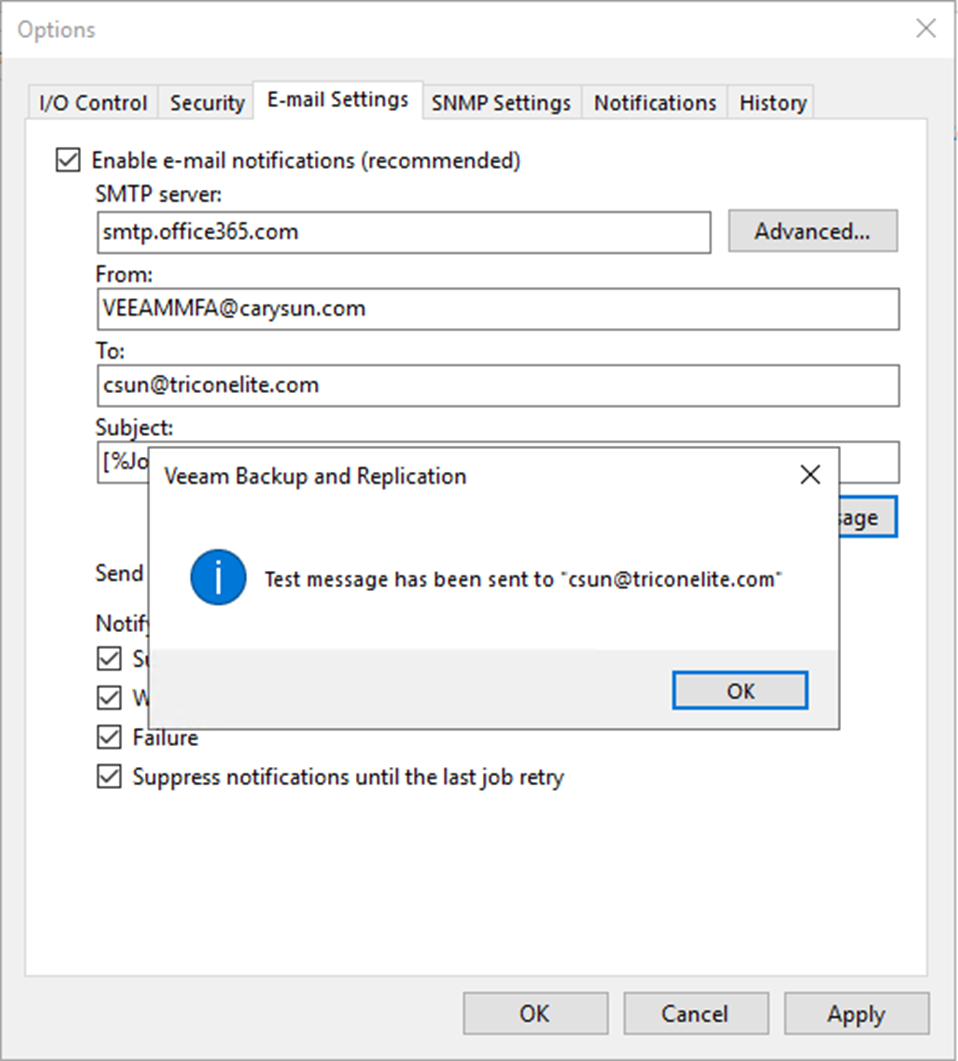
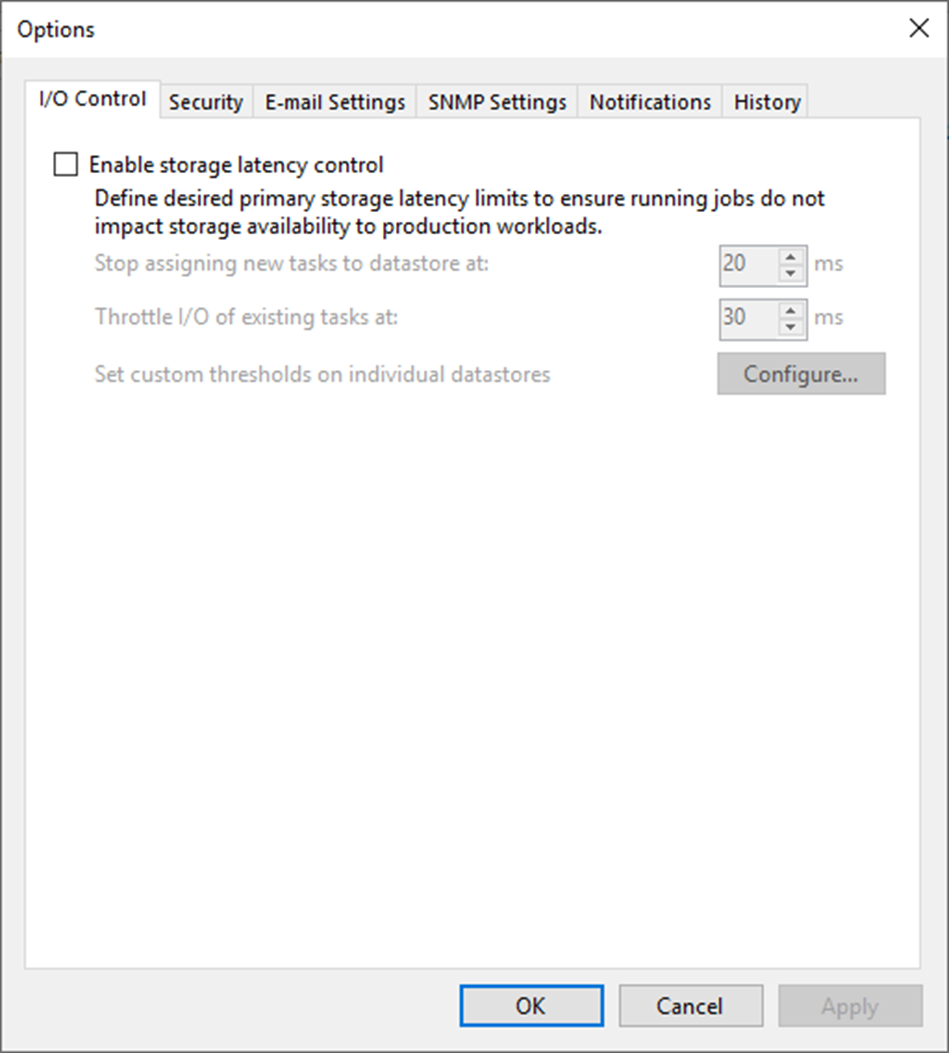
39. On the Options page, select Email Settings.
40. Select Enable e-mail notification (recommend) on the Email Settings page.
41. In the SMTP server field, enter smtp.sendgrid.net and click Advanced.
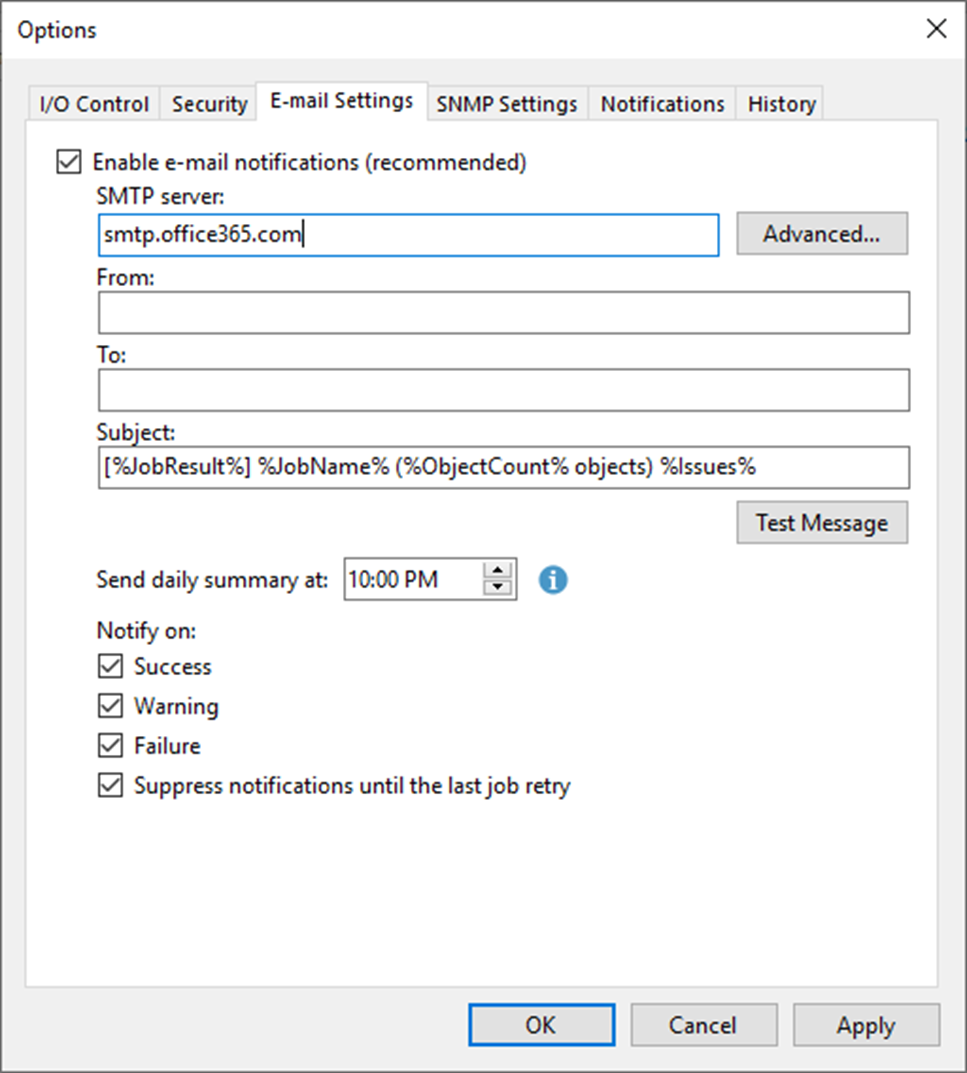
42. On the Advanced SMTP options page, enter 587 in the Port field.
43. Use 100000 milliseconds as the Timeout.
44. Select Connect using SSL.
45. Select This SMTP server requires authentication.
46. Click Add to add a credential as Log on as account.
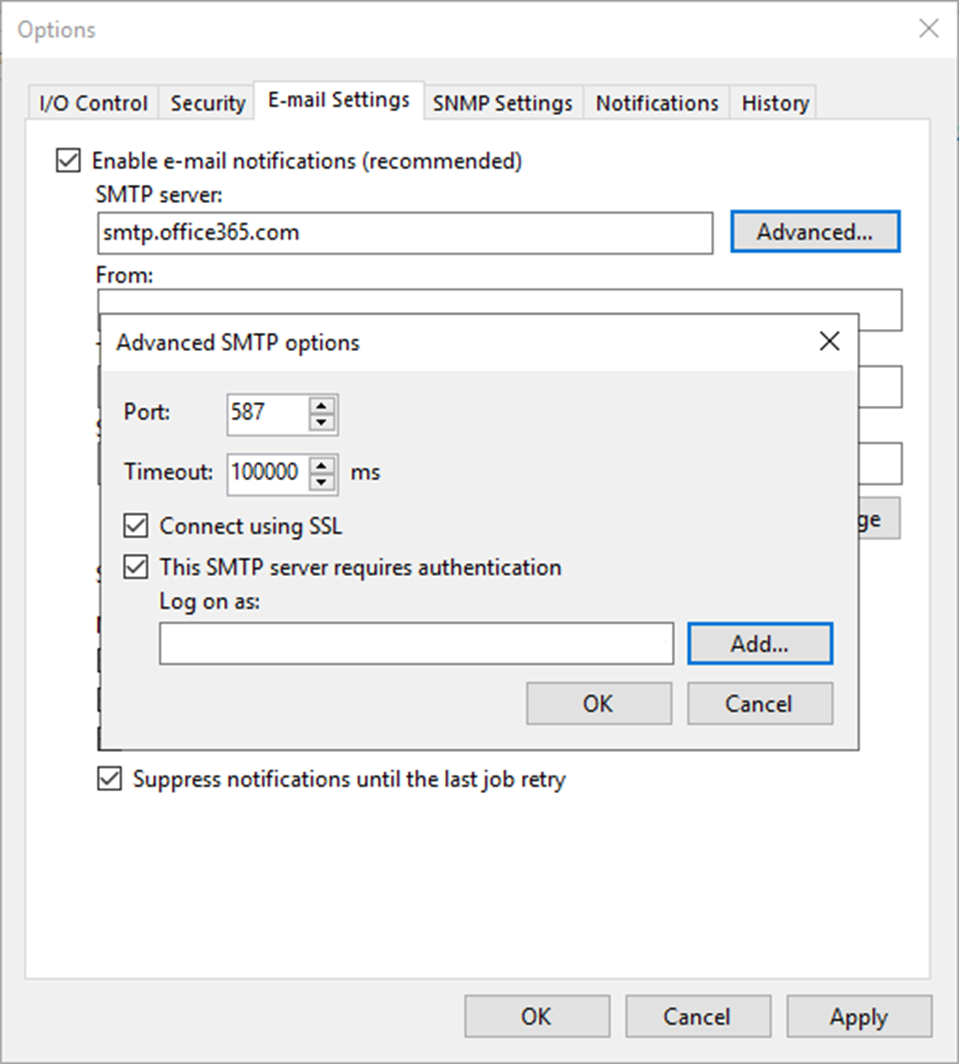
47. The SMTP server requires authentication. Type the office 365 service account (VEEAMMFA@carysun.com in my case) as Username, enter the App password as the password, and click OK.
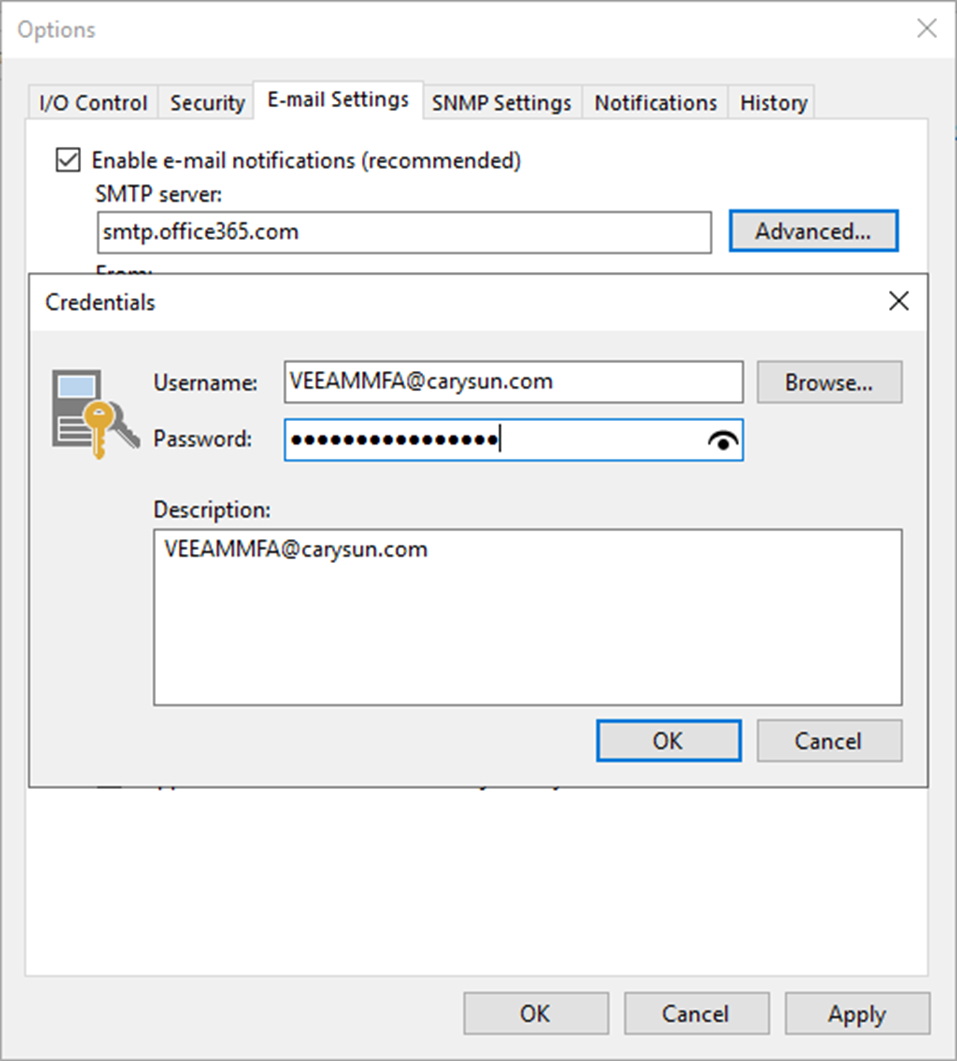
48. On the Advanced SMTP options page, click OK.
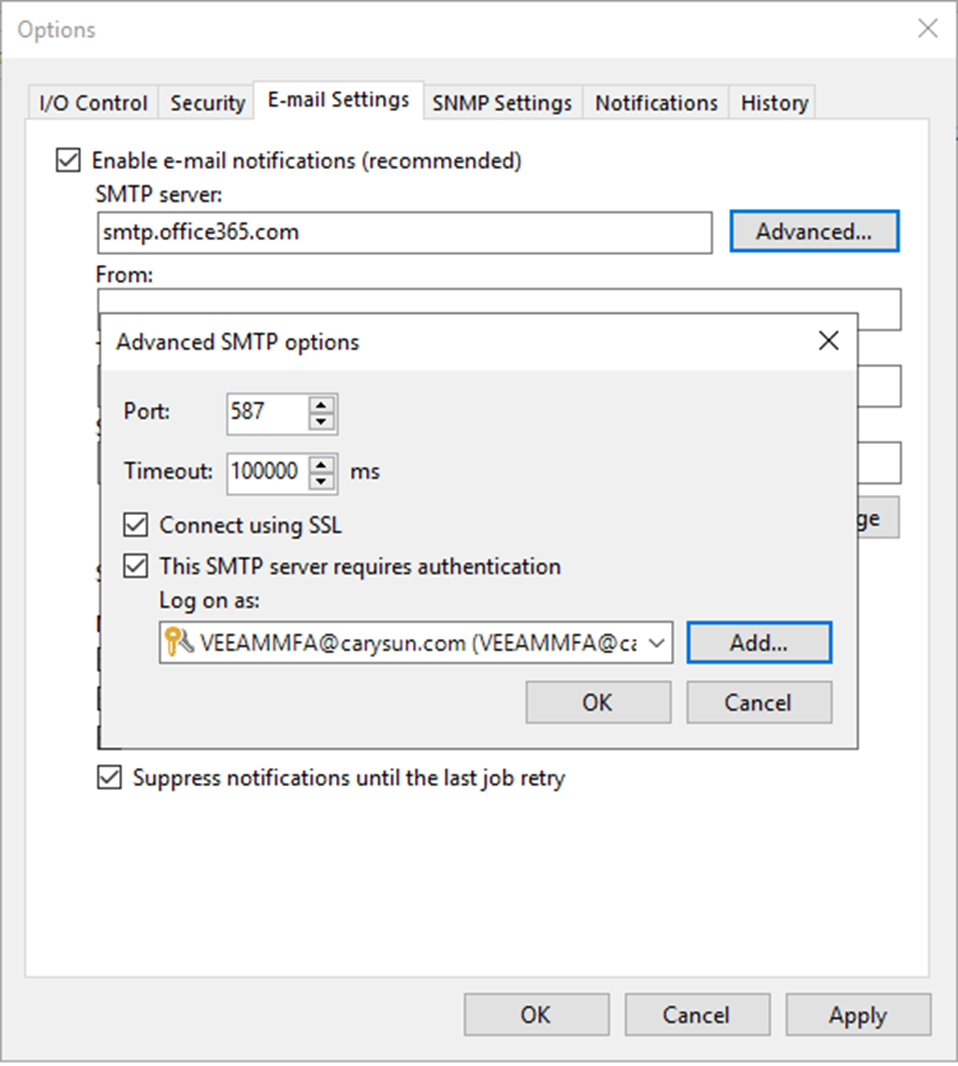
49. In the From field, enter the Veeam service account’s email address as a sender.
50. In the To field, enter an email address of a notification recipient. To specify multiple email addresses, use a semicolon.
51. Click Test Message.
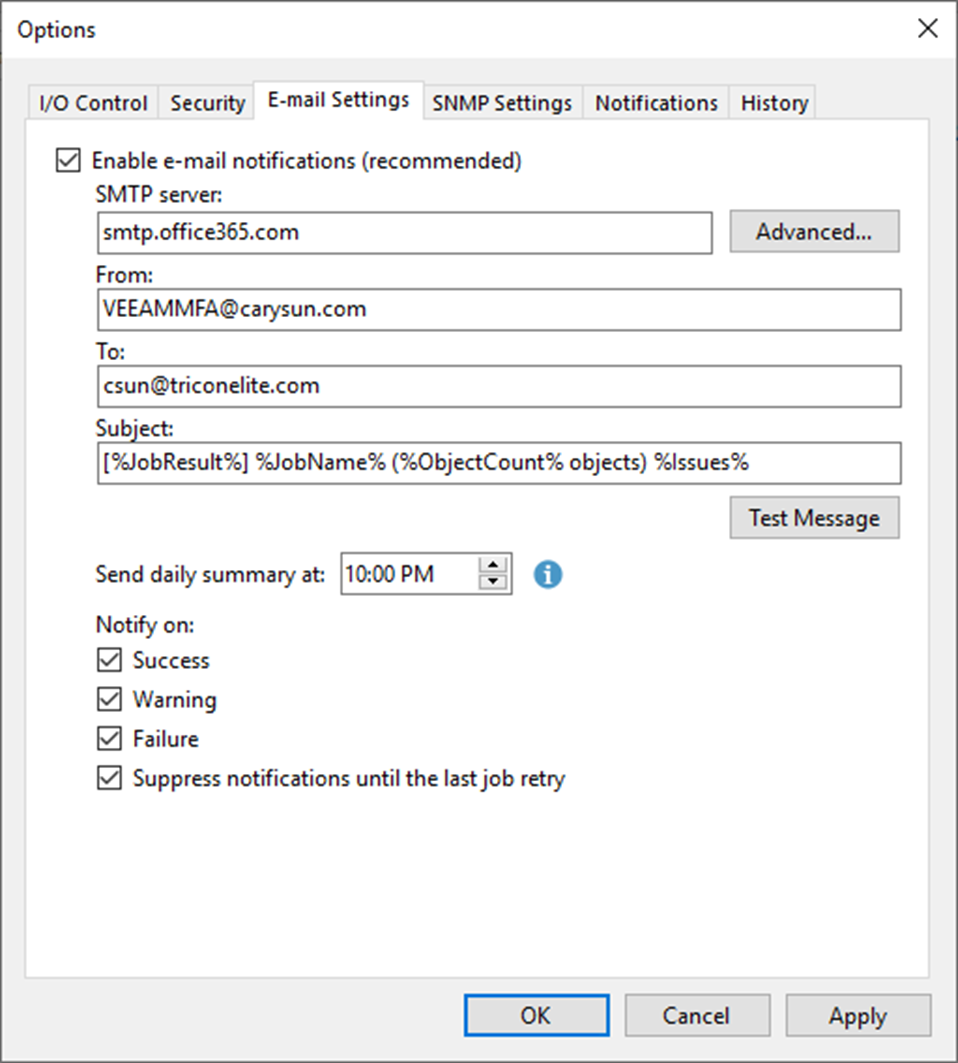
52. Ensure the test email was successfully sent to recipients and click OK.

53. On the Notifications page, system notifications are sent by default whenever a backup job session ends with the following states: Success, Warning, or Failure. Keep the default settings, and click OK.
I hope you enjoy this post.
Cary Sun
Twitter: @SifuSun
Web Site: carysun.com
Blog Site: checkyourlogs.net
Blog Site: gooddealmart.com
Author: Cary Sun
Cary Sun has a wealth of knowledge and expertise in data center and deployment solutions. As a Principal Consultant, he likely works closely with clients to help them design, implement, and manage their data center infrastructure and deployment strategies.
With his background in data center solutions, Cary Sun may have experience in server and storage virtualization, network design and optimization, backup and disaster recovery planning, and security and compliance management. He holds CISCO CERTIFIED INTERNETWORK EXPERT (CCIE No.4531) from 1999. Cary is also a Microsoft Most Valuable Professional (MVP), Microsoft Azure MVP, Veeam Vanguard and Cisco Champion. He is a published author with several titles, including blogs on Checkyourlogs.net, and the author of many books.
Cary is a very active blogger at checkyourlogs.net and is permanently available online for questions from the community. His passion for technology is contagious, improving everyone around him at what they do.
Blog site: https://www.checkyourlogs.net
Web site: https://carysun.com
Blog site: https://gooddealmart.com
Twitter: @SifuSun
in: https://www.linkedin.com/in/sifusun/
Amazon Author: https://Amazon.com/author/carysun
