This procedure immediately creates a backup job to backup to Azure Blob Repository without local repositories.
1. Login to the Veeam Backup and Replication Manager server.
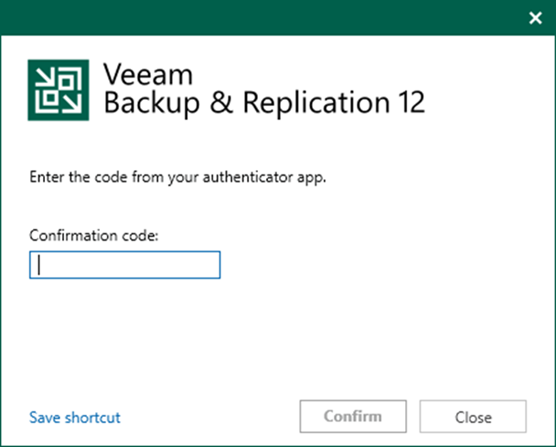
2. Open the Veeam Backup & Replication Console and click Connect.
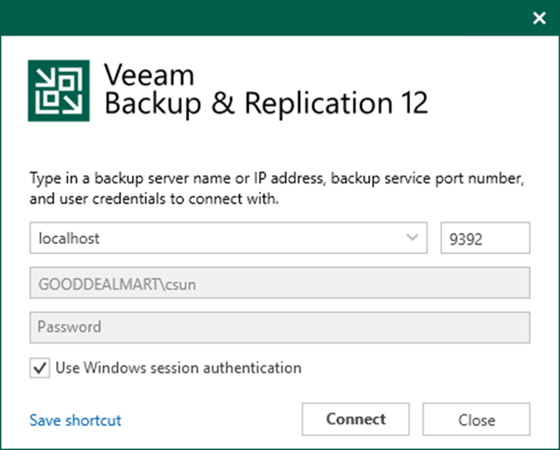
3. Enter the MFA Confirmation code and click Confirm.
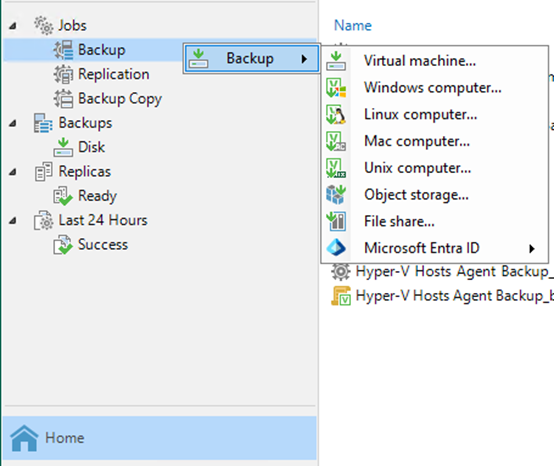
4. Right-click Backup on the Home page.
5. Select Backup and click Virtual machine.
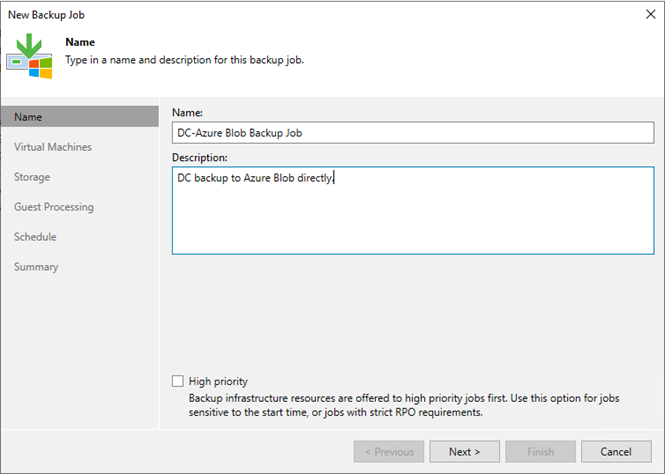
6. Enter the backup job name in the Name field on the Name page.
7. Enter the backup job description In the Description field and click Next.
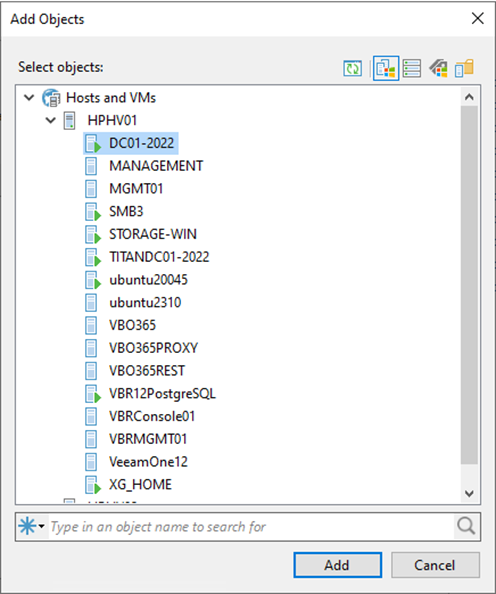
8. Click Add on the Virtual Machines page.
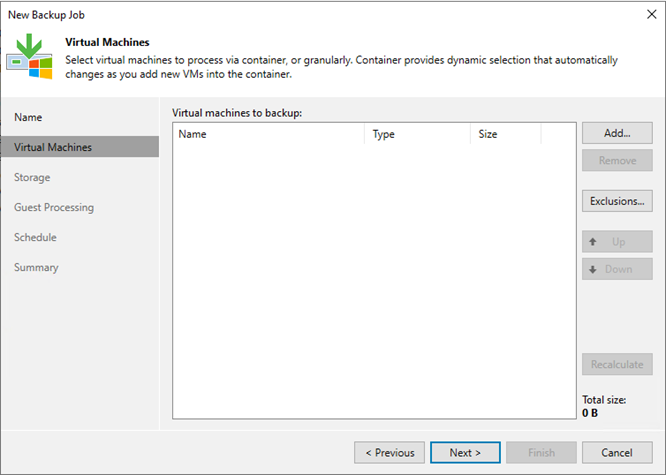
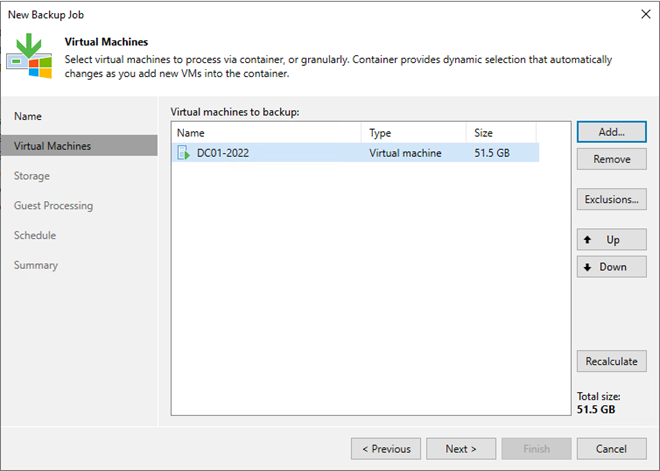
9. Select the VM in the list on the Add Objects page and click Add.
10. Click Next on the Virtual Machines page.
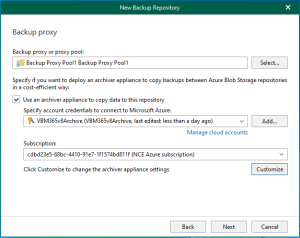
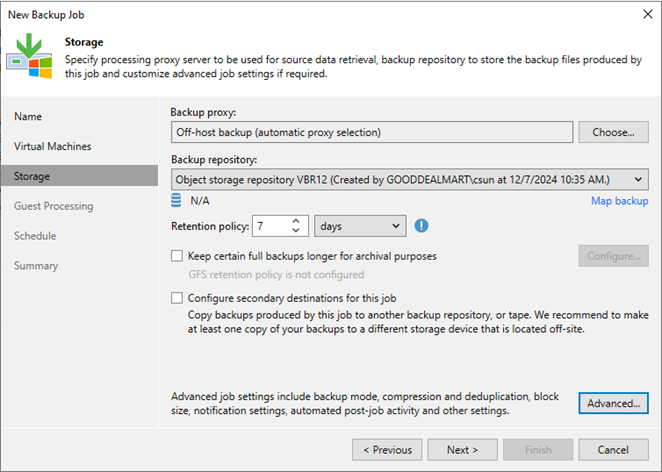
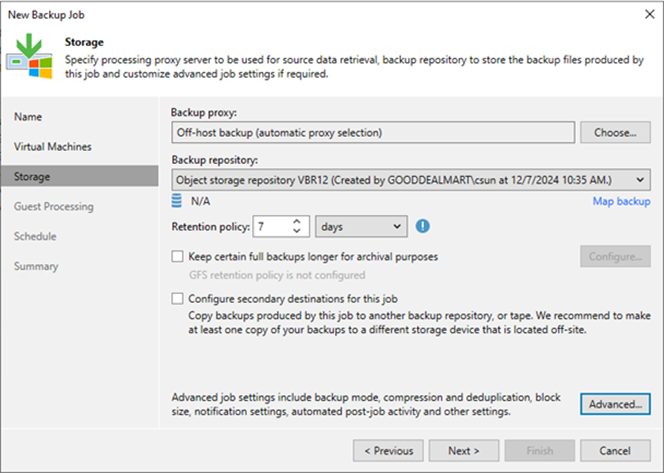
11. Keep the default setting in the Backup proxy field on the Storage page.
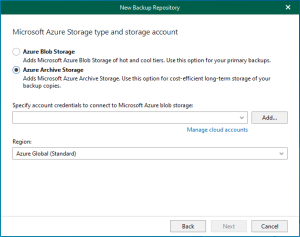
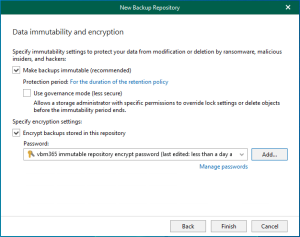
12. Select the Azure object storage repository in the Backup repository field.
13. Set the restore points in the Retention policy field and click Next.
14. You can configure GFS retention policy settings for the backup job to ignore the short-term retention policy for some full backups and store them for long-term archiving.
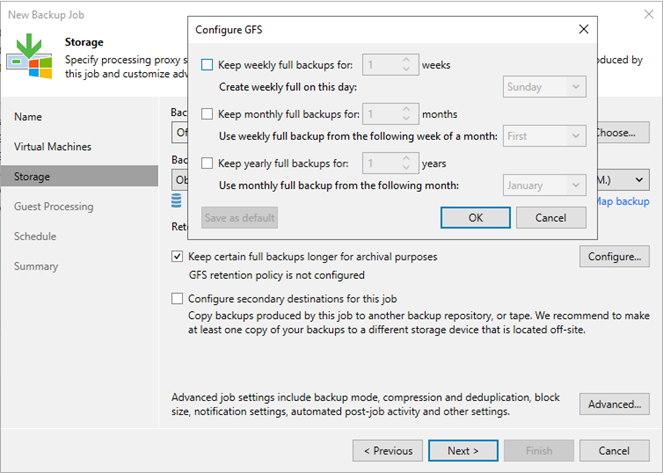
15. Click Next on the Storage page.
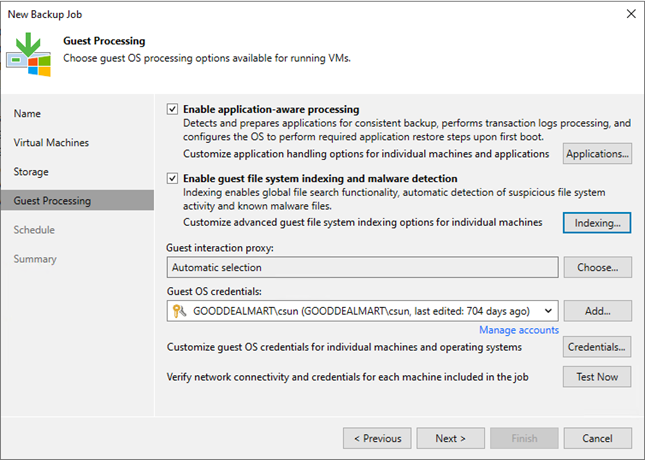
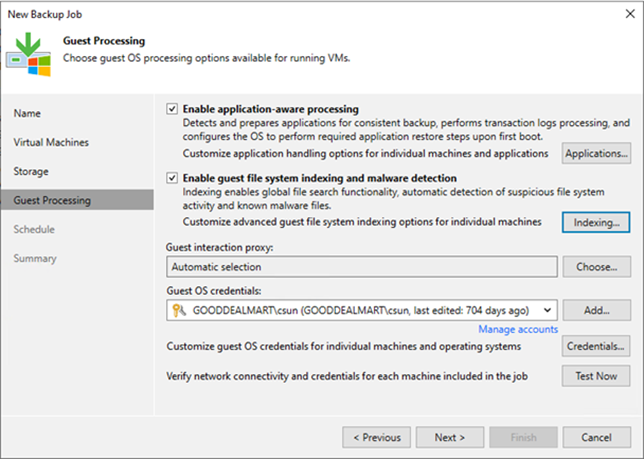
16. Select Enable application-aware processing on the Guest Processing page.
17. Select Enable guest file system indexing and malware detection.
18. Keep or choose the guest interaction proxy server in the Guest interaction proxy field.
19. Select or click Add a User Credential in the Guest OS credentials field.
20. Click Test now.
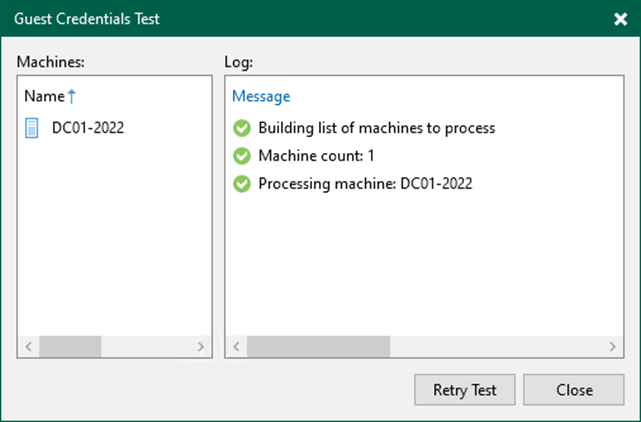
21. Verify the test result on the Guest Credentials Test page.
22. Click Close.
23. Click Next on the Guest Processing page.
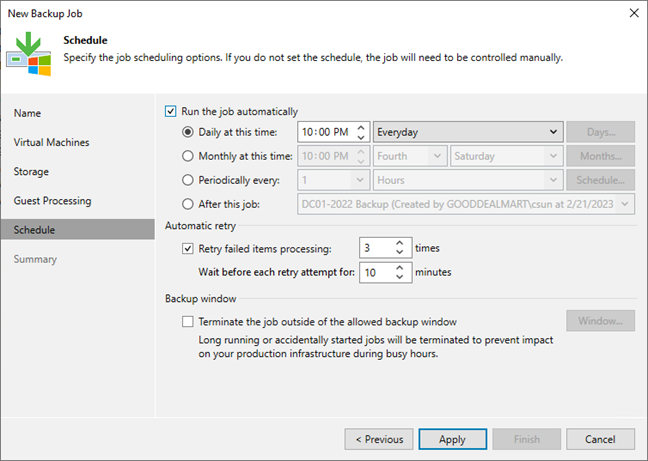
24. Select Run the job automatically on the Schedule page and select your specified schedule.
25. Define whether Veeam Backup & Replication should retry the backup job if it fails in the Automatic retry section.
26. Define the time interval the backup job must complete in the Backup window section. The backup window ensures that the job does not overlap with production hours and that there is no unnecessary overhead on the production environment.
27. Click Apply.
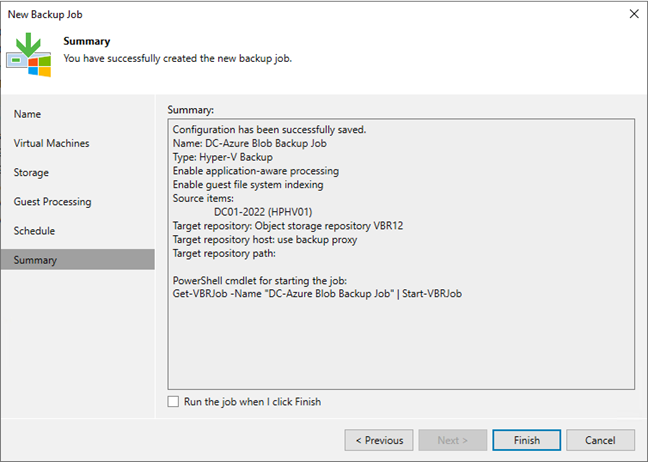
28. Click Finish on the Summary page.
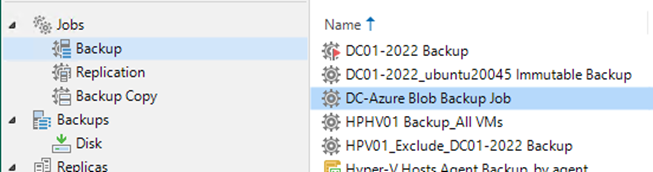
29. Verify that the backup job has been added.
I hope you enjoy this post.
Cary Sun
X: @SifuSun
Web Site: carysun.com
Blog Site: checkyourlogs.net
Blog Site: gooddealmart.com
Amazon Author: Amazon.com/author/carysun
Author: Cary Sun
Cary Sun has a wealth of knowledge and expertise in data center and deployment solutions. As a Principal Consultant, he likely works closely with clients to help them design, implement, and manage their data center infrastructure and deployment strategies.
With his background in data center solutions, Cary Sun may have experience in server and storage virtualization, network design and optimization, backup and disaster recovery planning, and security and compliance management. He holds CISCO CERTIFIED INTERNETWORK EXPERT (CCIE No.4531) from 1999. Cary is also a Microsoft Most Valuable Professional (MVP), Microsoft Azure MVP, Veeam Vanguard and Cisco Champion. He is a published author with several titles, including blogs on Checkyourlogs.net, and the author of many books.
Cary is a very active blogger at checkyourlogs.net and is permanently available online for questions from the community. His passion for technology is contagious, improving everyone around him at what they do.
Blog site: https://www.checkyourlogs.net
Web site: https://carysun.com
Blog site: https://gooddealmart.com
Twitter: @SifuSun
in: https://www.linkedin.com/in/sifusun/
Amazon Author: https://Amazon.com/author/carysun