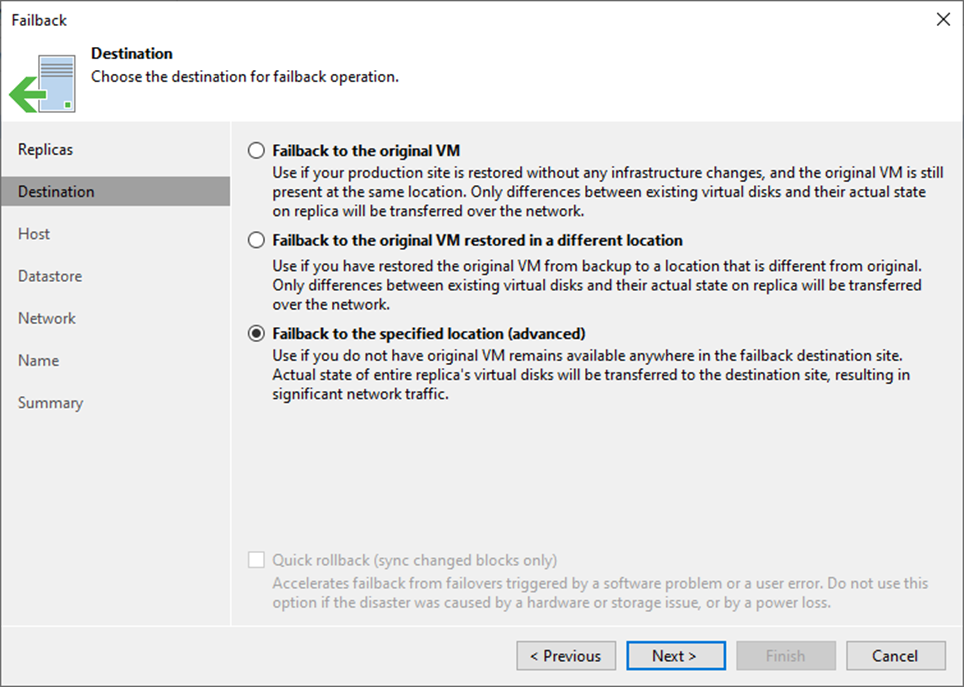
For the Failback to the specified location, Veeam Backup & Replication must transfer the entire VM data, including its configuration and virtual disc content. Choose this option if you cannot use the original VM or restore it from a backup.
1. Login to the Veeam Backup and replication manager server.
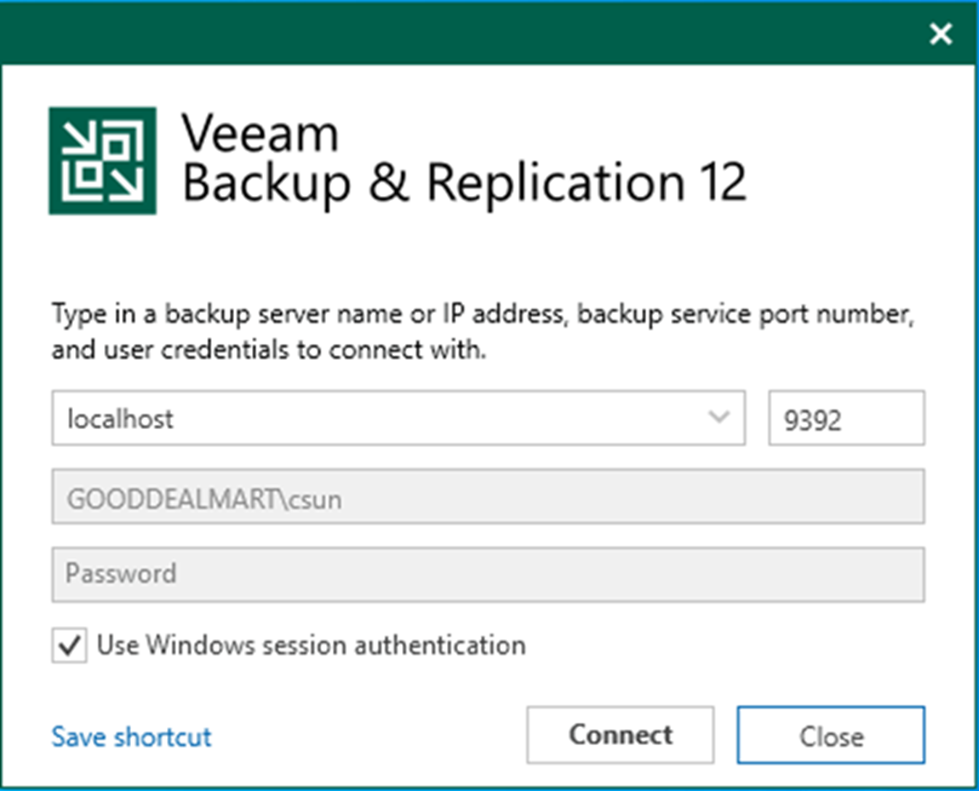
2. Open the Veeam Backup & Replication 12 Console and click Connect.
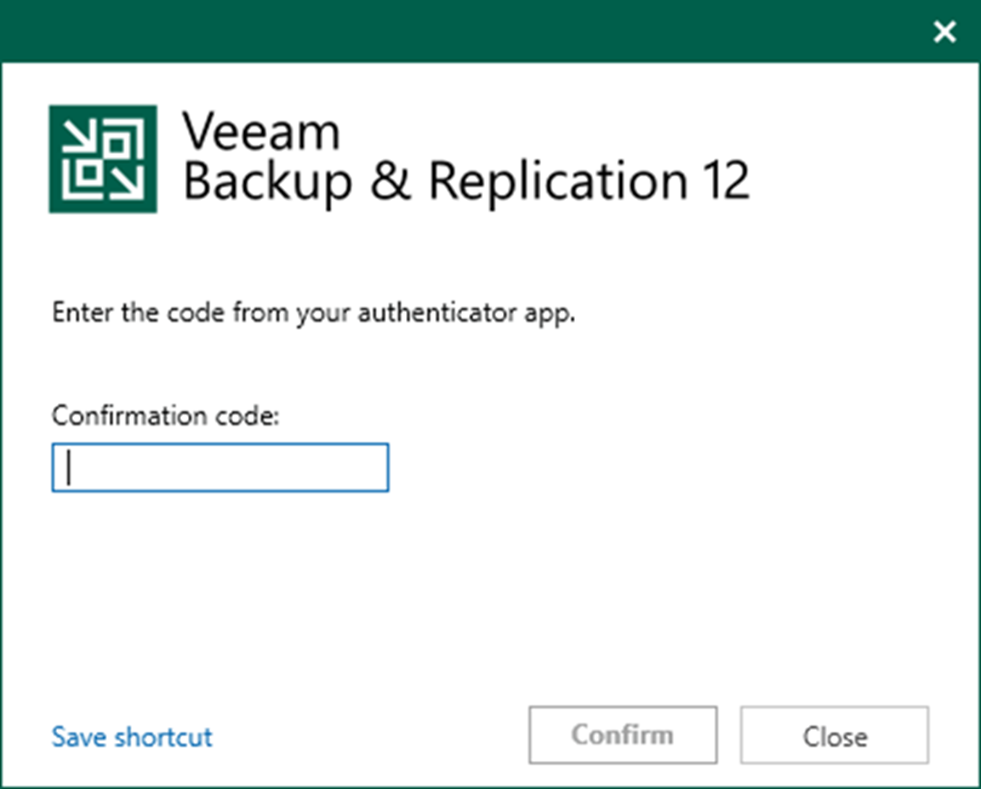
3. Enter the MFA Confirmation code and click Confirm.
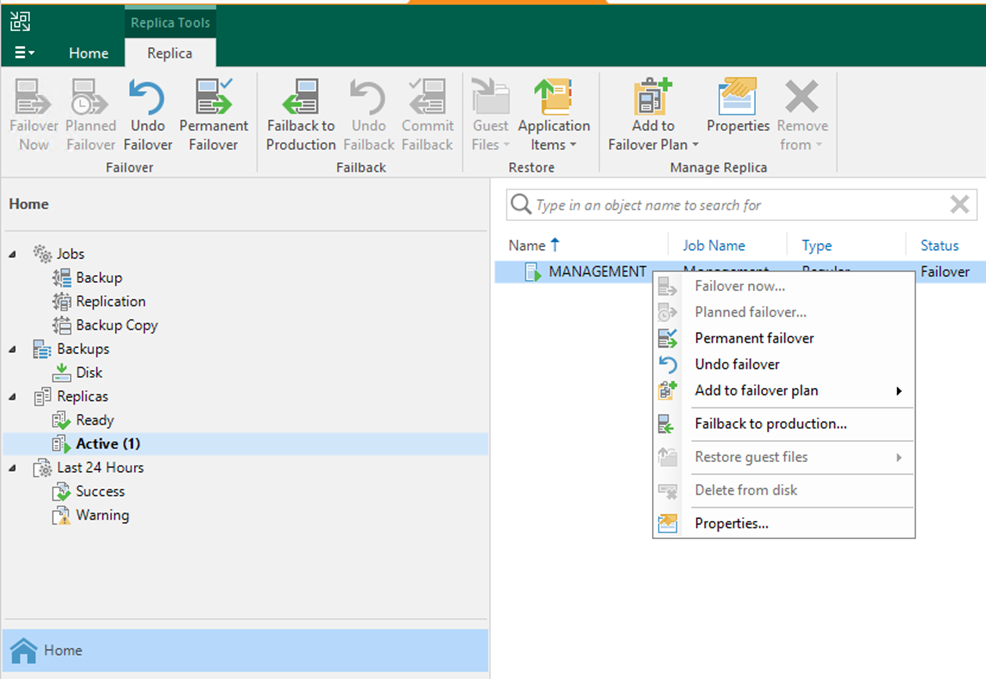
4. On the Home page, expand Replicas and select Active.
5. Right-click the virtual machine and select Failback to production.
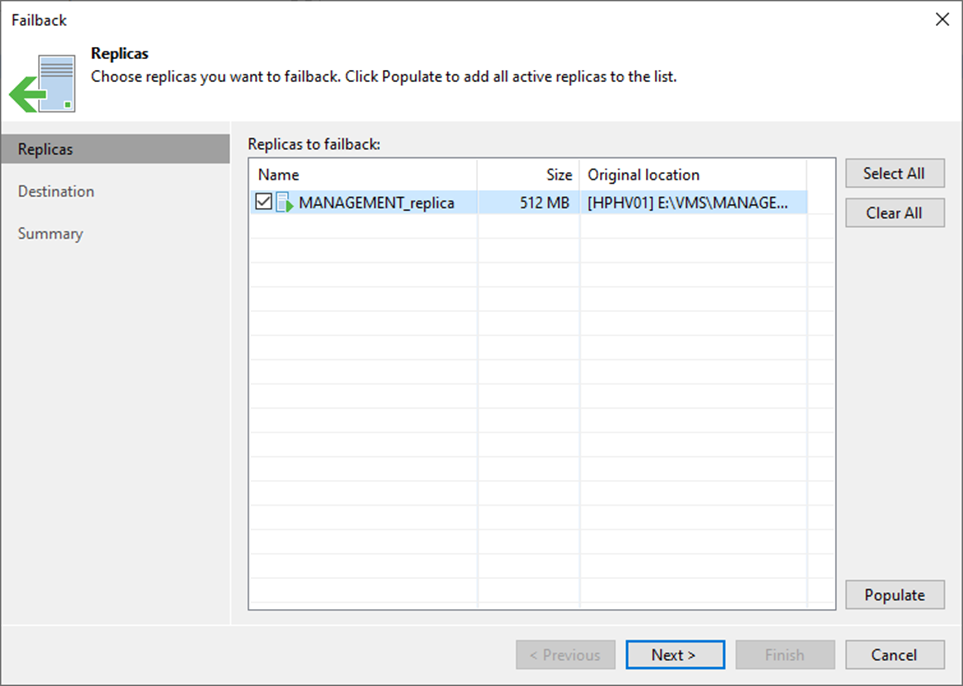
6. Click Populate on the Virtual Machine page to update the replicas ready for the failback list.
7. Select the replicas and click Next.
8. On the Destination page, select Failback to the specified location (advanced).
9. Click Next.

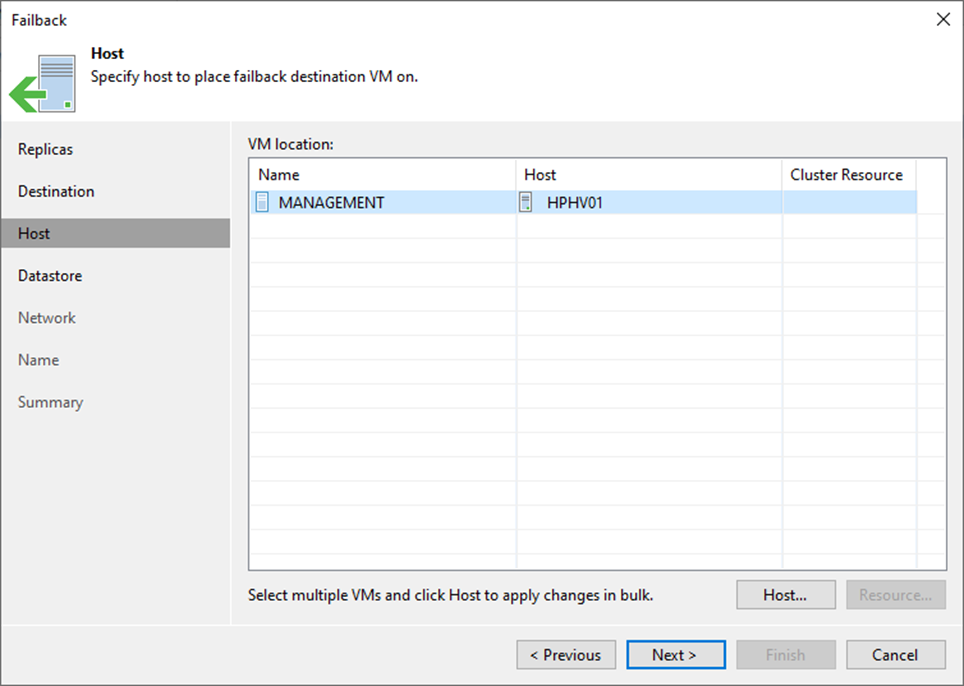
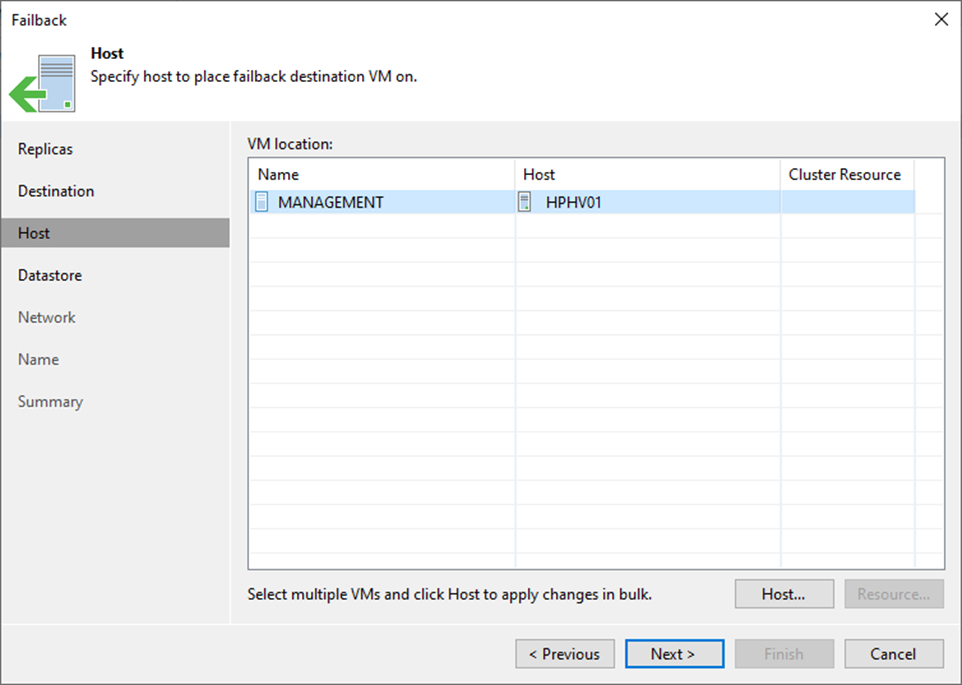
10. On the Host page, Select the VM and click Host.
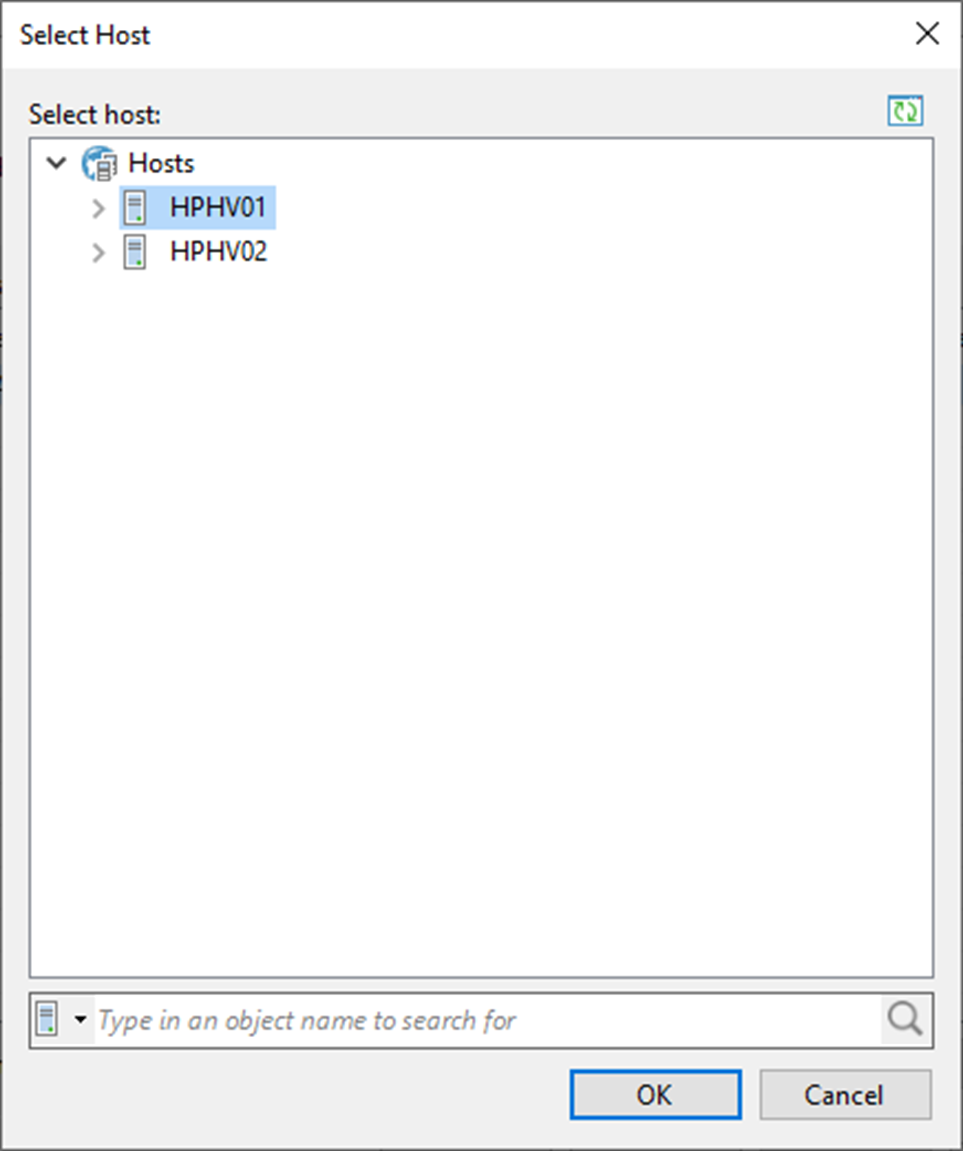
11. On the Select Host page, select the failback destination host and click OK.
12. Click Next on the Host page.
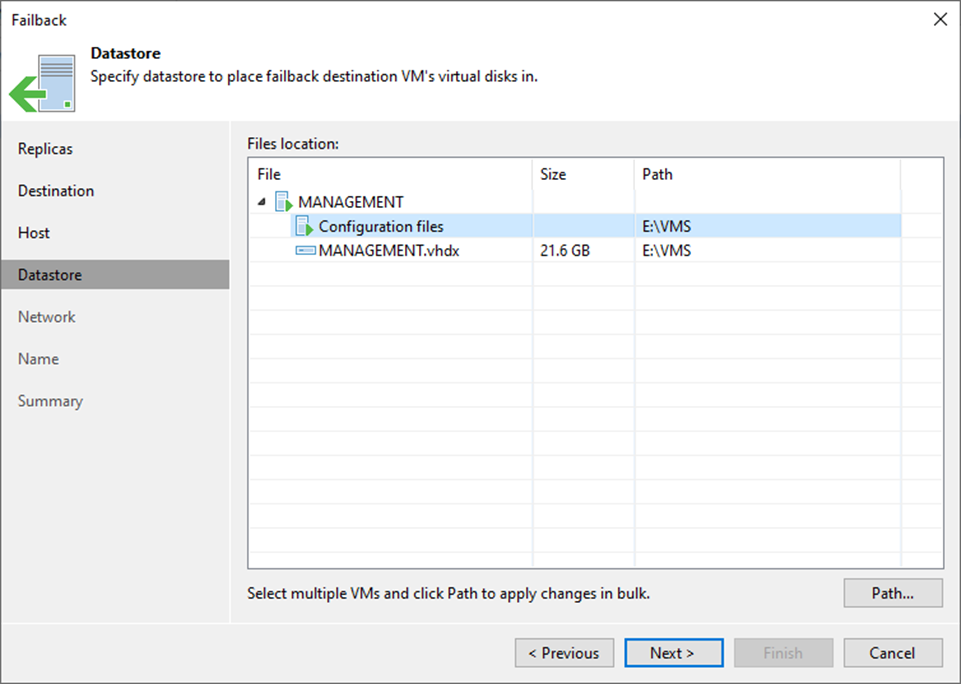
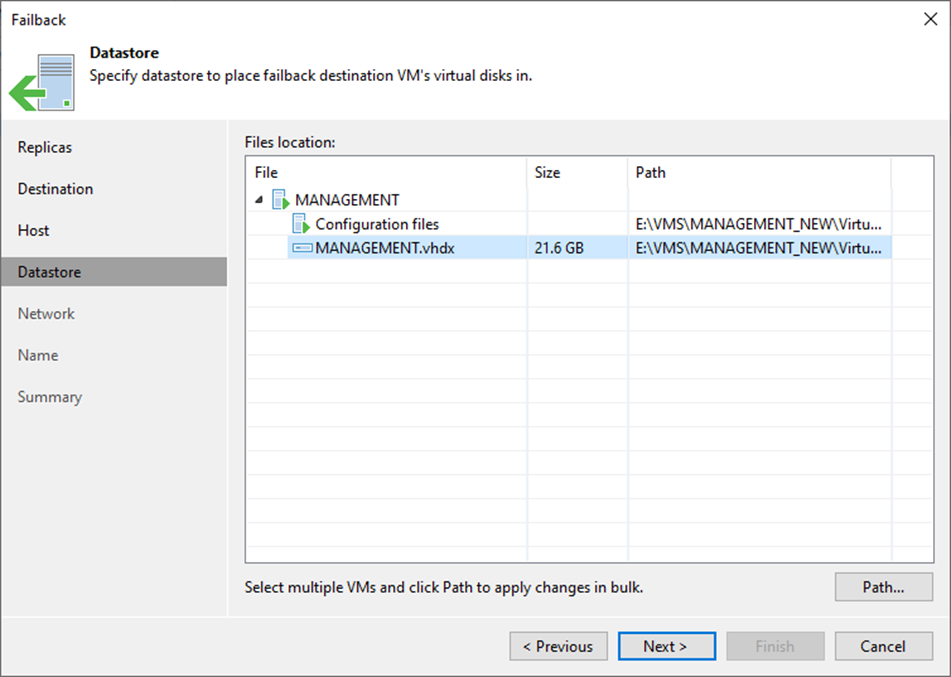
13. On the Datastore page, select Configuration files and click Path.
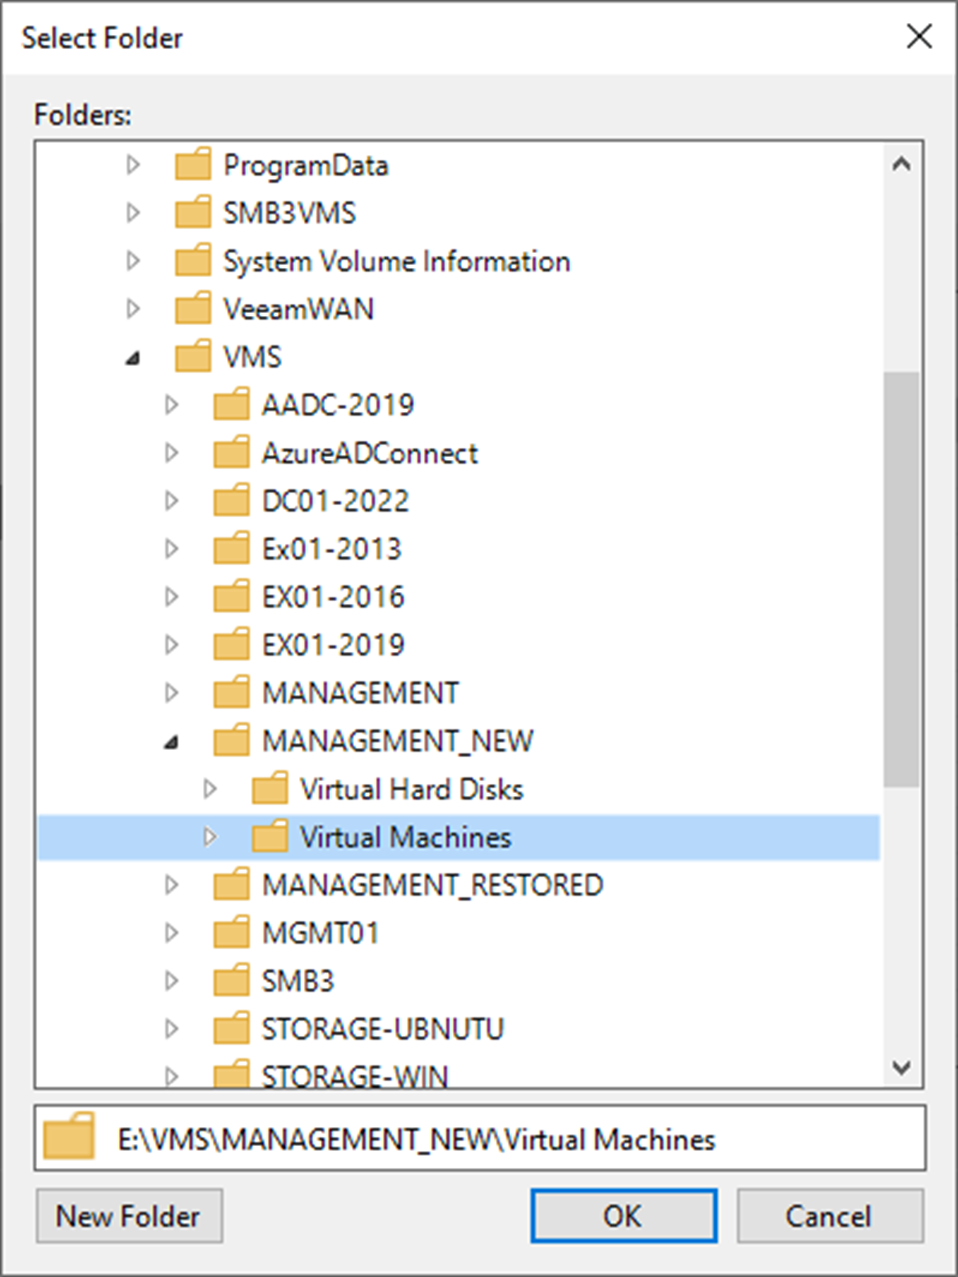
14. On the Select Folder page, expand and select the failback destination folder for configuration files.
15. Click OK.
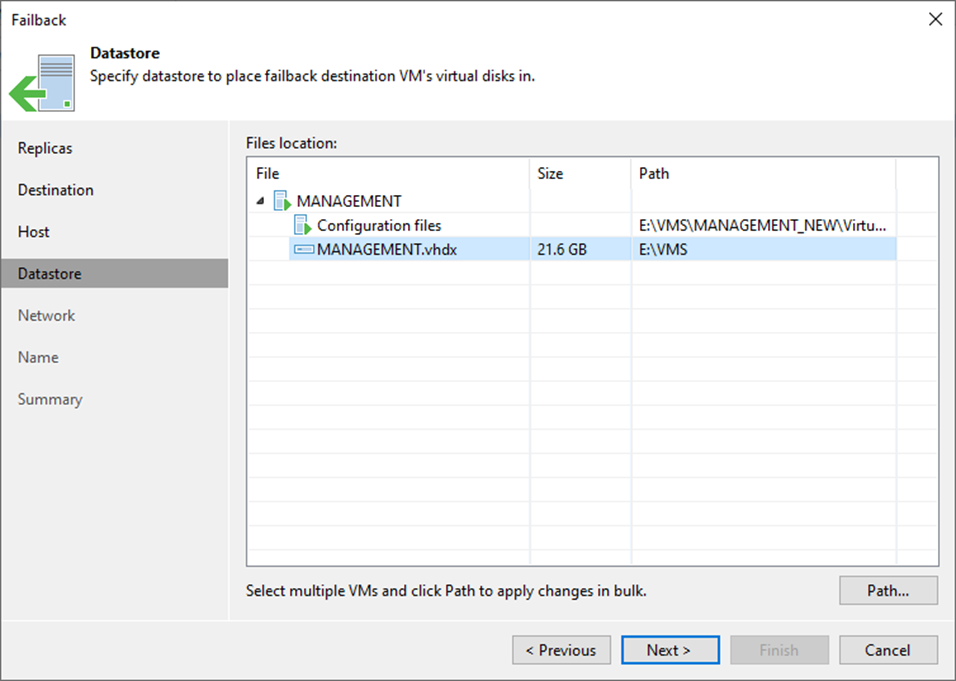
16. On the Datastore page, select the vhdx file and click Path.
17. On the Select Folder page, expand and select the failback destination folder for vhdx files.
18. Click OK.
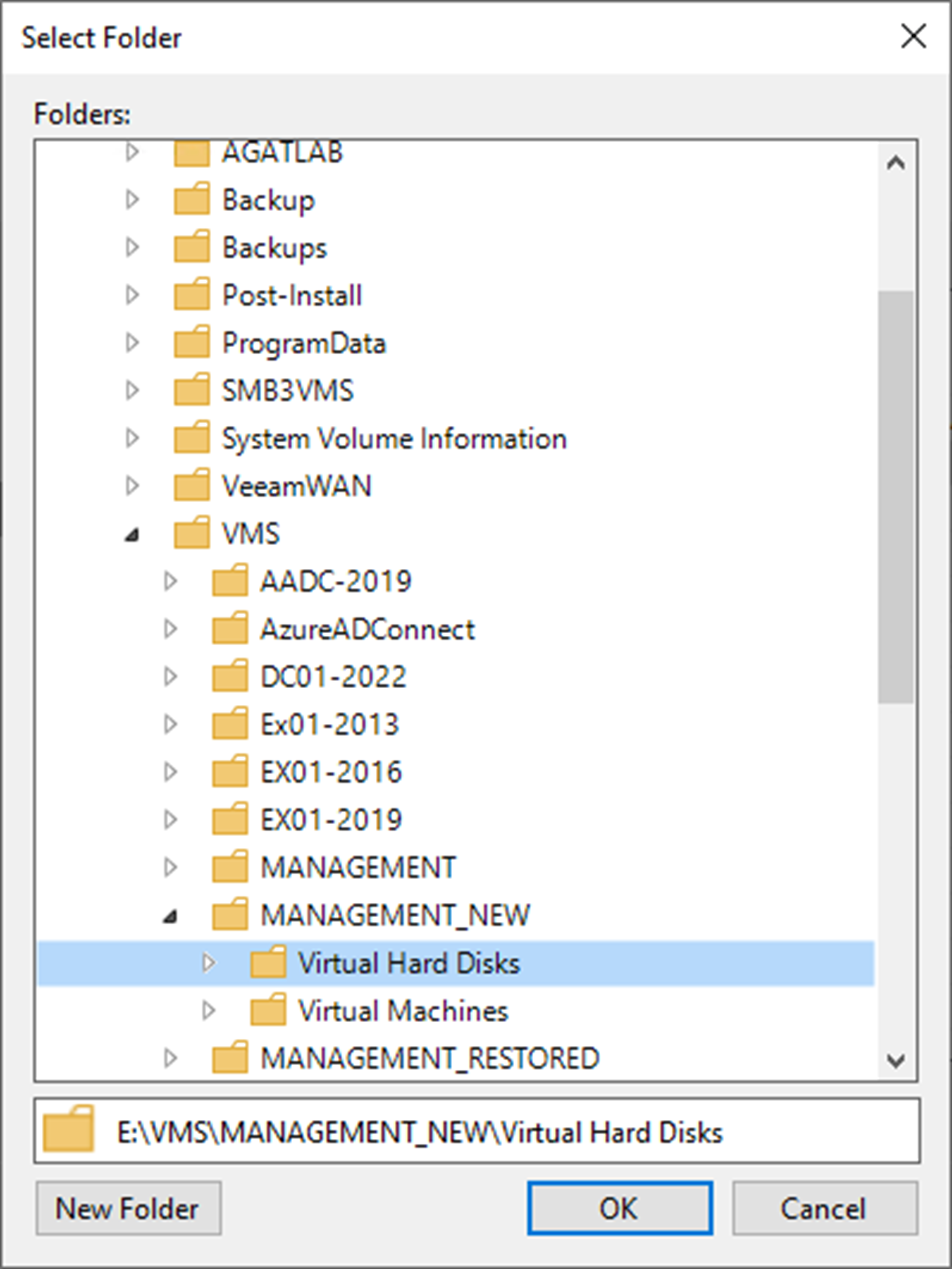
19. Click Next on the Datastore page.
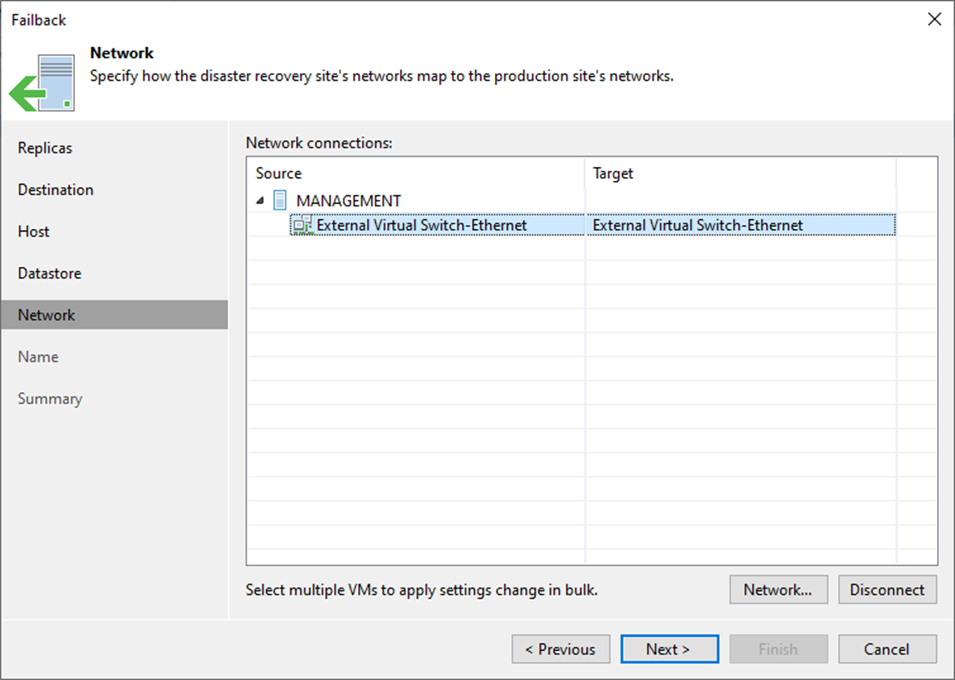
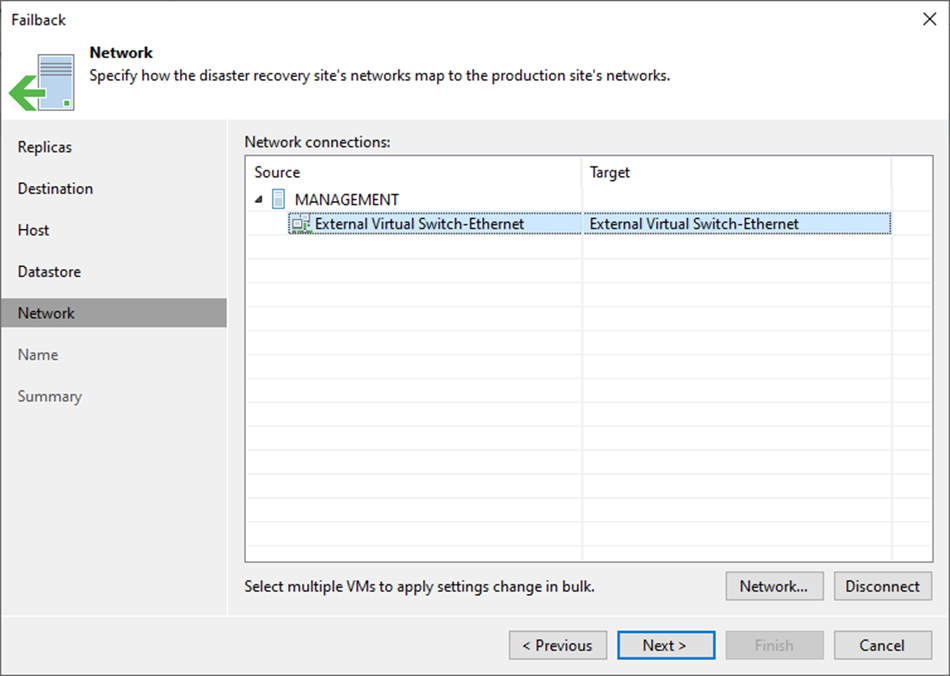
20. On the Network page, select the Network connections of VM and click Network.
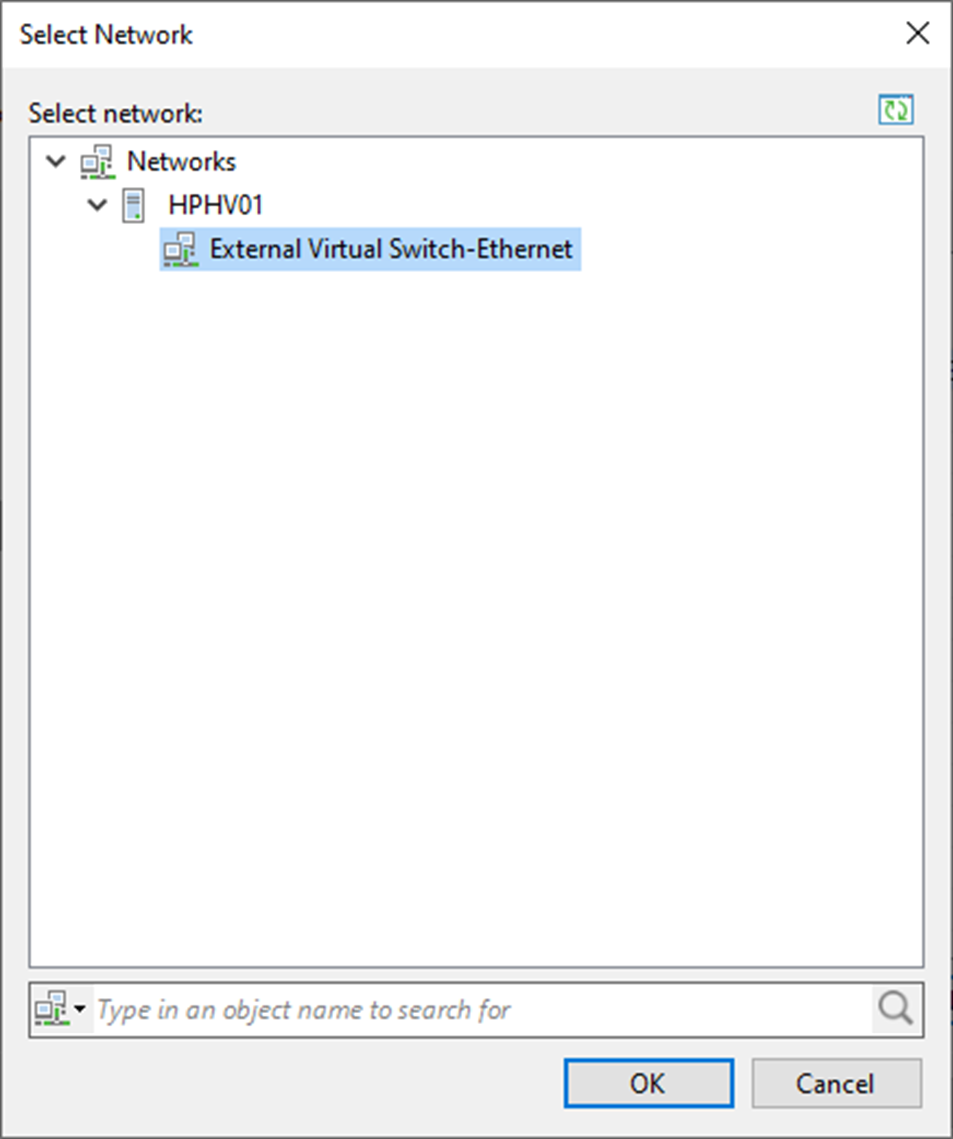
21. On the Select Network page, expand and select the failback destination for Network connections.
22. Click OK.
23. Click Next on the Network page.
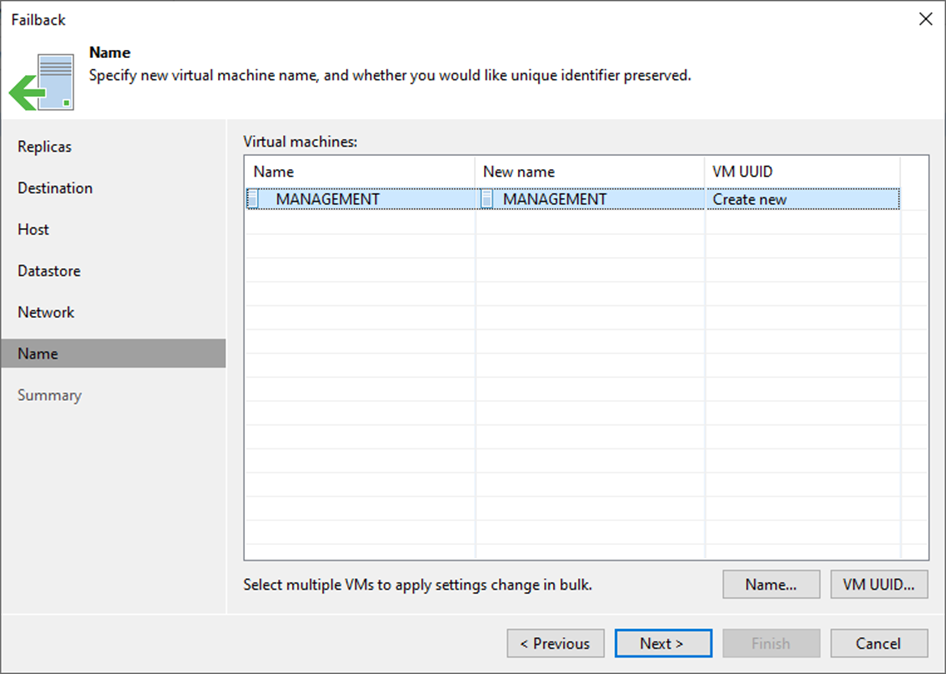
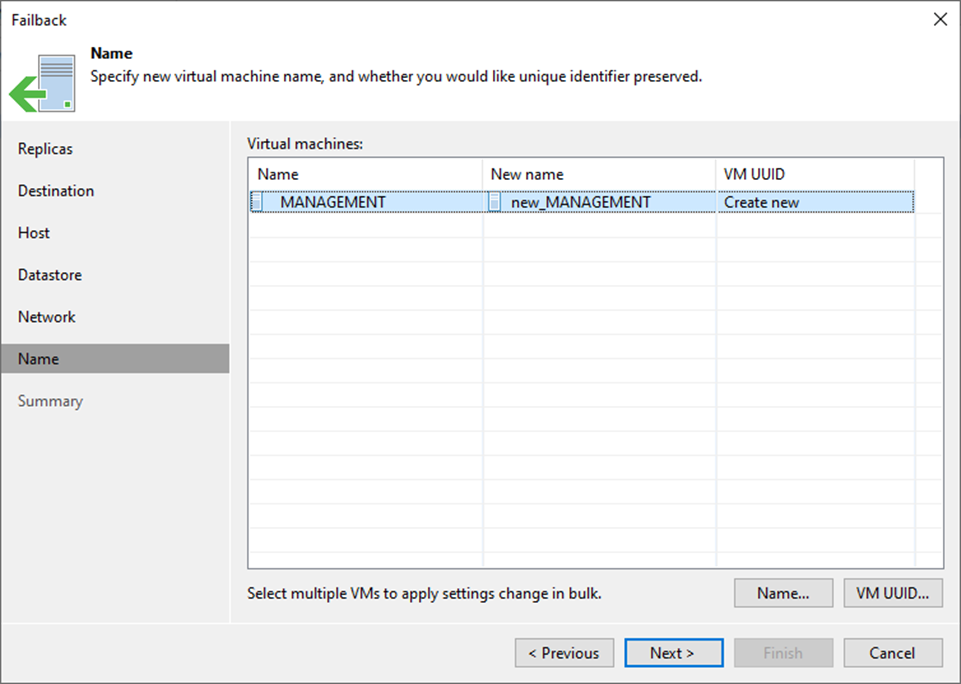
24. On the Name page, select the virtual machine and click Name.
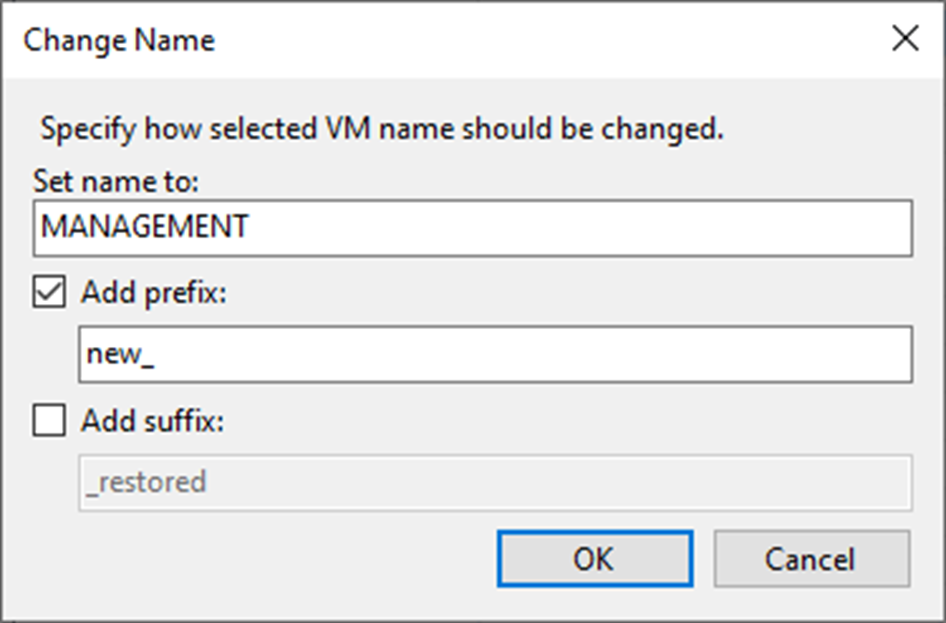
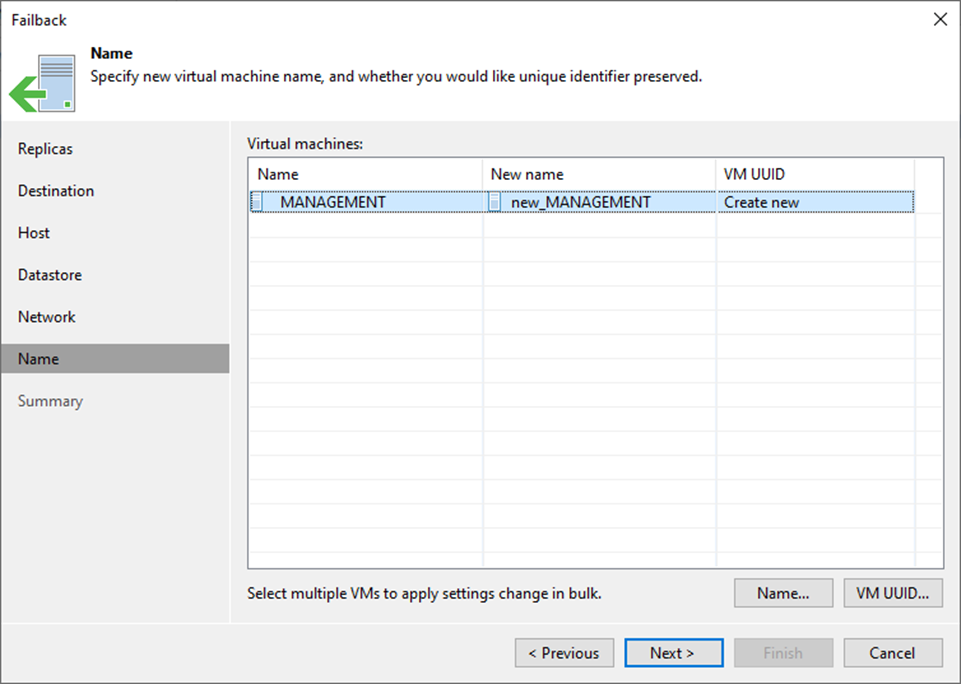
25. On the Change Name page, select Add prefix checkbox and click OK.
26. Click VM UUID on the Name page.
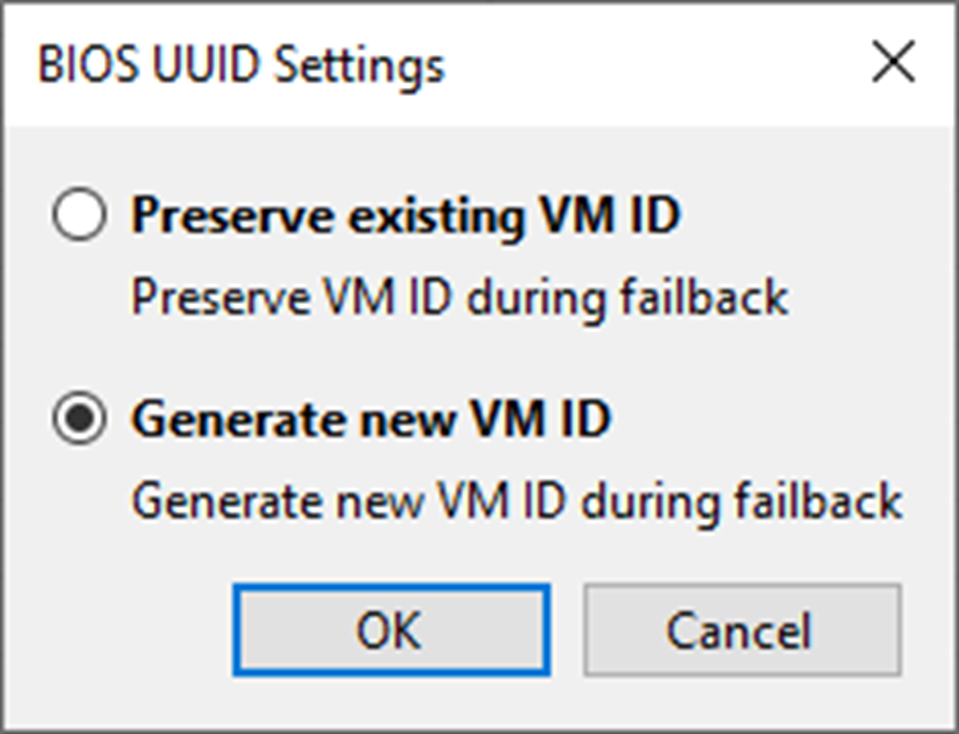
27. On the BIOS UUID Settings page, select Generate new VM ID and click OK.
28. Click Next on the Name page.
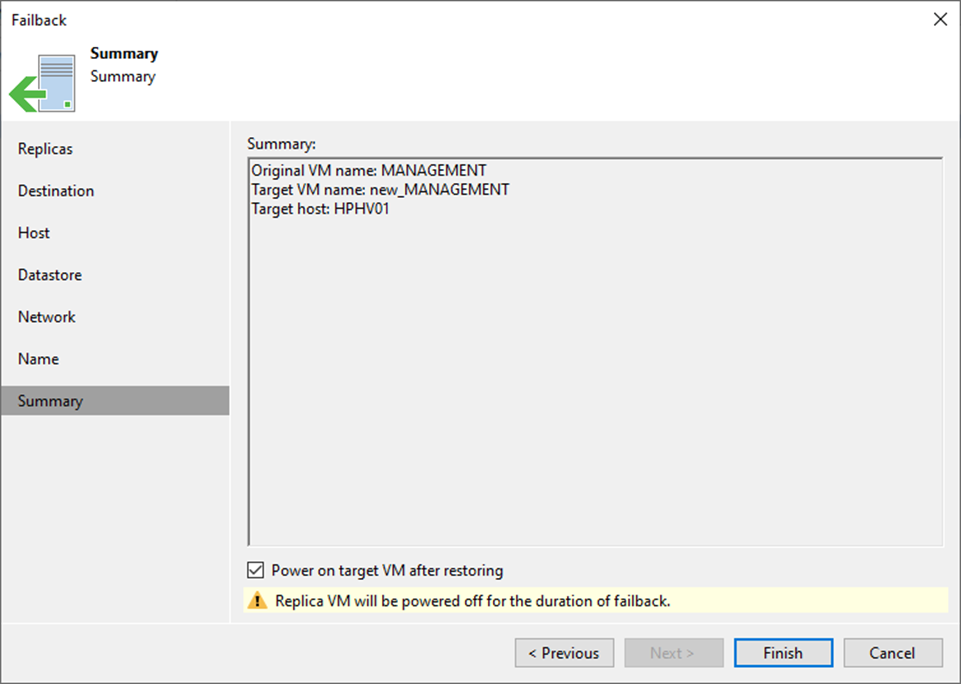
29. Select Power on the target VM after restoring and click Finish on the Summary page.
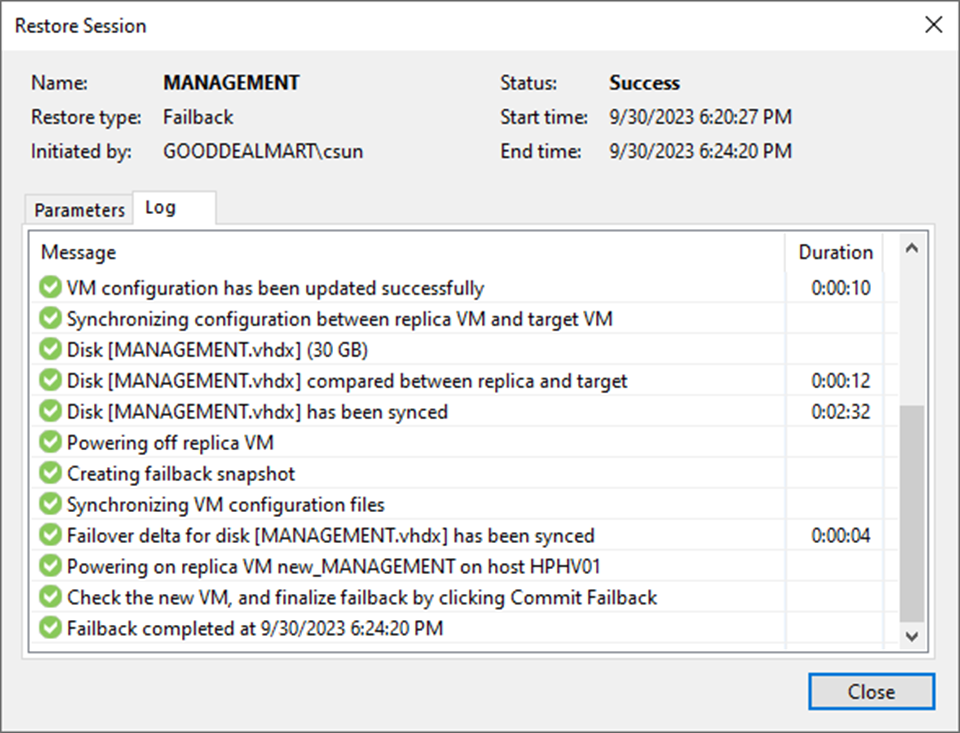
30. On the Restore Session page, select Log.
31. Ensure the failback is completed successfully and click Closed.
32. On the Home page, expend Replicas and select Active.
33. The VM status changed from Failover to Failback.
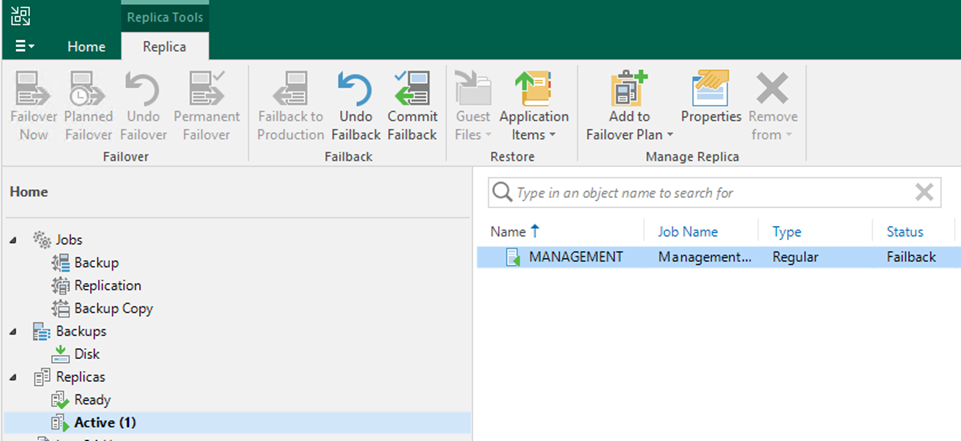
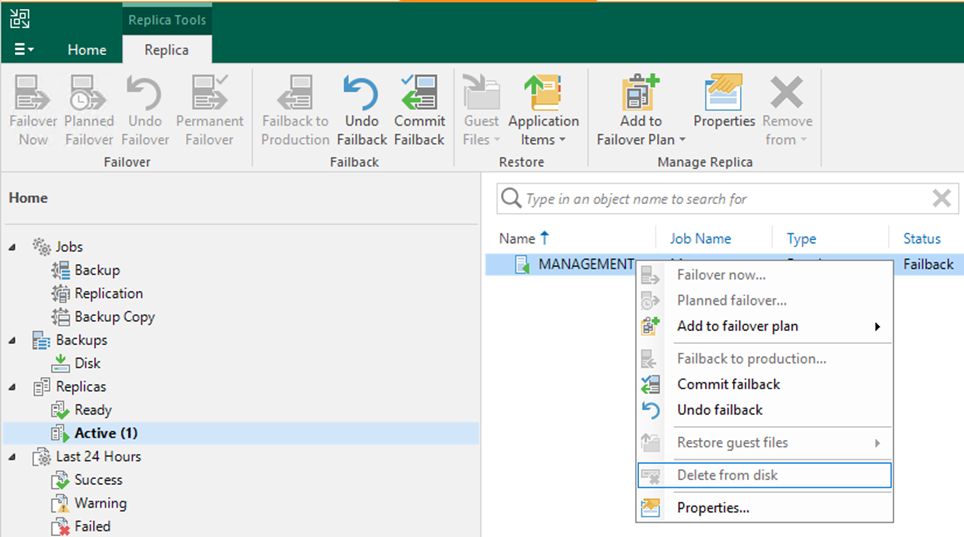
34. Right-click the VM and select Commit failback.
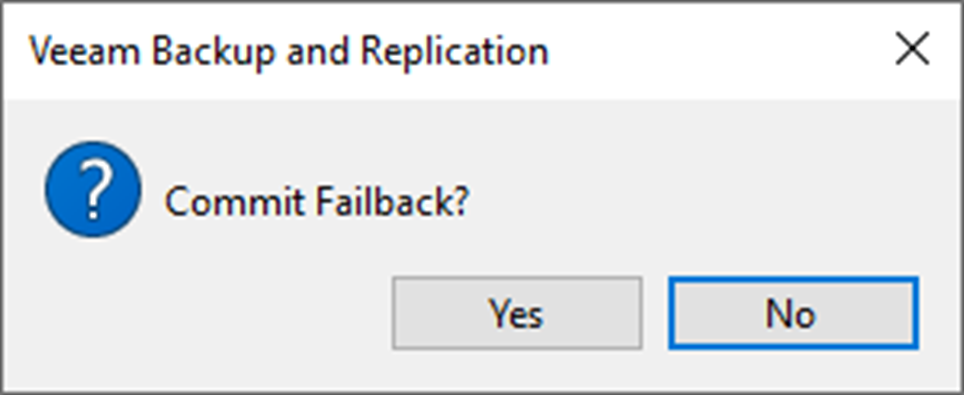
35. Click Yes in the Commit Failback display windows.
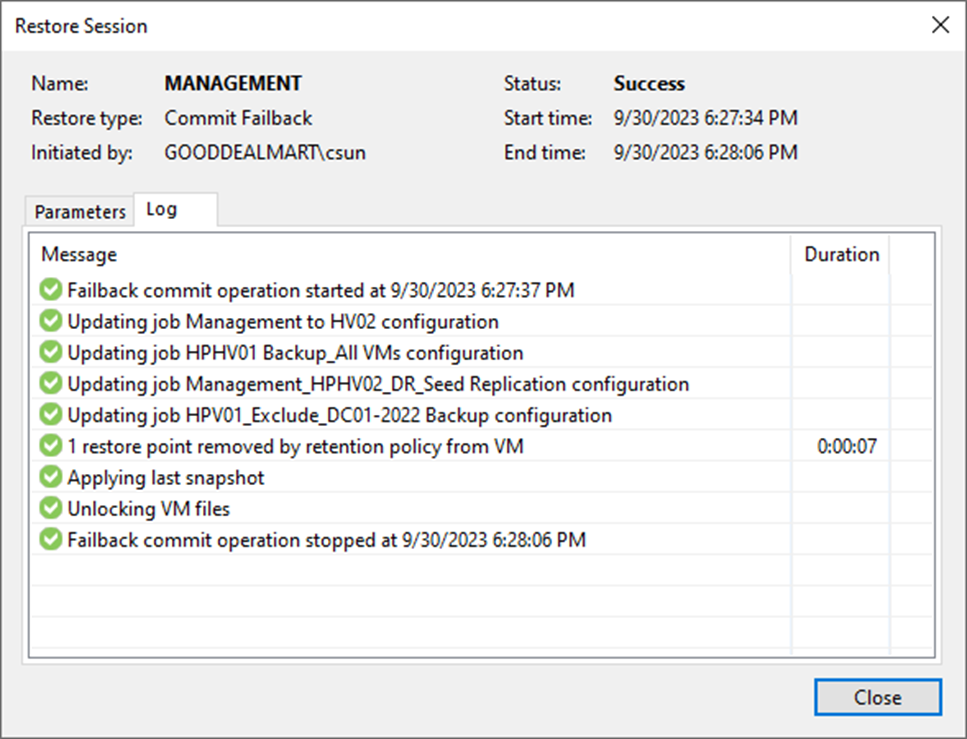
36. On the Restore Session page, select Log.
37. Veeam Backup & Replication will synchronize the recovered VMs’ states with the current states of the VM replicas to apply any changes that occurred to the replicas while they were running in the DR site.
38. Ensure the undo failover is completed successfully, click Closed.
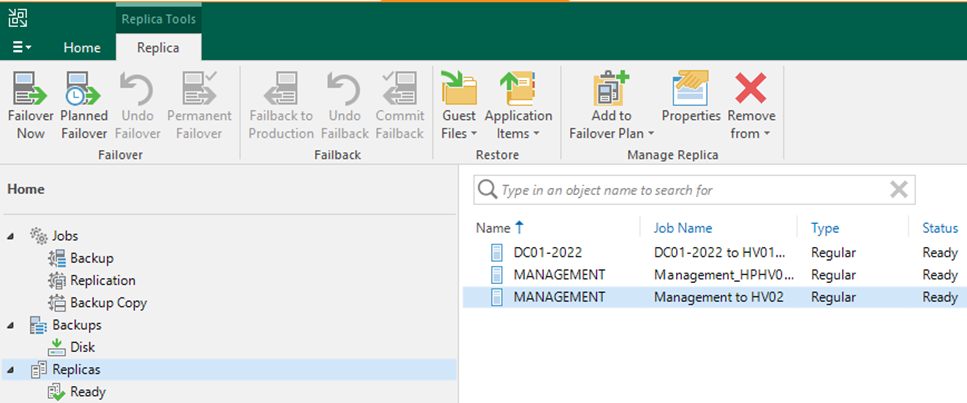
39. On the Home page, expend Replicas and the virtual machine back to regular type and Ready status.
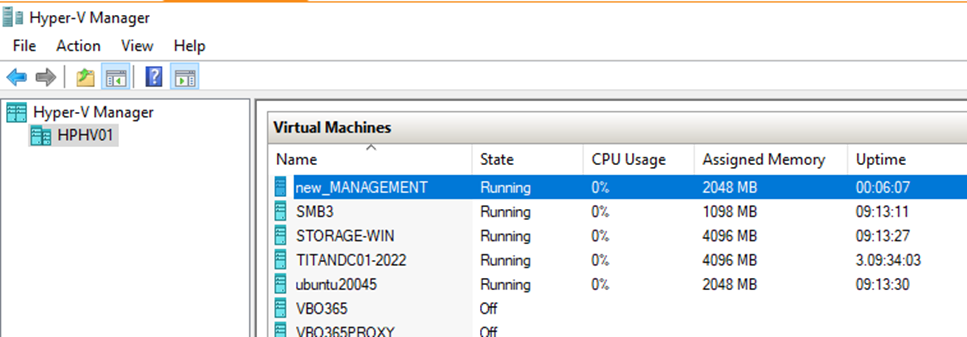
40. The new_MANAGEMENT is running at HPHV01 host.
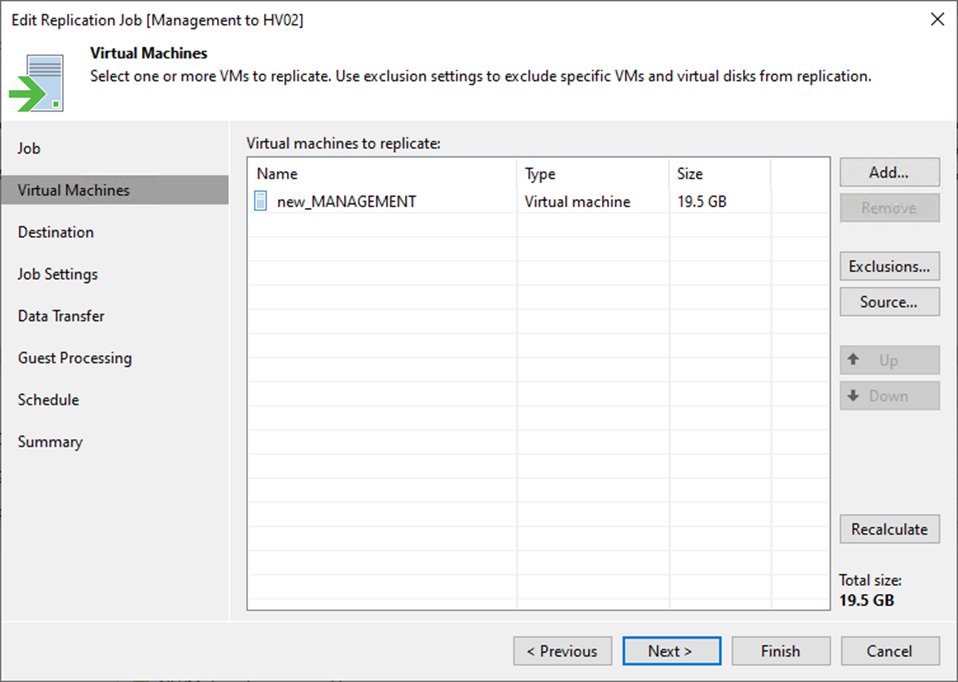
41. Review the Virtual Machines settings of replication jobs and ensure the Virtual machines to replicate change to the new VM automatically.
I hope you enjoy this post.
Cary Sun
X: @SifuSun
Web Site: carysun.com
Blog Site: checkyourlogs.net
Blog Site: gooddealmart.com
Author: Cary Sun
Cary Sun has a wealth of knowledge and expertise in data center and deployment solutions. As a Principal Consultant, he likely works closely with clients to help them design, implement, and manage their data center infrastructure and deployment strategies.
With his background in data center solutions, Cary Sun may have experience in server and storage virtualization, network design and optimization, backup and disaster recovery planning, and security and compliance management. He holds CISCO CERTIFIED INTERNETWORK EXPERT (CCIE No.4531) from 1999. Cary is also a Microsoft Most Valuable Professional (MVP), Microsoft Azure MVP, Veeam Vanguard and Cisco Champion. He is a published author with several titles, including blogs on Checkyourlogs.net, and the author of many books.
Cary is a very active blogger at checkyourlogs.net and is permanently available online for questions from the community. His passion for technology is contagious, improving everyone around him at what they do.
Blog site: https://www.checkyourlogs.net
Web site: https://carysun.com
Blog site: https://gooddealmart.com
Twitter: @SifuSun
in: https://www.linkedin.com/in/sifusun/
Amazon Author: https://Amazon.com/author/carysun
