Today, I helped a client migrate Exchange from 2010 to 2019. As you know, Exchange 2010 can’t migrate to 2019 directly. You need to migrate Exchange from 2010 to 2016 and then 2019.
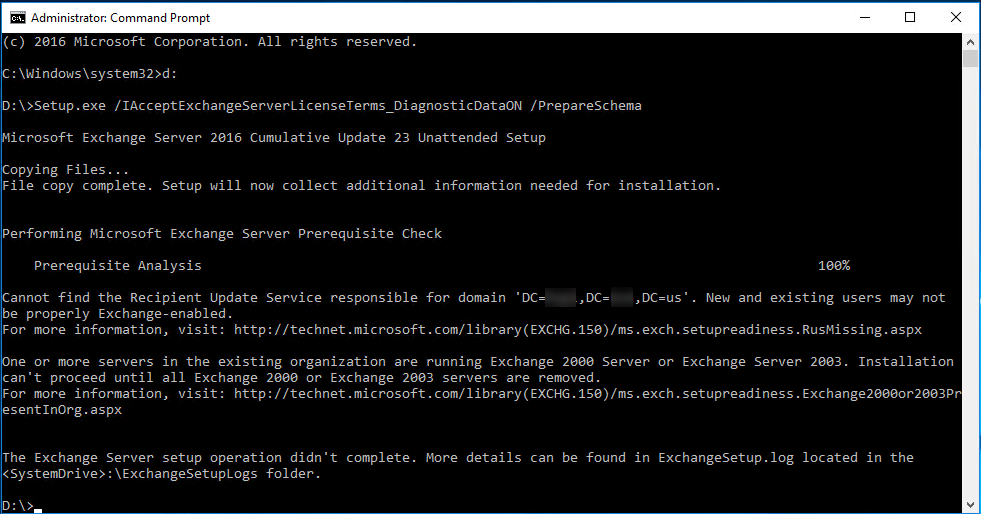
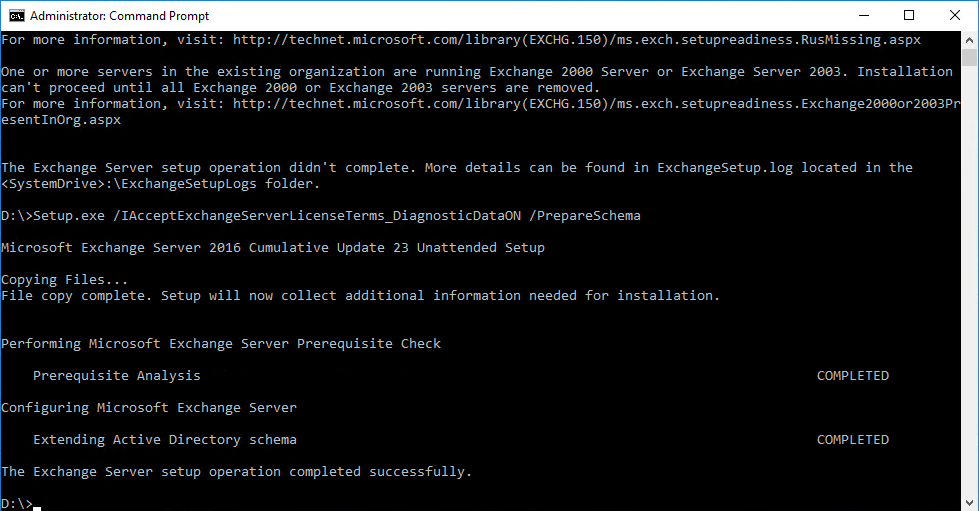
When I tried to prepare the AD schema for installing Exchange 2016 CU23, and it happened the error message is below.
“One or more servers in the existing organization are running Exchange 2000 Server or Exchange Server 2003”.
The error is because they were not uninstalled Exchange 2000 or 2003 completed. Let’s fix it.
1. Log in to the DC server.
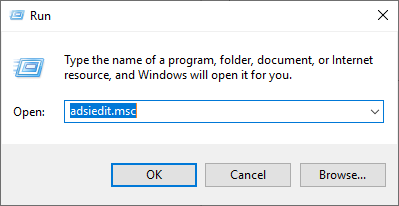
2. Run adsiedit.msc.
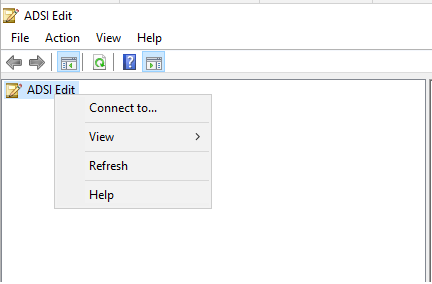
3. Right-click ADSI Edit on the ADSI Edit page and select Connect to.
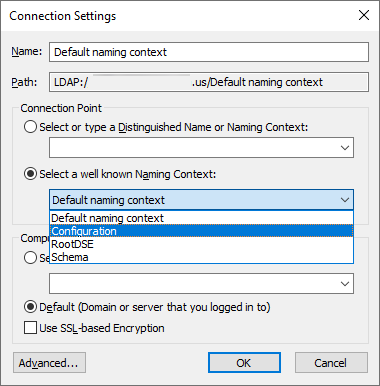
4. On the Connection page, select the Select a well known Naming Context as connection Point.
5. Select Configuration from the drop-down list and click OK.

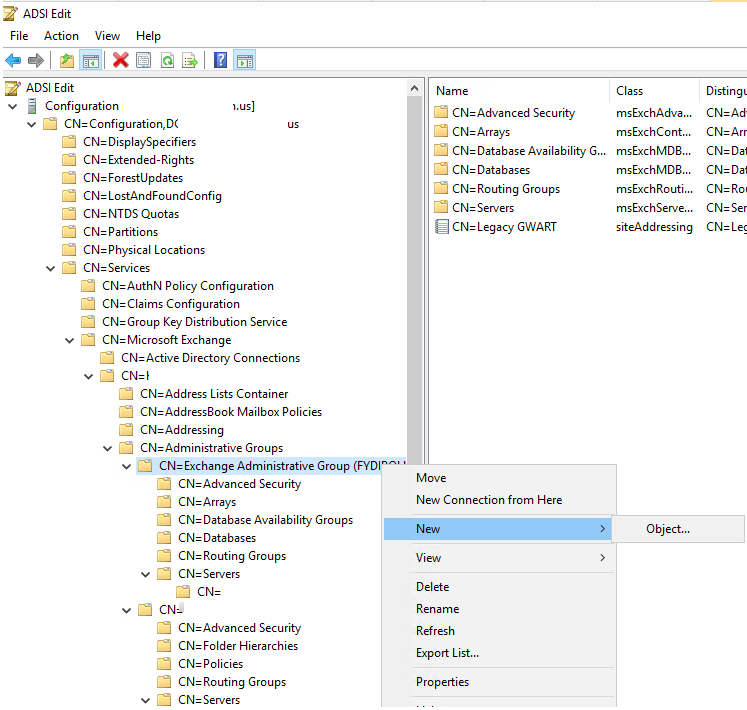
6. On the ADSI Edit page, expand the Configuration to find the production Exchange Administrative Group.
7. Right-click Exchange Administrative Group, select New and click Object.
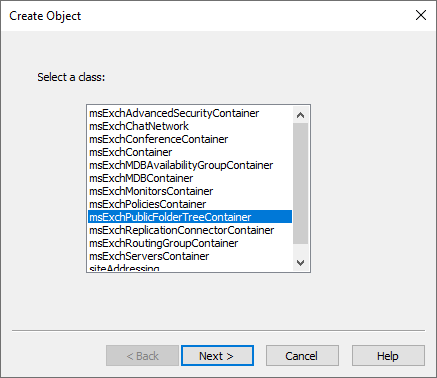
8. Select msExchPublicFolderTreeContainer on the Create Object and click Next.
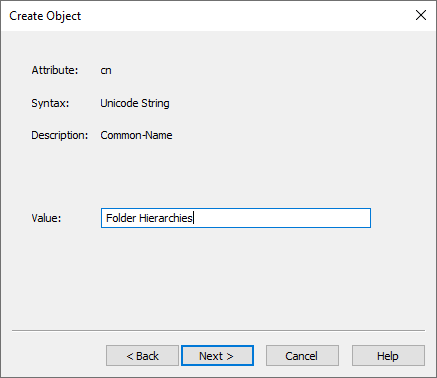
9. Type Folder Hierarchies in the Value field and click Next.
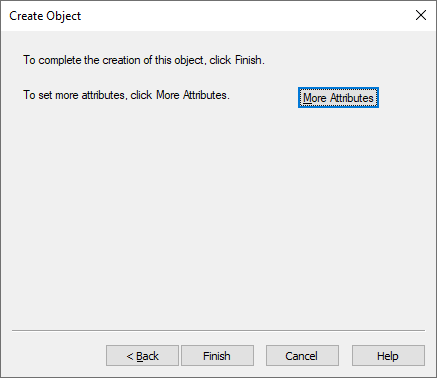
10. Click Finish on the Create Object page.
11. On the ADSI Edit page, expand the Configuration to find the old Exchange Administrative Group.
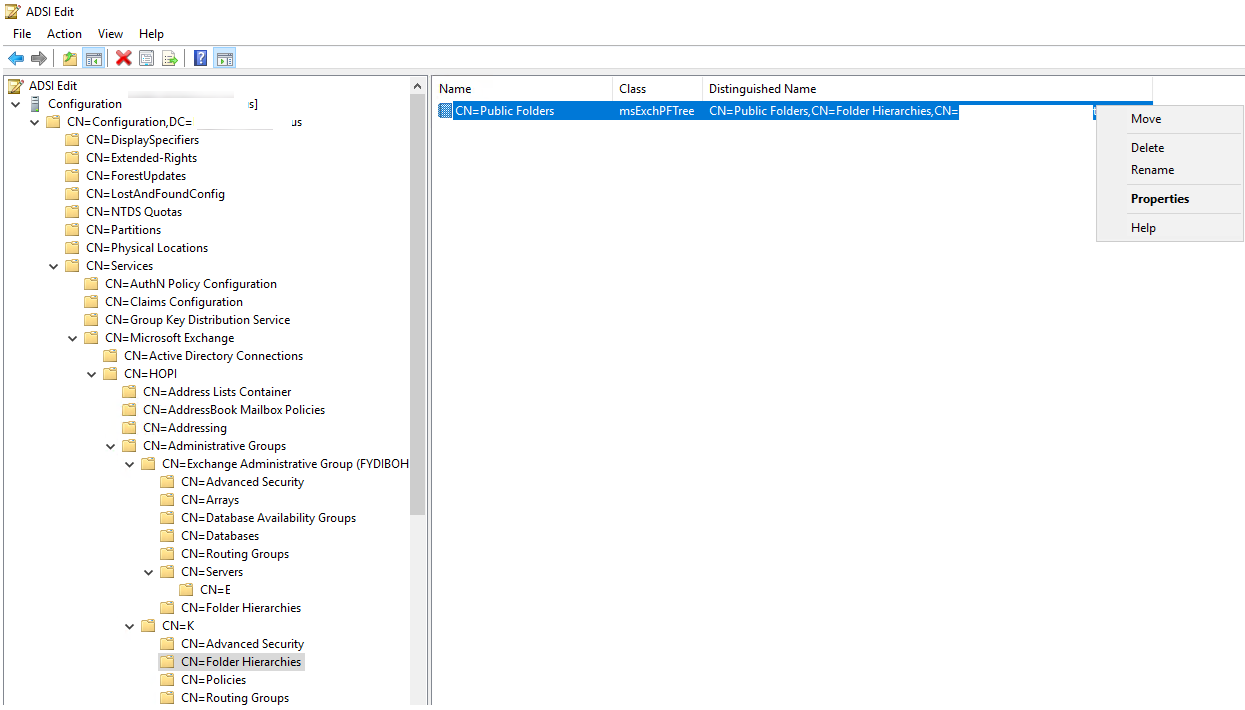
12. Expand the old Exchange Administrative group and select CN=Folder Hierarchies.
13. Right-click the Public Folders object and select Move.
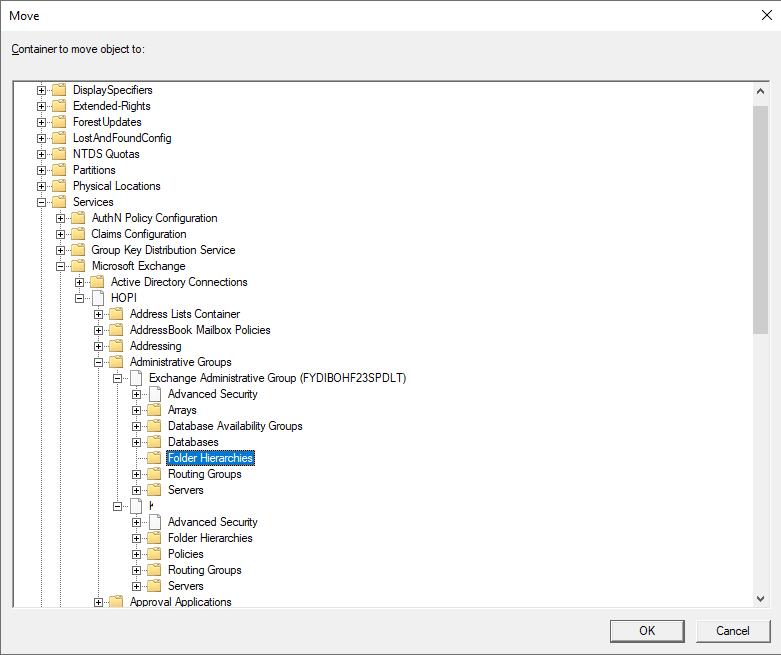
14. Select the new CN=Folder Hierarchies container on the Container to move object to page and click OK.
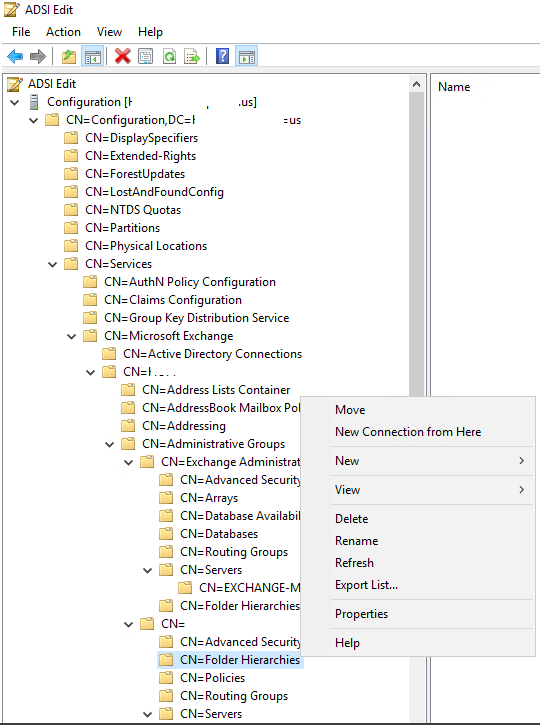
15. Right-click the old CN=Folder Hierarchies and select Delete.
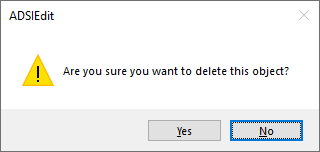
16. Click Yes on the delete this object confirm warning message.
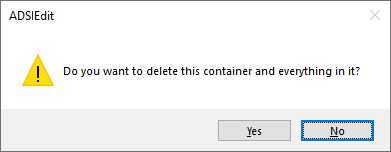
17. Click Yes to delete this container and everything confirms the warning message.
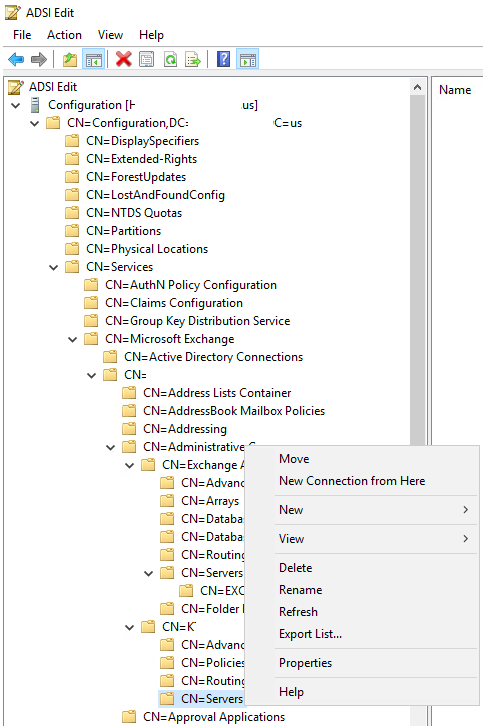
18. Right-click the old CN=Servers and select Delete.
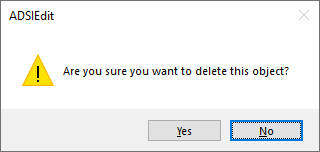
19. Click Yes on the delete this object confirm warning message.
20. Run Setup.exe /IAcceptExchangeServerLicenseTerms_DiagnosticDataON /PrepareSchema again.
I hope you enjoy this post.
Cary Sun
Twitter: @SifuSun
Web Site: carysun.com
Blog Site: checkyourlogs.net
Blog Site: gooddealmart.com
In: https://www.linkedin.com/in/sifusun/
Amazon Author: https://Amazon.com/author/carysun
Author: Cary Sun
Cary Sun has a wealth of knowledge and expertise in data center and deployment solutions. As a Principal Consultant, he likely works closely with clients to help them design, implement, and manage their data center infrastructure and deployment strategies.
With his background in data center solutions, Cary Sun may have experience in server and storage virtualization, network design and optimization, backup and disaster recovery planning, and security and compliance management. He holds CISCO CERTIFIED INTERNETWORK EXPERT (CCIE No.4531) from 1999. Cary is also a Microsoft Most Valuable Professional (MVP), Microsoft Azure MVP, Veeam Vanguard and Cisco Champion. He is a published author with several titles, including blogs on Checkyourlogs.net, and the author of many books.
Cary is a very active blogger at checkyourlogs.net and is permanently available online for questions from the community. His passion for technology is contagious, improving everyone around him at what they do.
Blog site: https://www.checkyourlogs.net
Web site: https://carysun.com
Blog site: https://gooddealmart.com
Twitter: @SifuSun
in: https://www.linkedin.com/in/sifusun/
Amazon Author: https://Amazon.com/author/carysun
