Veeam released the Backup & Replication v13.0.1.180 on November 19, 2025.
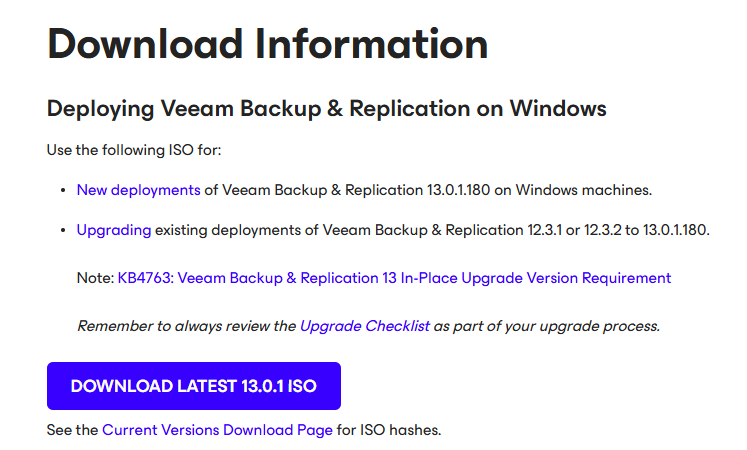
Make sure you are running Veeam Backup & Replication version 12.3.1 or later to perform an in-place upgrade to Windows Server 2025, since version 13.0.1 enables in-place upgrades from this version. First, create a full backup of your existing Veeam configuration database and install the updated Veeam Backup & Replication 13.0.1.180 ISO, which is now available for Windows Server 2025.
1.Login to the Veeam Backup and Replication Management Server.
2.Sign in to your Veeam account and download the Veeam Backup and Replication v13 software.
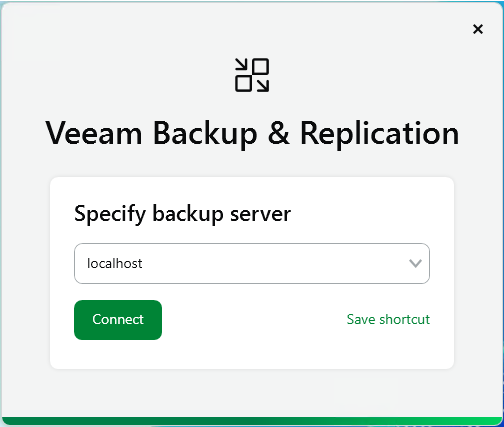
3.Open the Veeam Backup & Replication 12 Console and click Connect.

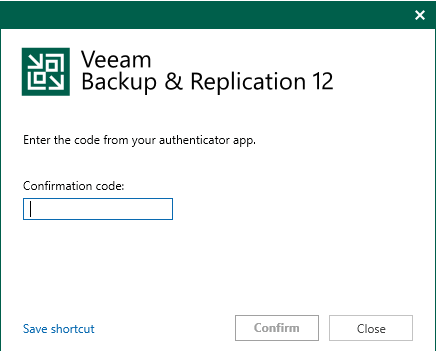
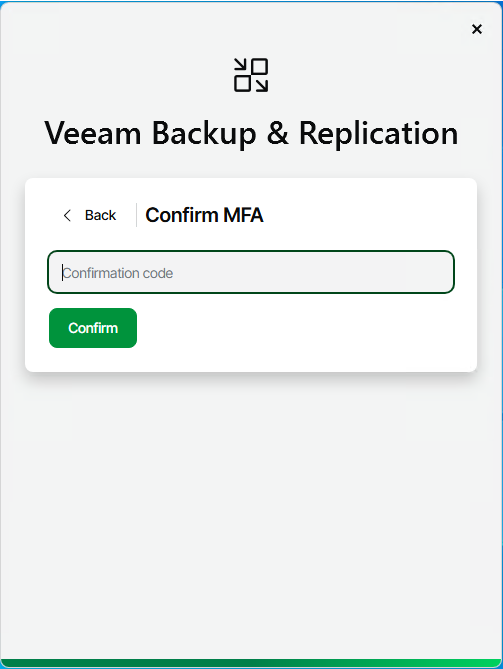
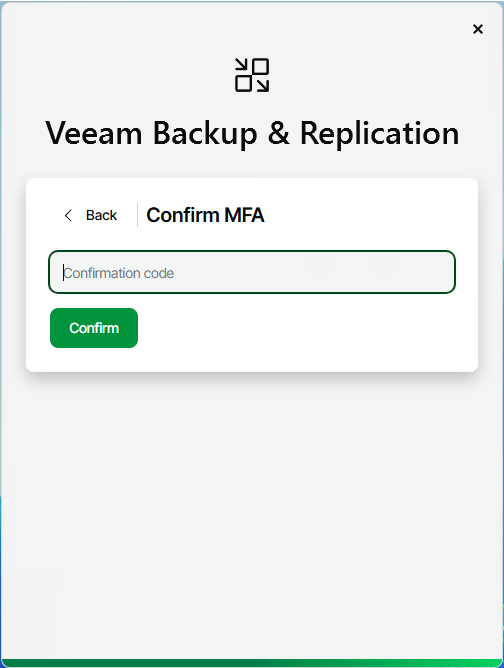
4.Enter the MFA Confirmation code and click Confirm.
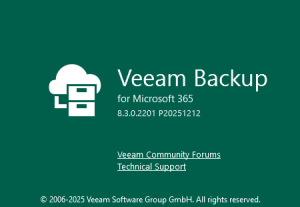
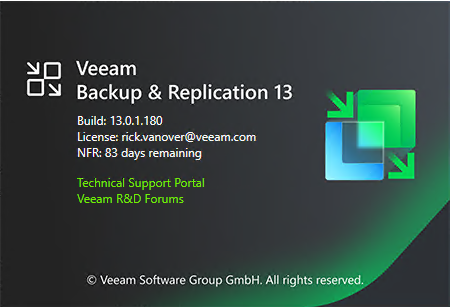
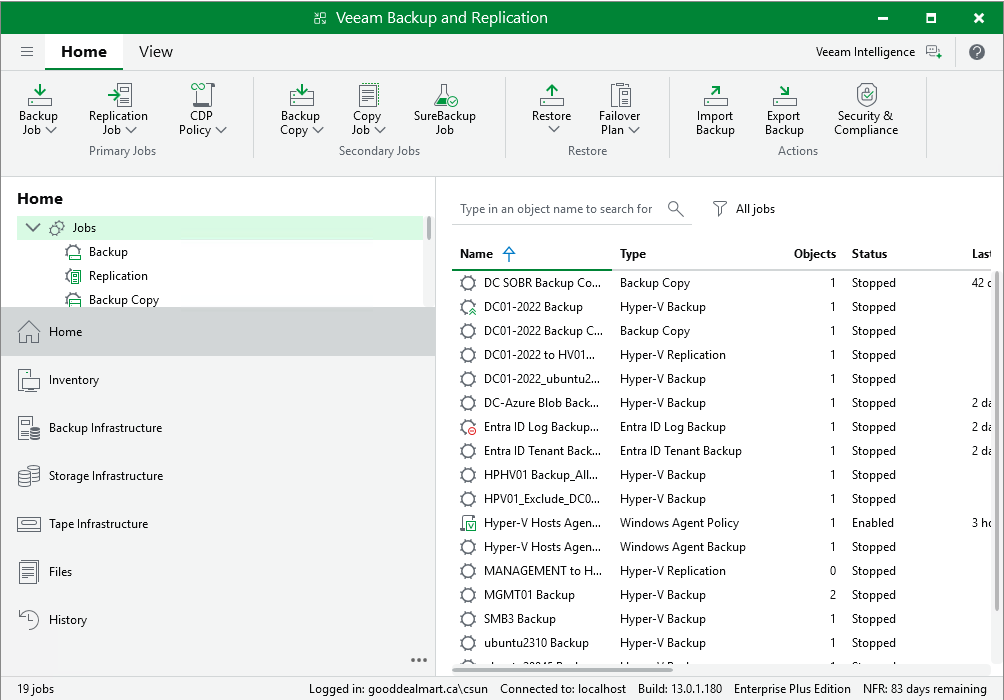
5.Verify the existing Veeam Backup & Replication version from the Veeam Backup & Replication console (Help |Abut) and ensure that the version matches the upgrade requirements.

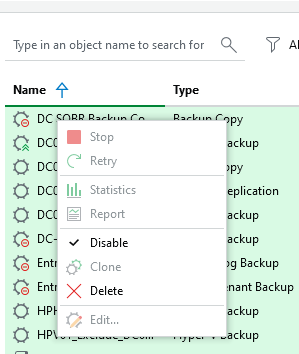
6.Ensure all jobs are successful, right-click all jobs and select disable.

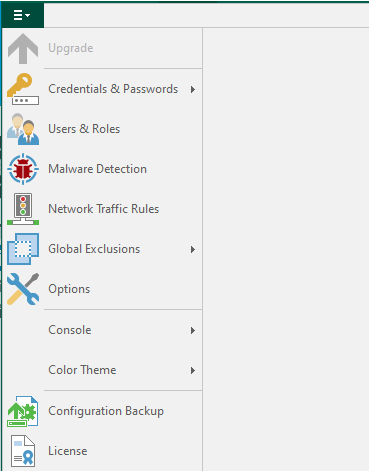
7.Drop down the main menu and select Configuration Backup.
8.On the Configuration Backup Settings page, select Backup now to back up the current configuration file.
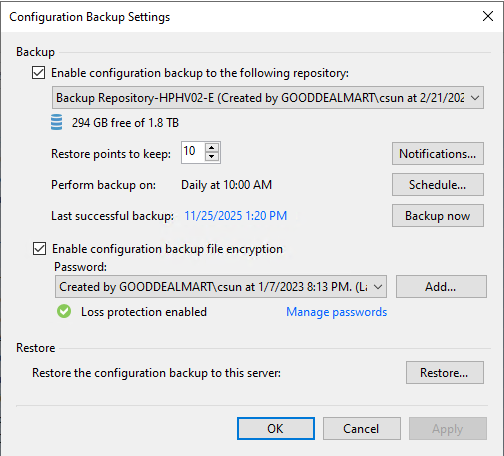
9.Click OK to close the Configuration Backup Settings after the backup is completed.

10.Close the Veeam Backup and Replication console.
11.Mount VeeamBackup&Replication_13.0.1.180_20251130.iso file.
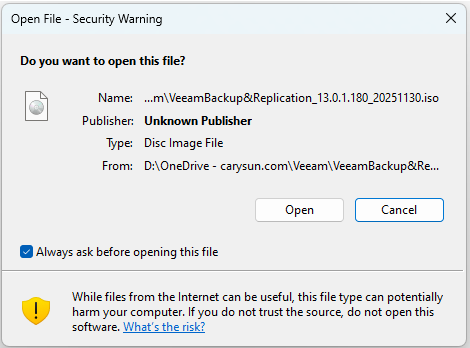
12.Run Setup.exe.

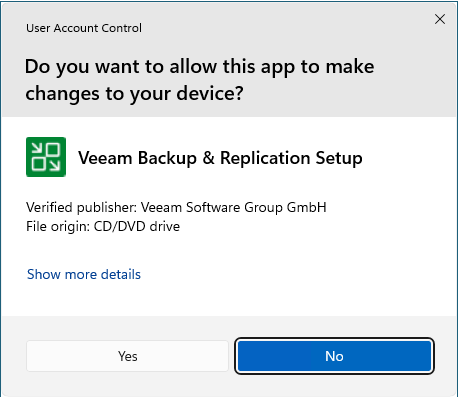
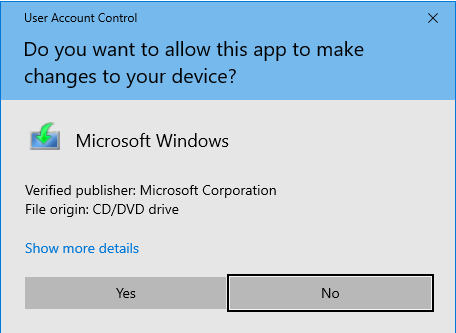
13.Click Yes on the User Account Control page.
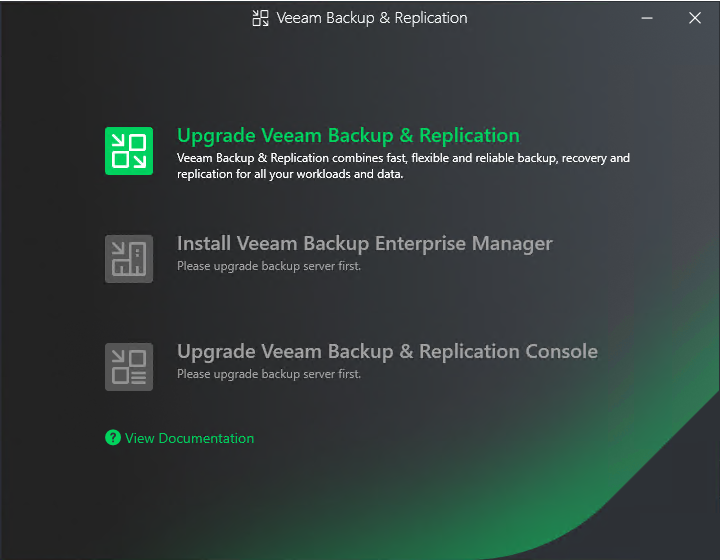
14.Click Upgrade on the Veeam Backup & Replication 13 page.

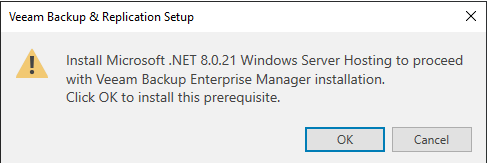
15.Click OK to install Microsoft .NET 8.0.21 Windows Server Hosting prerequisite.
16.Select Upgrade Veeam Backup & Replication on the Veeam Backup & Replication page.
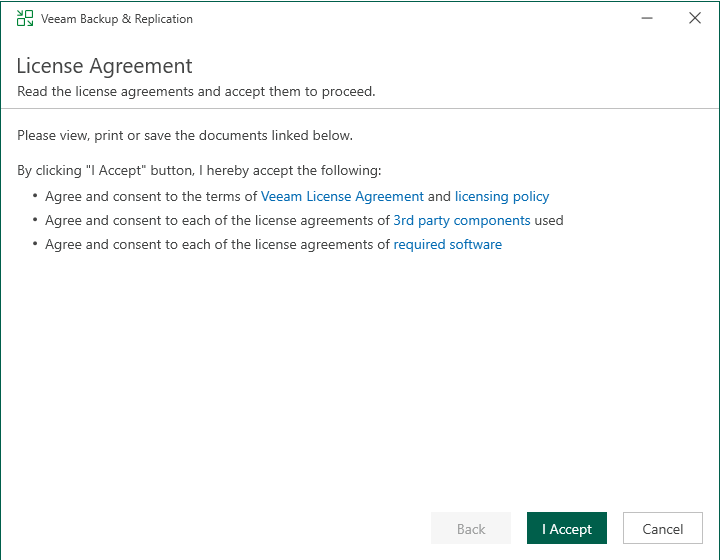
17.Click I Accept on the License Agreement page.
18.The setup wizard will inform you if a valid license is installed on the machine. In this case, you can skip the Provide License step and click Next.

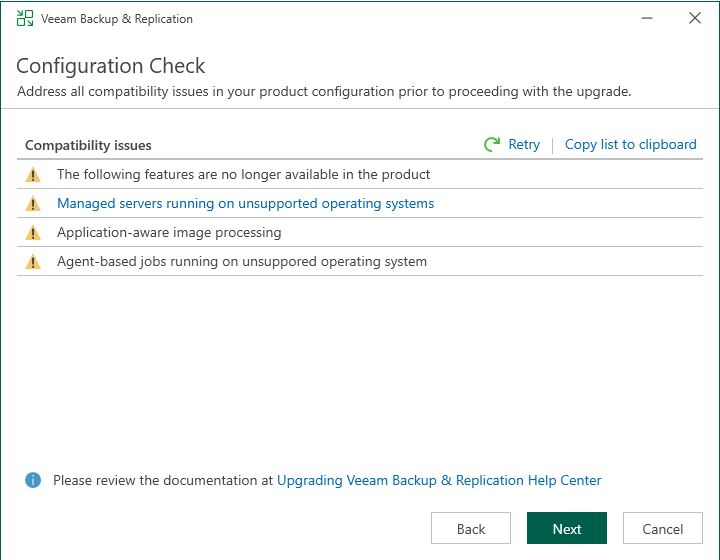
19.On the System Configuration Check page, Veeam will address all compatibility issues automatically, click Next.
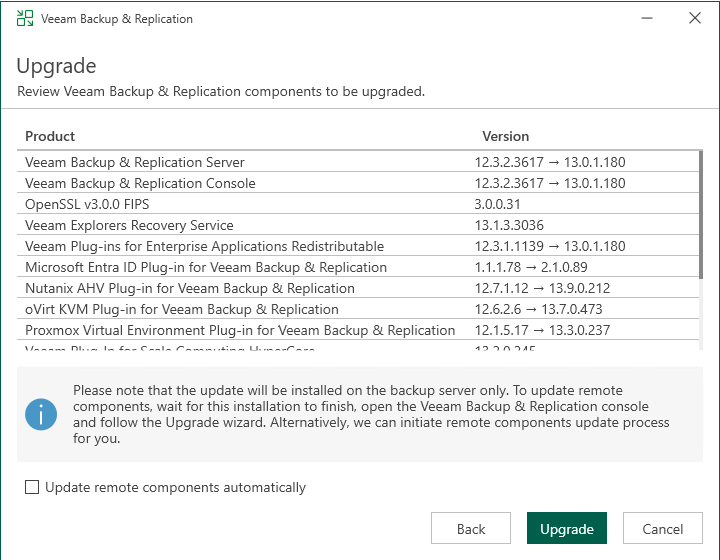
20.Click Upgrade on the Upgrade page.
21.There are 6 steps for upgrading the Veeam Backup & Replication management server.

22.Click Finish on the Veeam Backup & Replication 13 Successfully upgraded page.

23.Open the Veeam Backup & Replication 13 Console and click Connect.

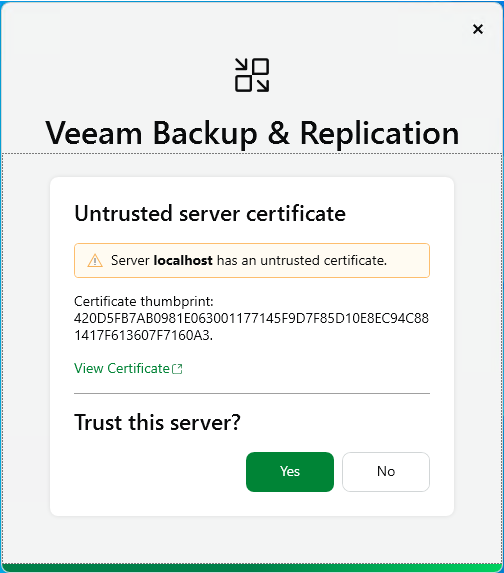
24.Click Yes to Trust this server on Untrusted server certificate page.
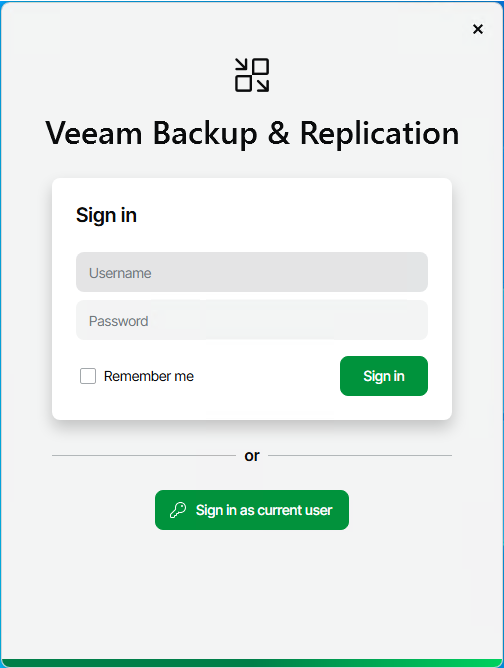
25.Click Sign in as current user or enter the user name and password to sign in.
26.Enter the MFA code on the Confirm MFA page and click Confirm.
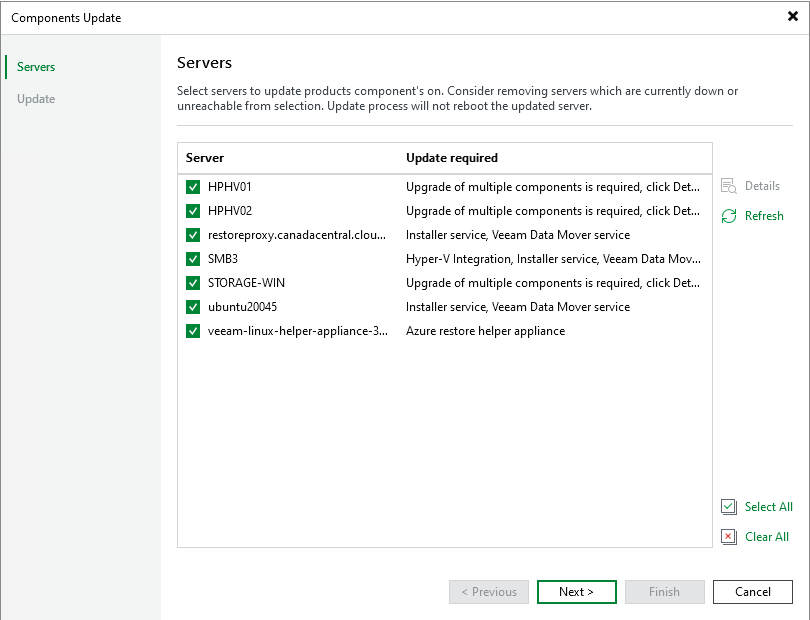
27. Select all servers on the Components Update page and click Next.
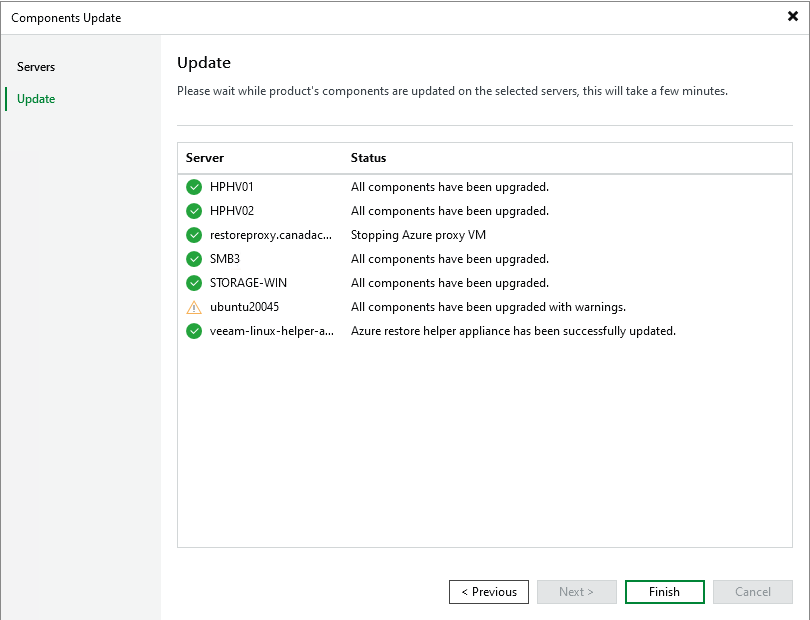
28.On the Components Update page, ensure all components are updated successfully for all servers and click Finish.
29.Verify the Veeam Backup & Replication version from the Veeam Backup & Replication console (Help |About).
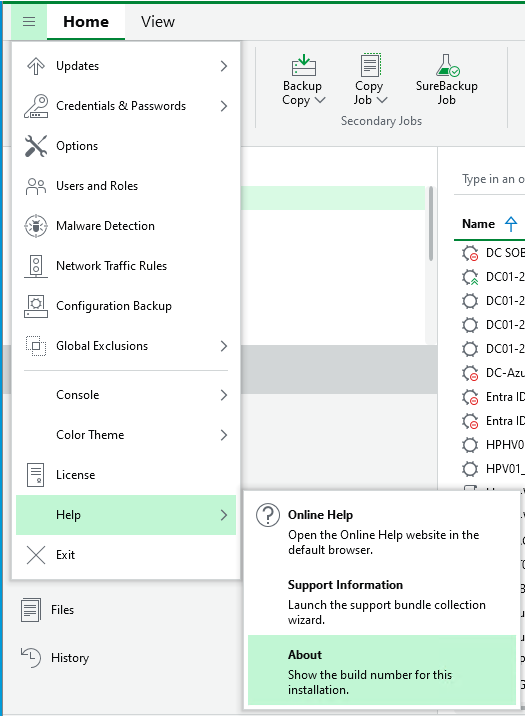
30.Ensure that the version is 13.0.1.180.
31.Select all jobs, right-click and unselect Disable and close the manager console.
32.Mount the Microsoft Windows Server 2025 ISO image file.
33.Run setup.exe.

34.Click Yes on the User Access Control page.
35.Click Next on the Install Windows Server page.

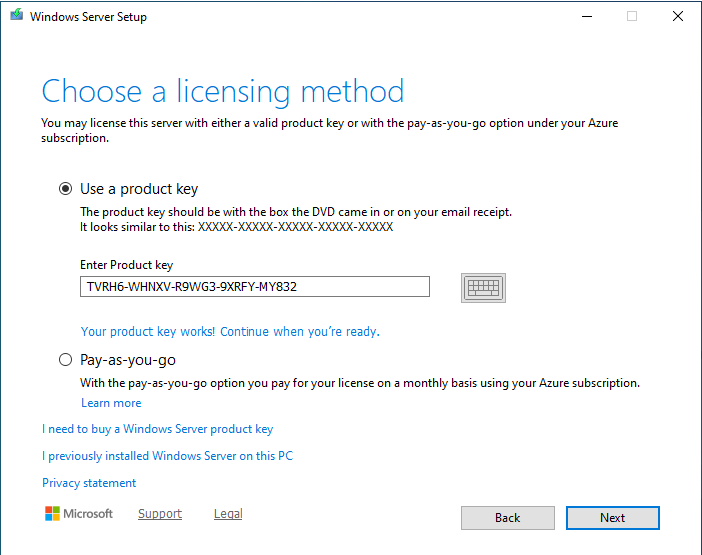
36.Select Use a product key on the Choose a licensing method page.
37.Enter the product key and click Next.
Note:
The Windows Server 2025 product key need to match the existing version.
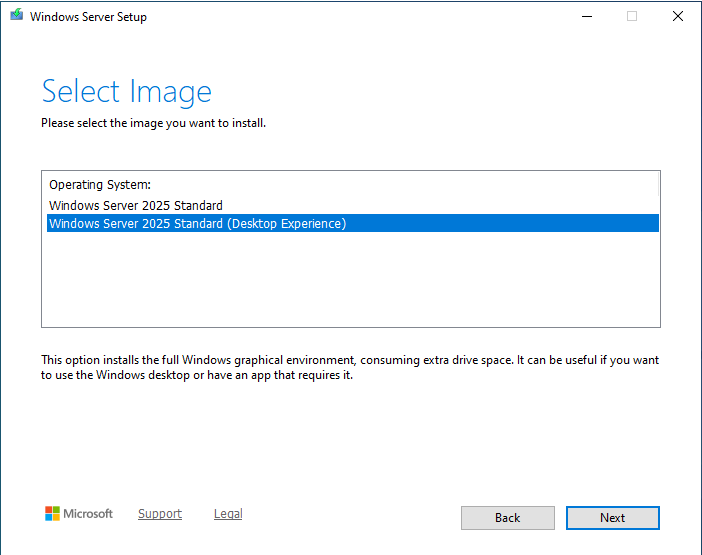
38.Select Windows Server 2025 Standard (Desktop Experience) on the Select Image page and click Next.
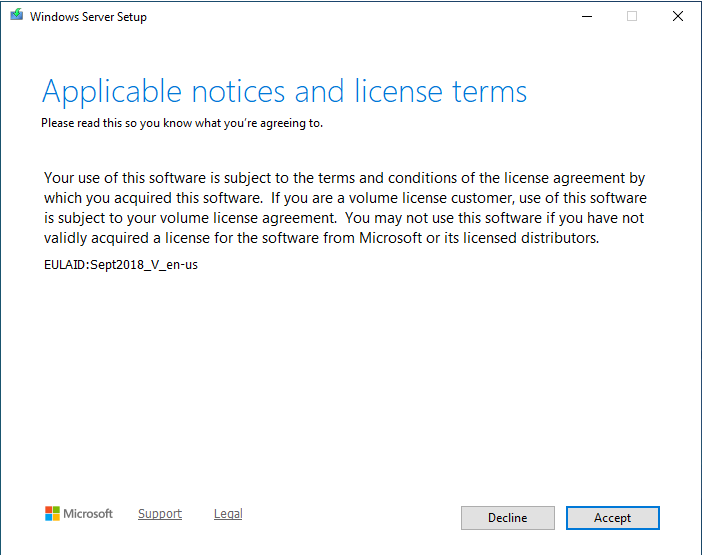
39.Click Accept on the Applicable notices and license terms page.
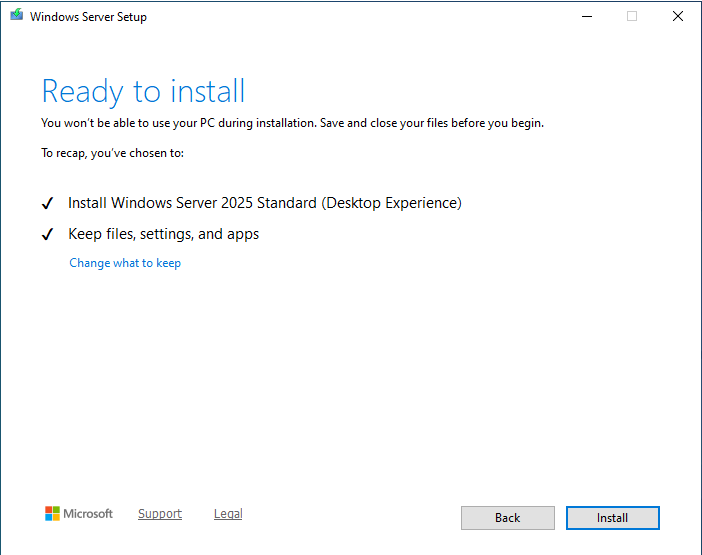
40.select Keep files, settings, and apps on the Choose what to keep page and click Next.
41.Click Install on the Ready to install page.
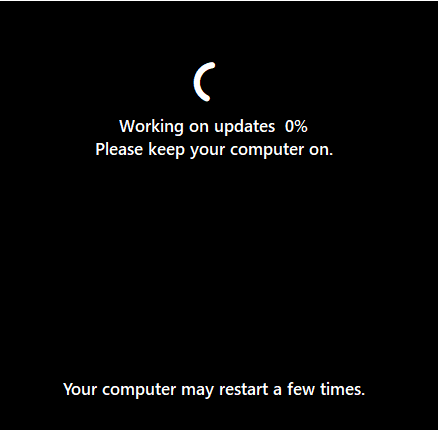
42.The server will reboot after install.
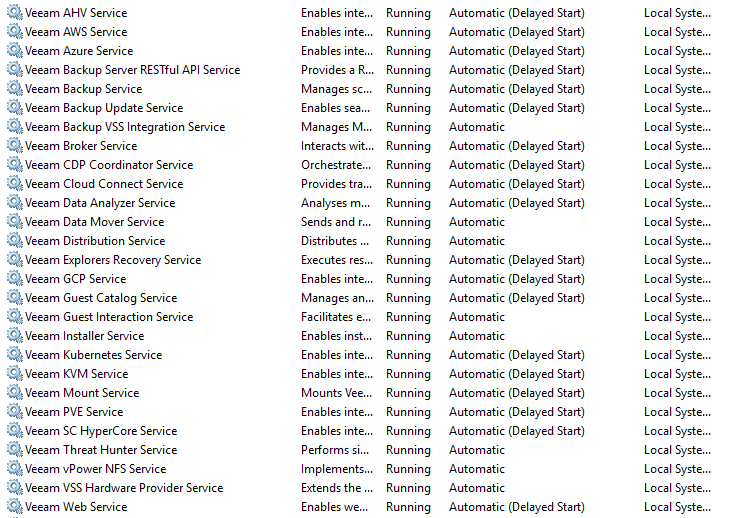
43.Ensure all Veeam services are up and running.
44.Open the Veeam Backup & Replication Console and click Connect.
45.On the Veeam Backup & Replication Sign in page, click Sign in as current user (or enter the user name and password).

46.Enter the confirmation code on the Confirm MFA page and click Confirm.
47.Ensure you can connect to the Veeam Backup & Replication manager server without issue.
I hope you enjoy this post.
Cary Sun
X: @SifuSun
Web Site: carysun.com
Blog Site: checkyourlogs.net
Blog Site: gooddealmart.com
Amazon Author: Amazon.com/author/carysun
Author: Cary Sun
Cary Sun has a wealth of knowledge and expertise in data center and deployment solutions. As a Principal Consultant, he likely works closely with clients to help them design, implement, and manage their data center infrastructure and deployment strategies.
With his background in data center solutions, Cary Sun may have experience in server and storage virtualization, network design and optimization, backup and disaster recovery planning, and security and compliance management. He holds CISCO CERTIFIED INTERNETWORK EXPERT (CCIE No.4531) from 1999. Cary is also a Microsoft Most Valuable Professional (MVP), Microsoft Azure MVP, Veeam Vanguard and Cisco Champion. He is a published author with several titles, including blogs on Checkyourlogs.net, and the author of many books.
Cary is a very active blogger at checkyourlogs.net and is permanently available online for questions from the community. His passion for technology is contagious, improving everyone around him at what they do.
Blog site: https://www.checkyourlogs.net
Web site: https://carysun.com
Blog site: https://gooddealmart.com
Twitter: @SifuSun
in: https://www.linkedin.com/in/sifusun/
Amazon Author: https://Amazon.com/author/carysun