Veeam Backup & Replication v13 is available for Microsoft Windows as self-managed installable software and as a fully managed software appliance.
The Veeam Backup & Replication console is installed on the backup server automatically when you install Veeam Backup & Replication v13. You can utilize the web user interface (UI) or install the Veeam Backup & Replication console on a dedicated computer to access Veeam Backup & Replication remotely.
Note:
- The Veeam Backup & Replication web UI is not available in the Community Edition. A valid license is required to use this functionality.
- Only the Veeam Backup Administrator can log in to the web UI.
1.Login to the Veeam Backup and Replication Management Server.
2.Sign in to your Veeam account and download the Veeam Backup and Replication v13 software.
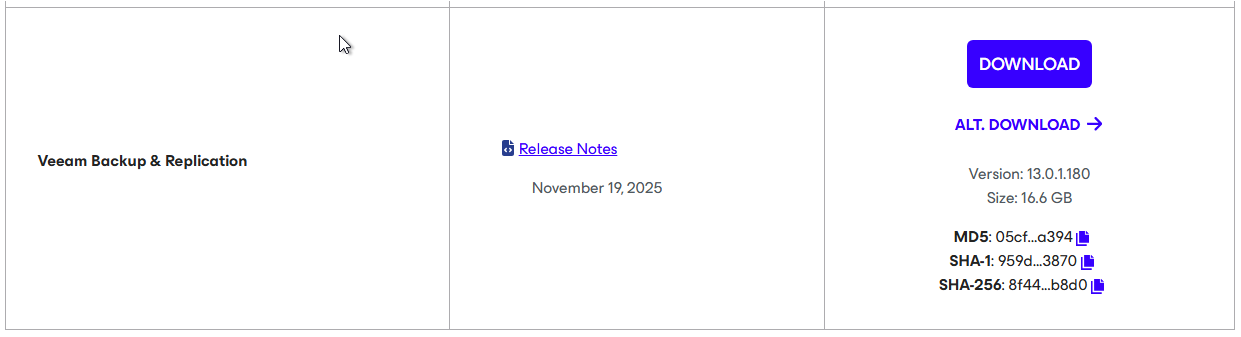
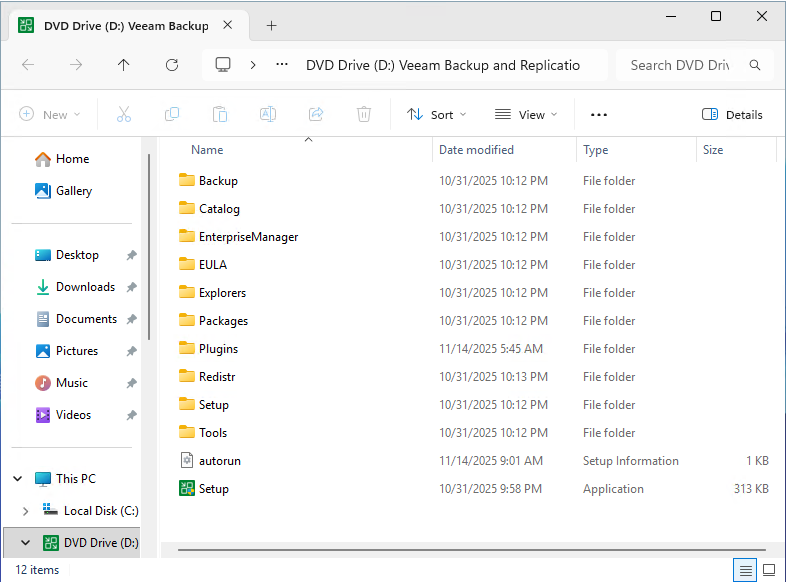
3.Mount VeeamBackup&Replication_13.0.1.180_20251114.iso file.
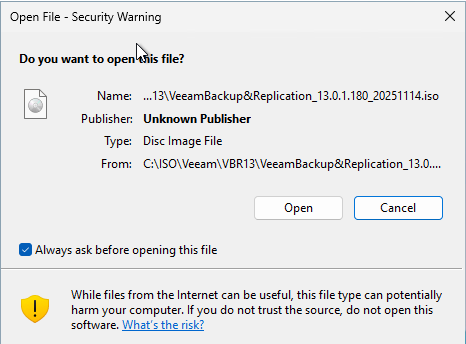
4.Run Setup.exe.
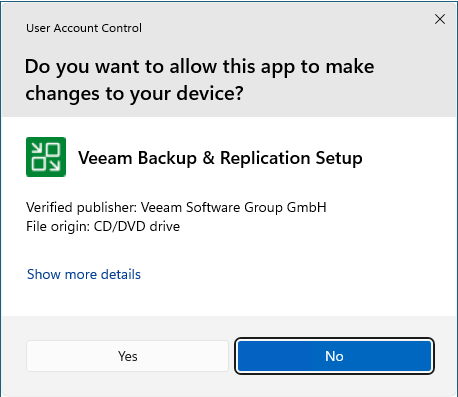
5.On the User Account Control page, click Yes.
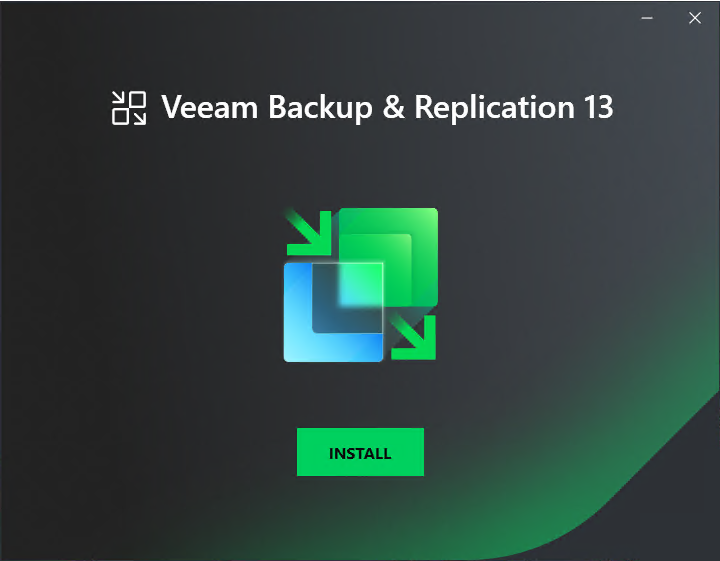
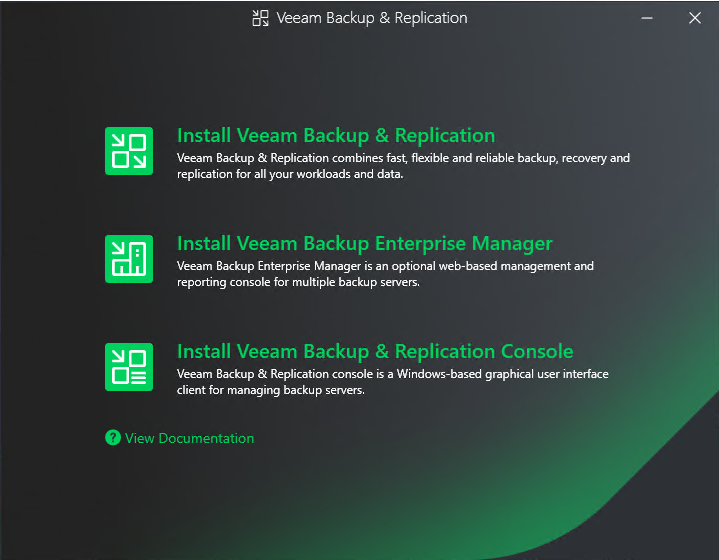
6.On the Veeam Backup & Replication 13 page, click Install.
7.Select Install Veeam Backup & Replication.
8.Select I accept on the License Agreement page.

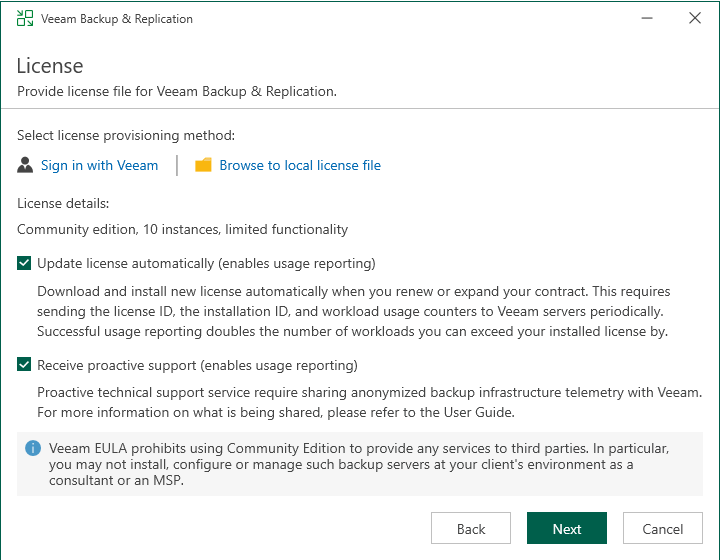
9.On the License page, click Browse to local license file.
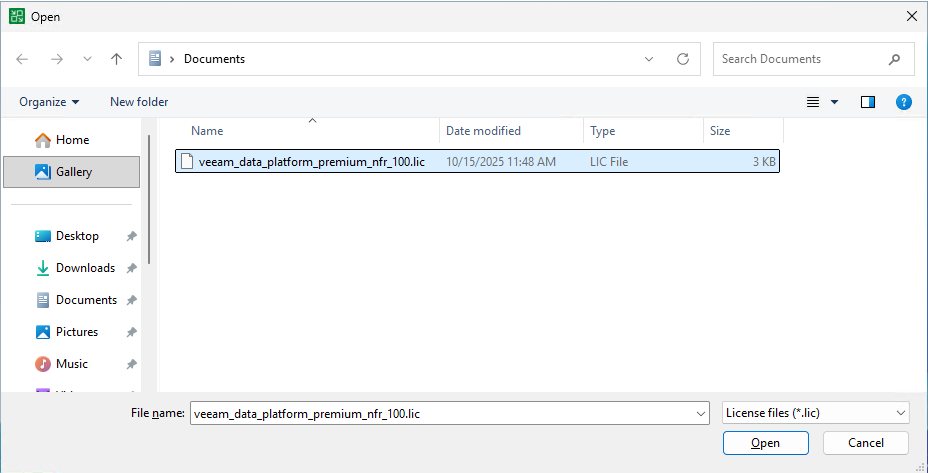
10.Select a valid license file for Veeam Backup & Replication, click Open.
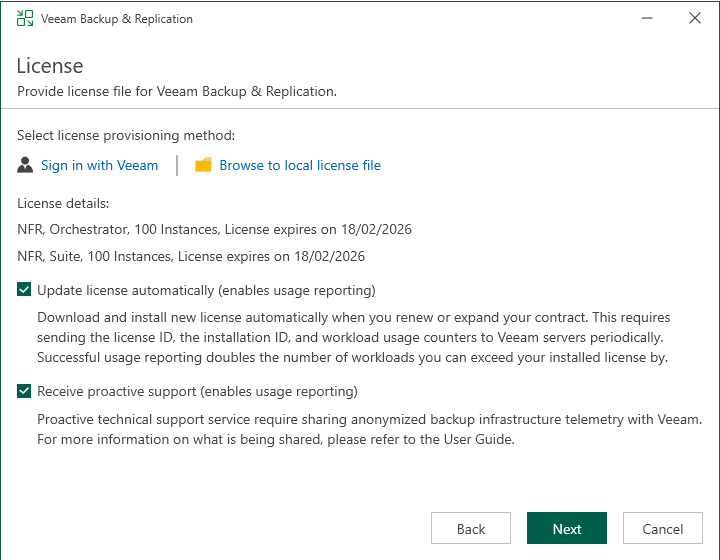
11.Click Next on the License page.
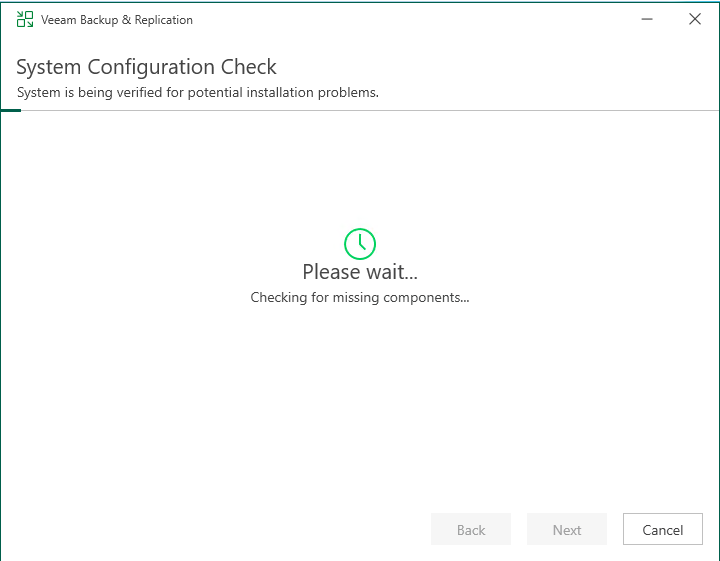
12.On the System Configuration Check page, the setup wizard checks if all prerequisite software is installed on the machine. If required software components are missing, the setup wizard will install them.
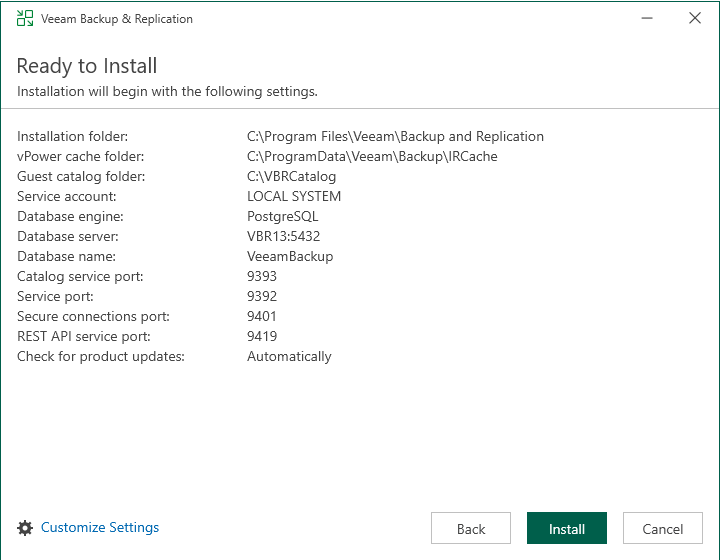
13.Click Install on the Ready to Install page.
14.If you would like to specify custom installation settings, select Customize Settings, click Next.
15. On the Service Account page, select LOCAL SYSTEM account or specify another user account, click Next.
Note:
The user name of the account must be specified in the DOMAIN\USERNAME format.
The user account must have the following rights and permissions:
- The account must be a member of the Administrators group on the machine where Veeam Backup & Replication is installed.
- The account must have db_owner rights for the configuration database.

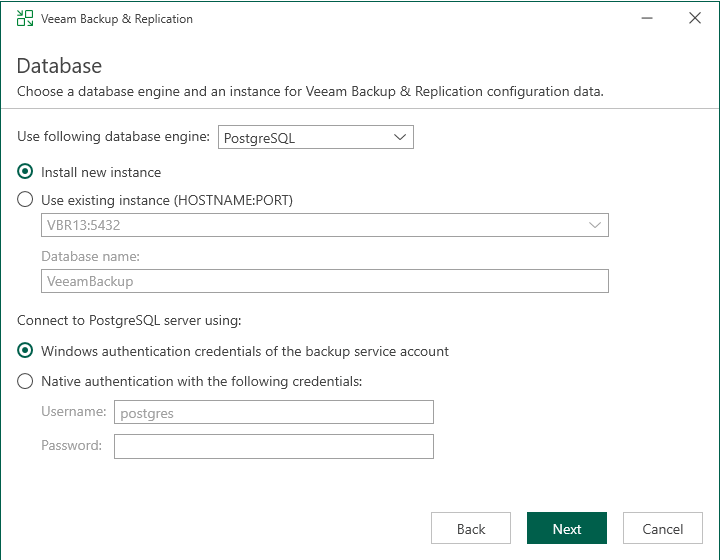
16.On the Database page, specify the database engine as PostgreSQL Server or Microsoft SQL Server.
17.If you select PostgreSQL Server and a PostgreSQL Server is not installed locally or remotely, select the Install a new instance of PostgreSQL Server.
18.If a PostgreSQL Server is already installed locally or remotely, select the Use existing instance of PostgreSQL Server, enter the instance name in the HOSTNAME: Port number format. In the Database field, specify a name for the Veeam Backup & Replication configuration database.
19.Select an authentication mode to connect to the PostgreSQL Server instance: Windows authentication or PostgreSQL Server authentication. If you select the PostgreSQL Server authentication, enter credentials for the PostgreSQL Server account, click Next.
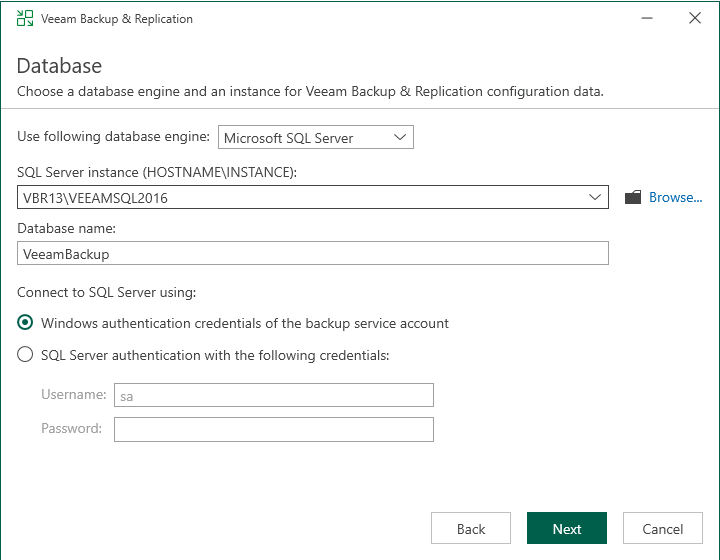
20.If you select Microsoft SQL Server and a Microsoft SQL Server is not installed locally or remotely, select the Install a new instance of Microsoft SQL Server.
21.If a Microsoft SQL Server is already installed locally or remotely, select the Use existing instance of SQL Server, enter the instance name in the HOSTNAME\INSTANCE format. In the Database field, specify a name for the Veeam Backup & Replication configuration database.
22.Select an authentication mode to connect to the Microsoft SQL Server instance: Microsoft Windows authentication or SQL Server authentication. If you select the SQL Server authentication, enter credentials for the Microsoft SQL Server account, click Next.
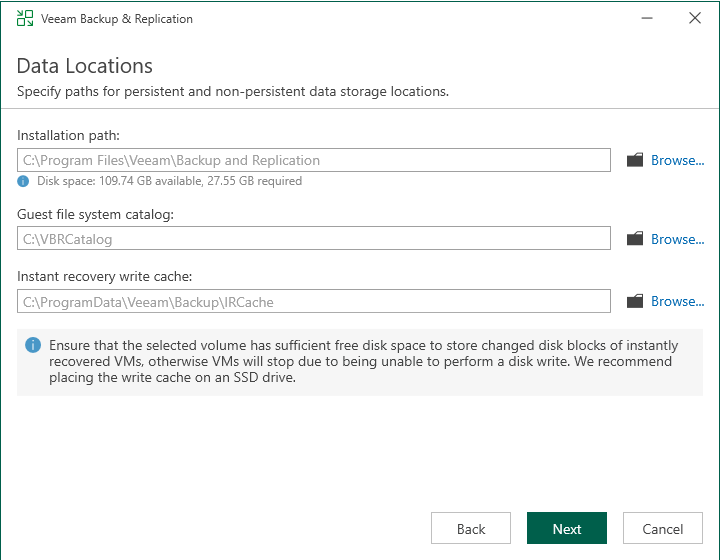
23.On the Data Locations page, specify where the write cache and indexing data must be stored, click Next.
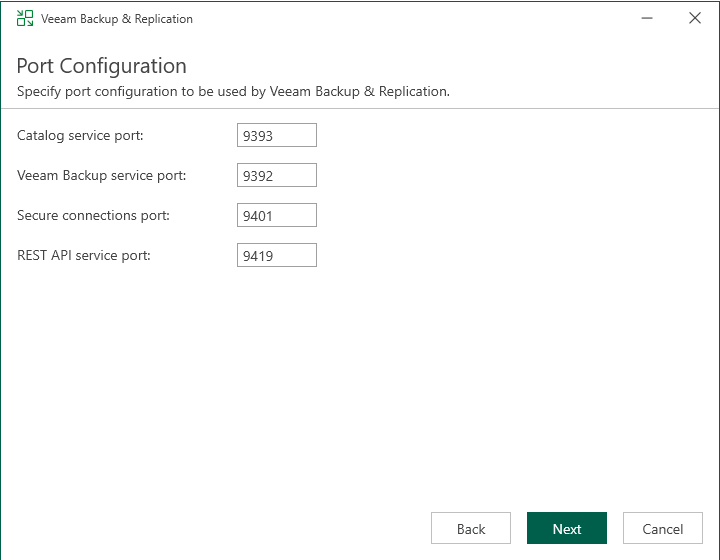
24.On the Port Configuration page, customize port number values that will be used for communication between backup infrastructure components, click Next.
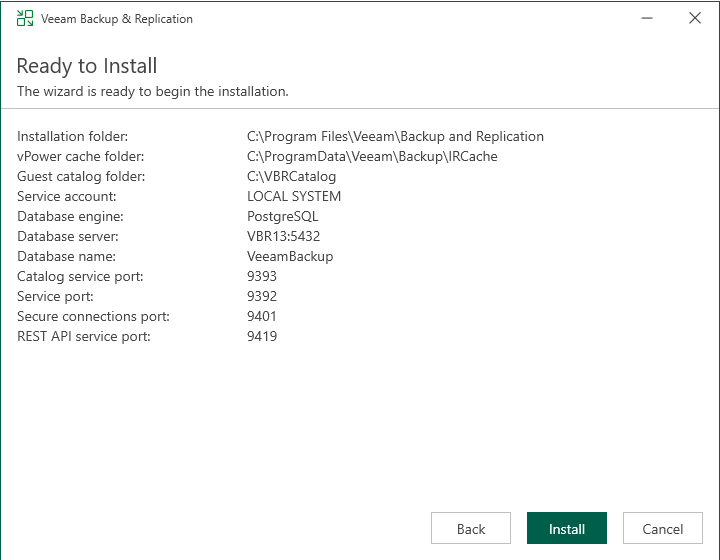
25.On the Ready to Install page, verify Veeam Backup & Replication installation settings, and click Install.
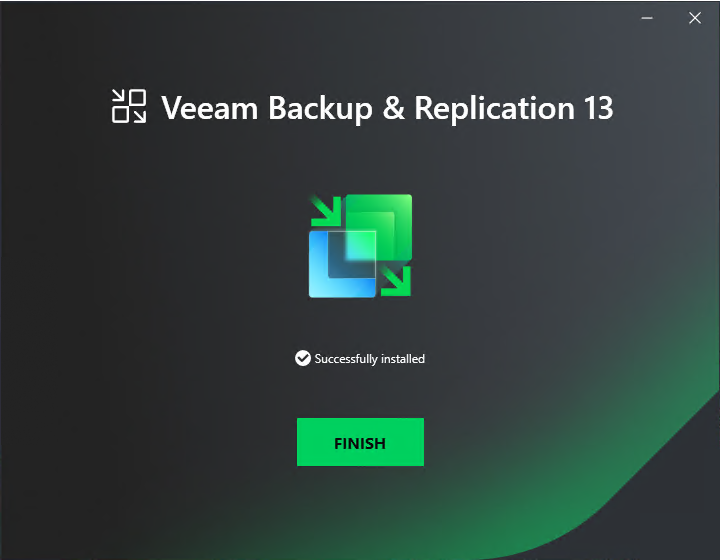
26.Click Finish on the Completing Veeam Backup & Replication 13 Setup Wizard page.
I hope you enjoy this post.
Cary Sun
X: @SifuSun
Web Site: carysun.com
Blog Site: checkyourlogs.net
Blog Site: gooddealmart.com
Amazon Author: Amazon.com/author/carysun
Author: Cary Sun
Cary Sun has a wealth of knowledge and expertise in data center and deployment solutions. As a Principal Consultant, he likely works closely with clients to help them design, implement, and manage their data center infrastructure and deployment strategies.
With his background in data center solutions, Cary Sun may have experience in server and storage virtualization, network design and optimization, backup and disaster recovery planning, and security and compliance management. He holds CISCO CERTIFIED INTERNETWORK EXPERT (CCIE No.4531) from 1999. Cary is also a Microsoft Most Valuable Professional (MVP), Microsoft Azure MVP, Veeam Vanguard and Cisco Champion. He is a published author with several titles, including blogs on Checkyourlogs.net, and the author of many books.
Cary is a very active blogger at checkyourlogs.net and is permanently available online for questions from the community. His passion for technology is contagious, improving everyone around him at what they do.
Blog site: https://www.checkyourlogs.net
Web site: https://carysun.com
Blog site: https://gooddealmart.com
Twitter: @SifuSun
in: https://www.linkedin.com/in/sifusun/
Amazon Author: https://Amazon.com/author/carysun