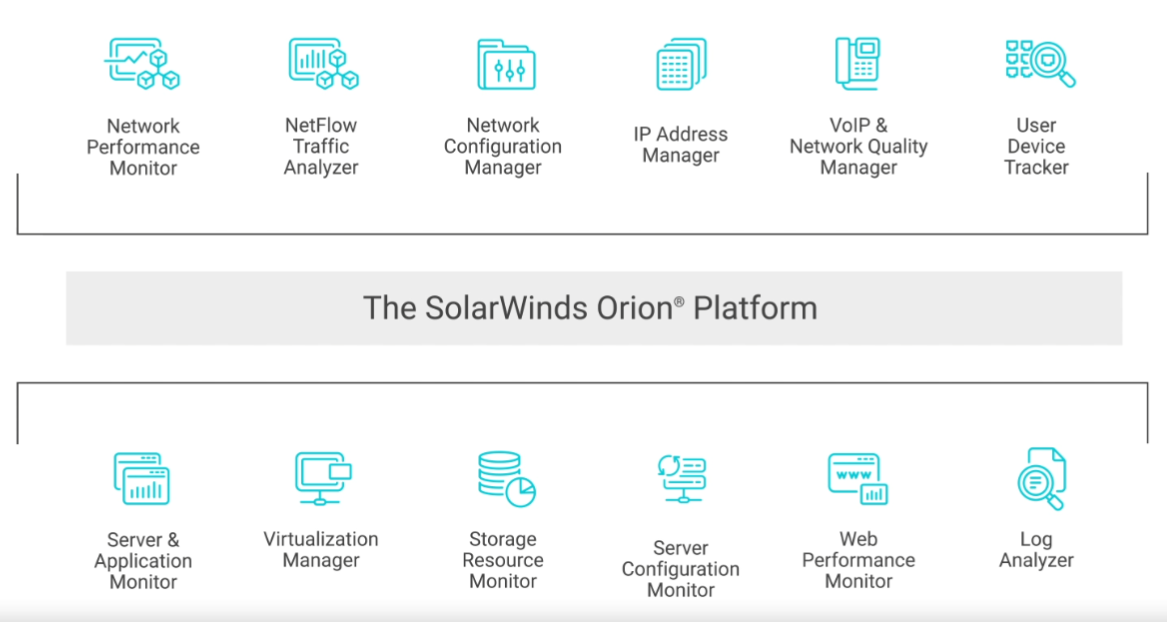

The SolarWinds® Orion® Platform is a powerful, scalable infrastructure monitoring and management platform designed to simplify IT administration for on-premises, hybrid, and software as a service (SaaS) environments in a single pane of glass.
Today I am going to show you how to install the SolarWinds® Orion® Platform.
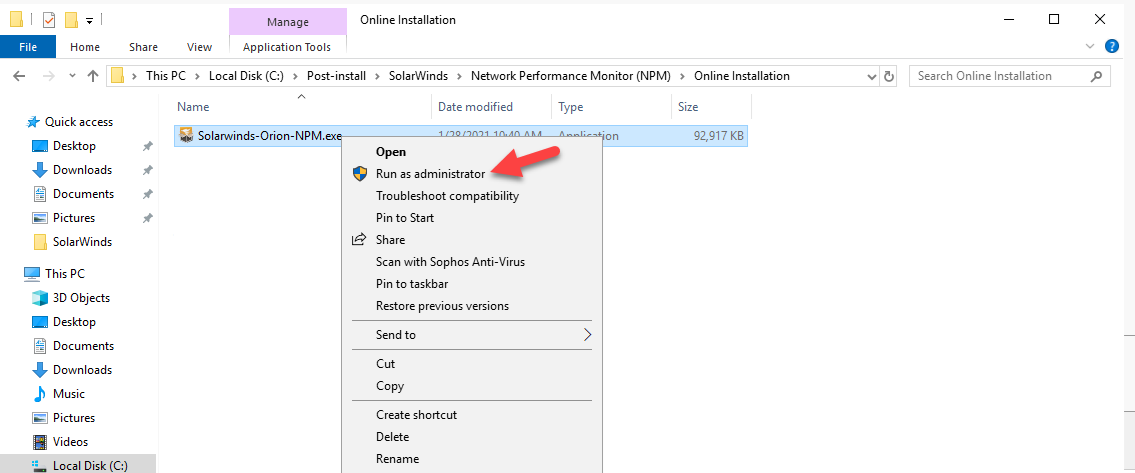
1.Run Solarwinds-Orion-NPM.exe file at your primary Orion server as Administrator.
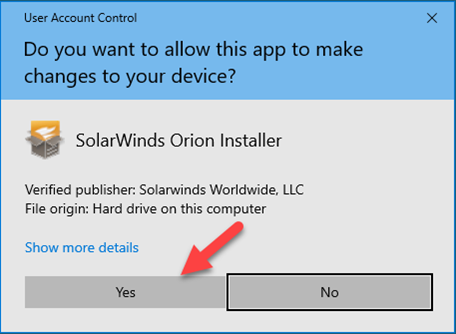
2.On the User Account Control page, click Yes.
3.On the Welcome page, select Standard Installation, click NEXT.
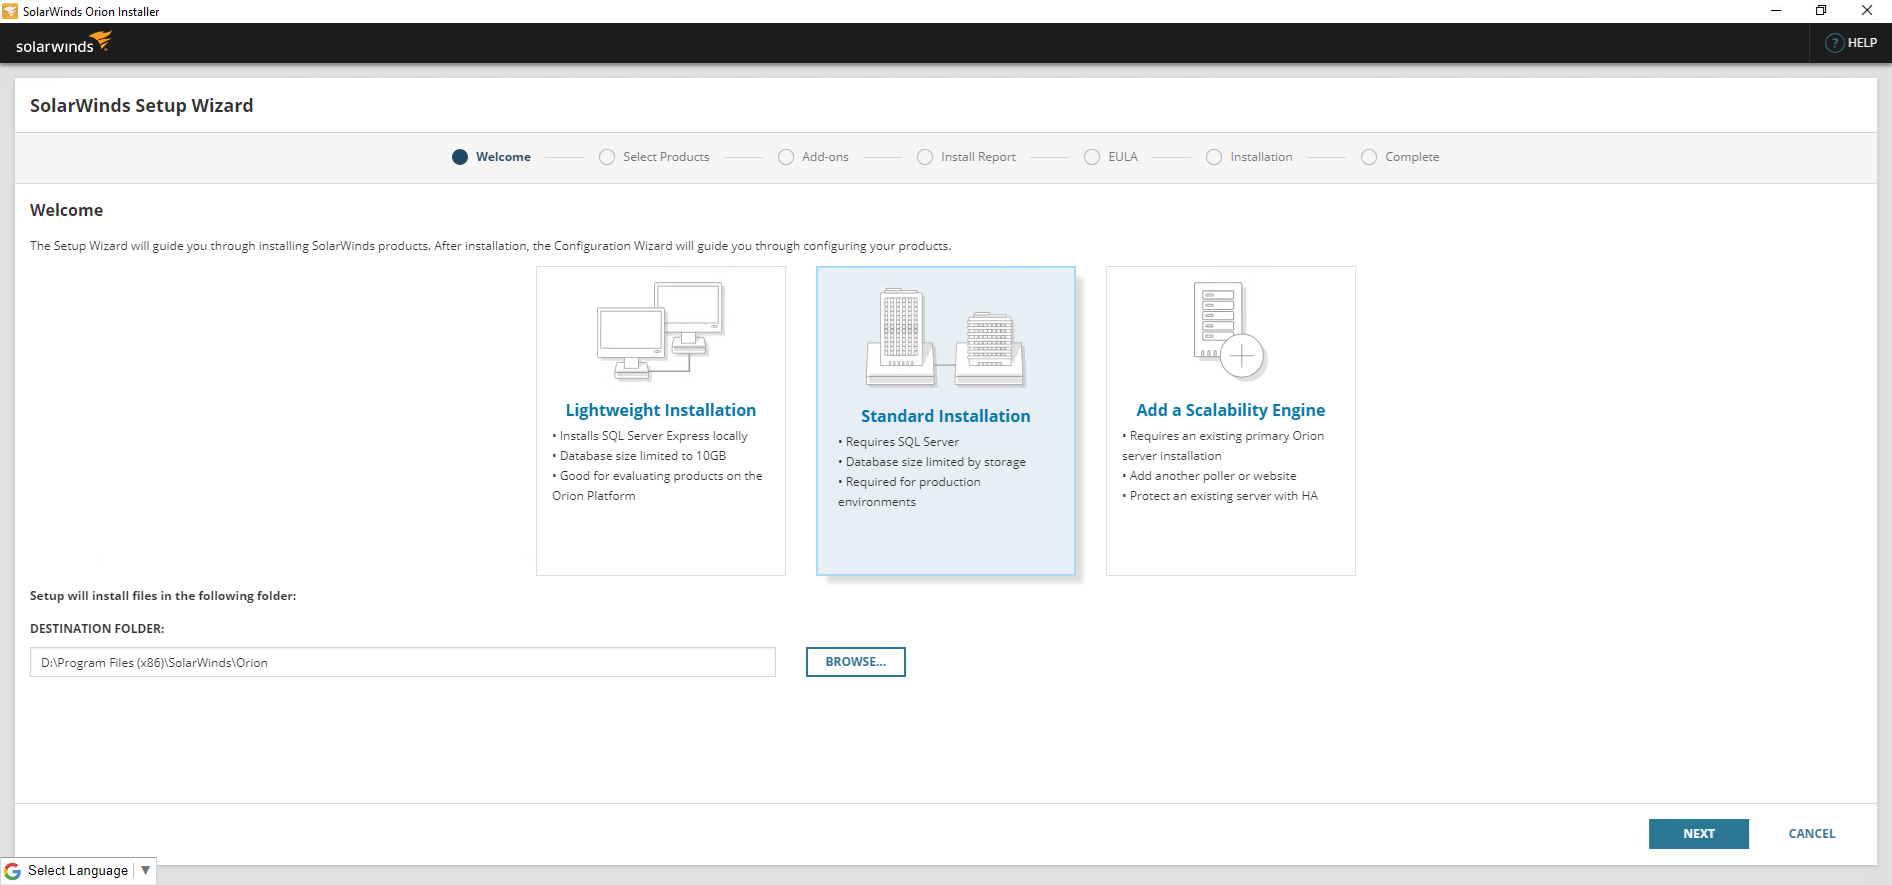
4.On the Select Products page, under select products, select products that you would like to install, click NEXT.
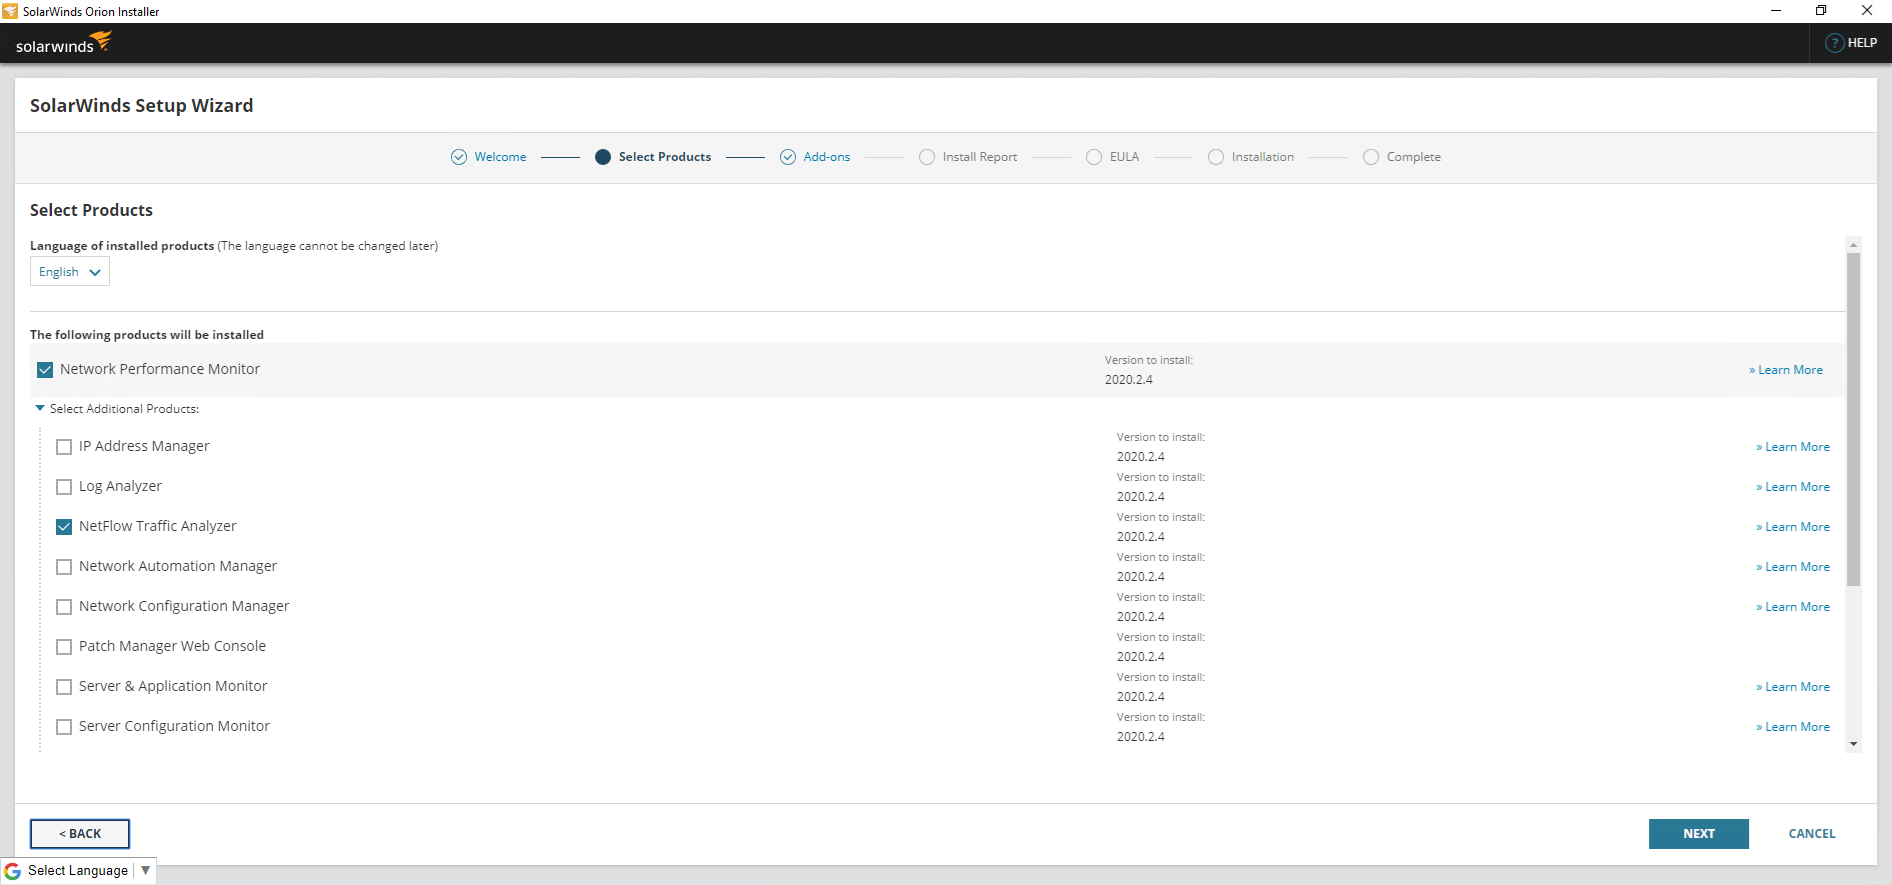
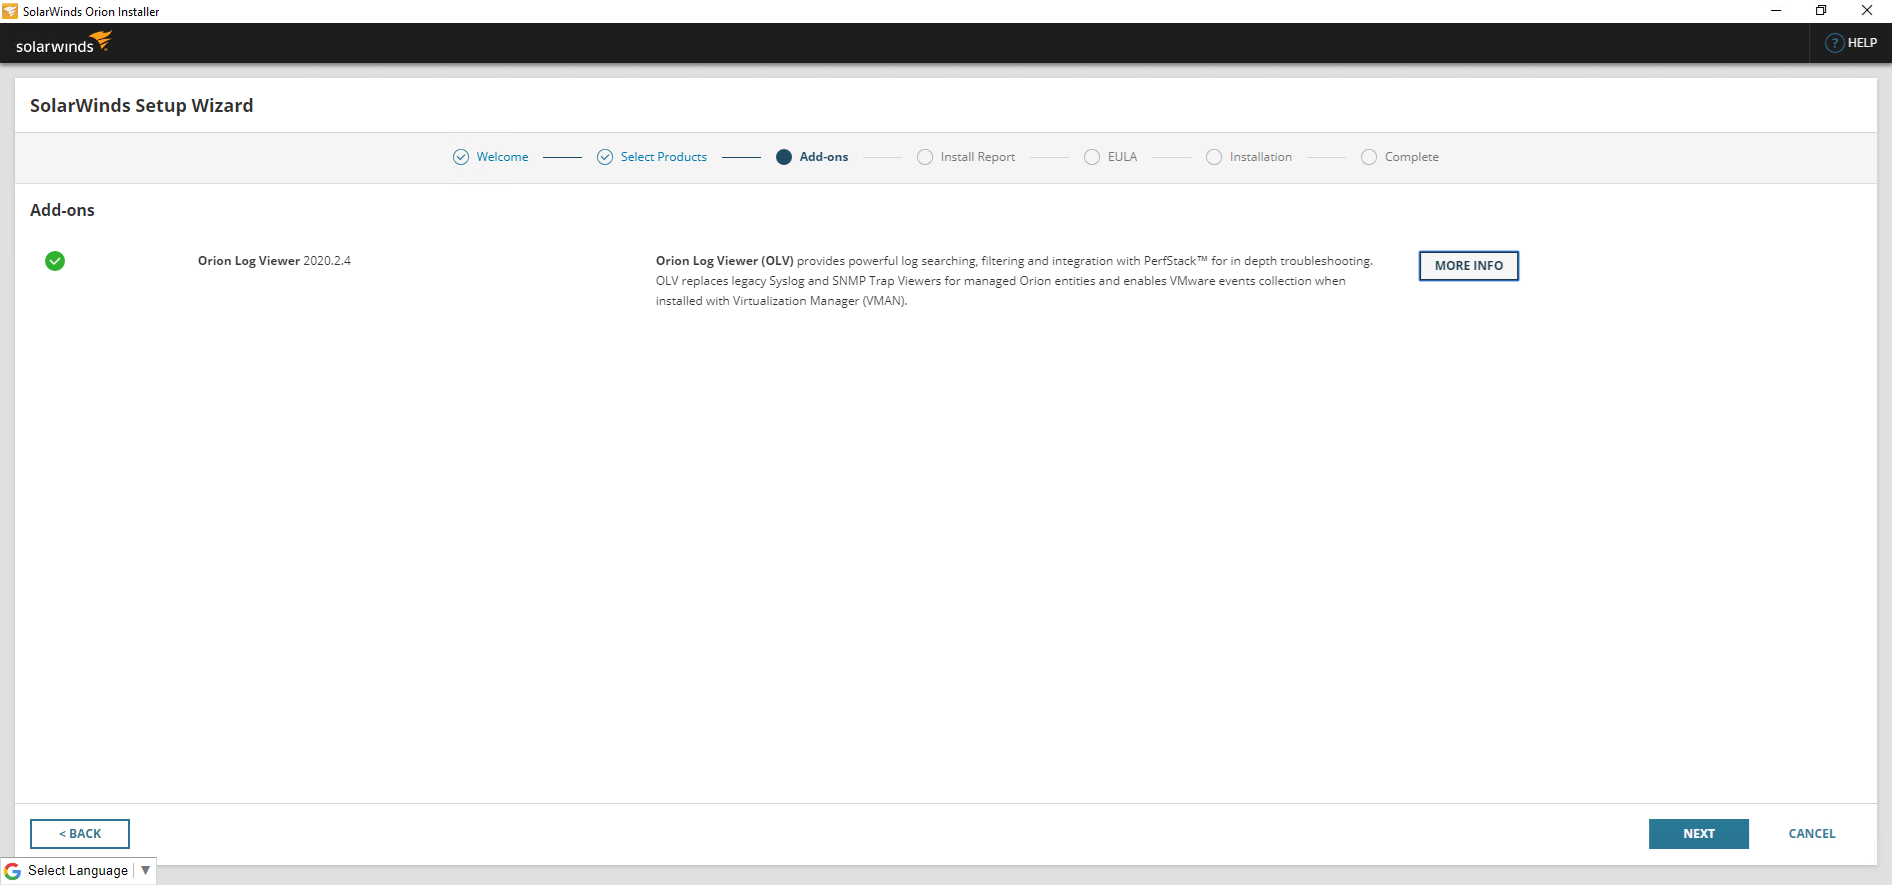
5.On the Add-ons page, click MORE INFO at Orion Log Viewer.
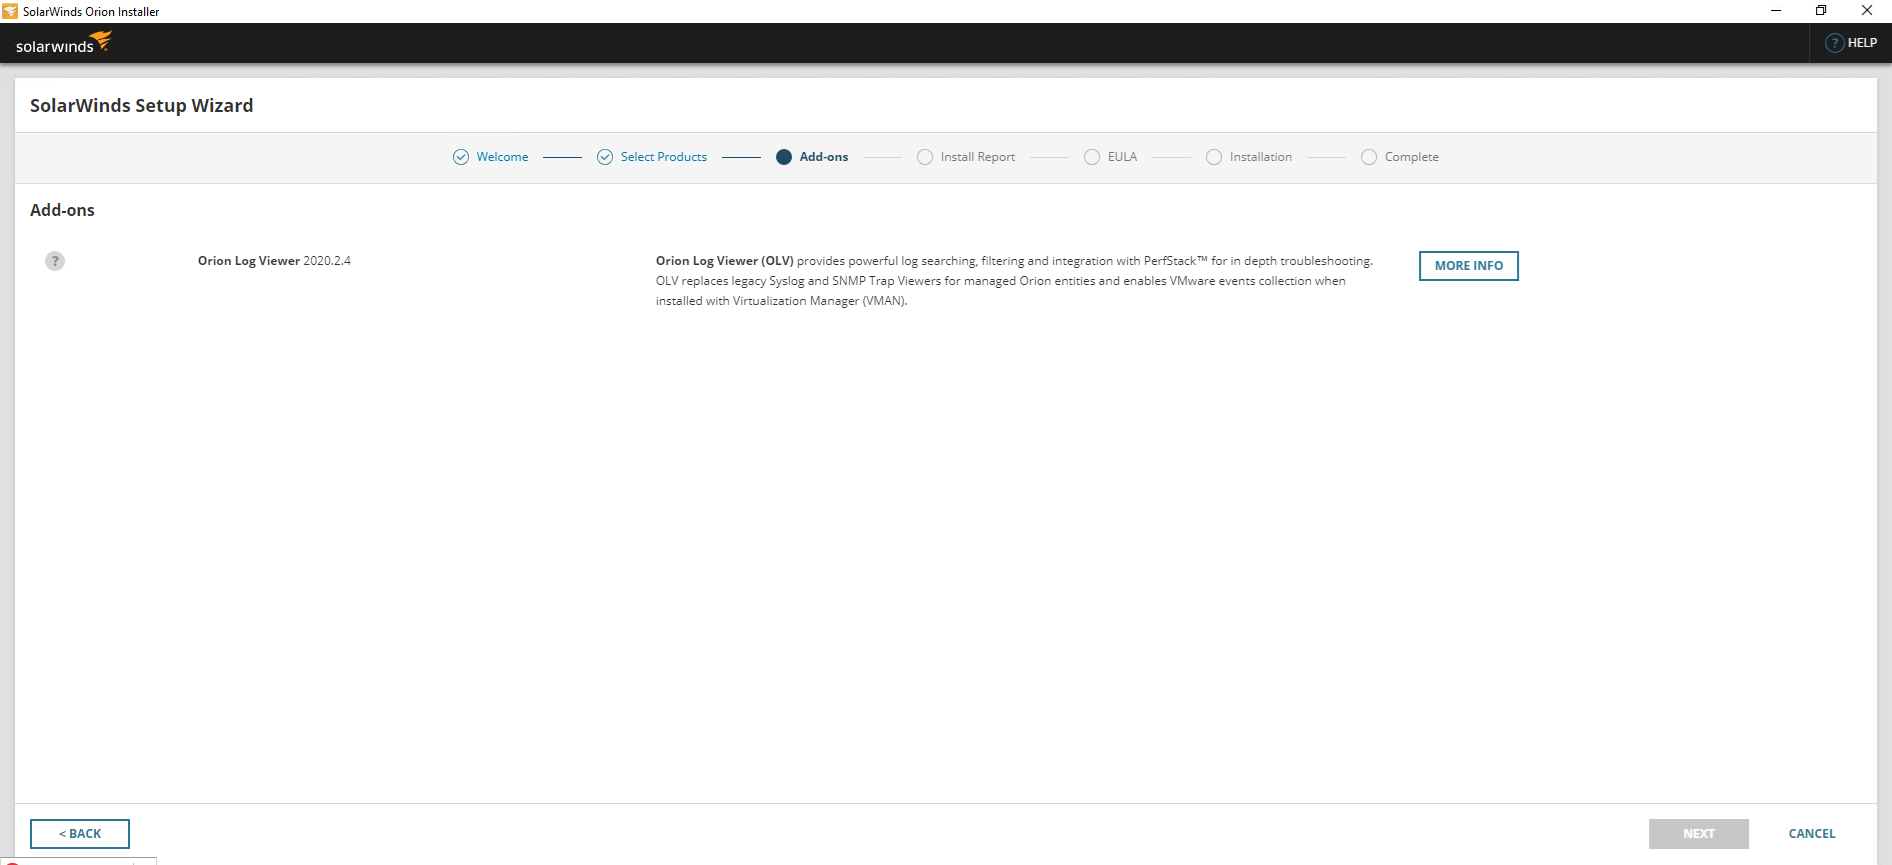
6.On the Orion Log Viewer Add-on page, select Confirm: Yes, install this add-on, click CONFIRM.
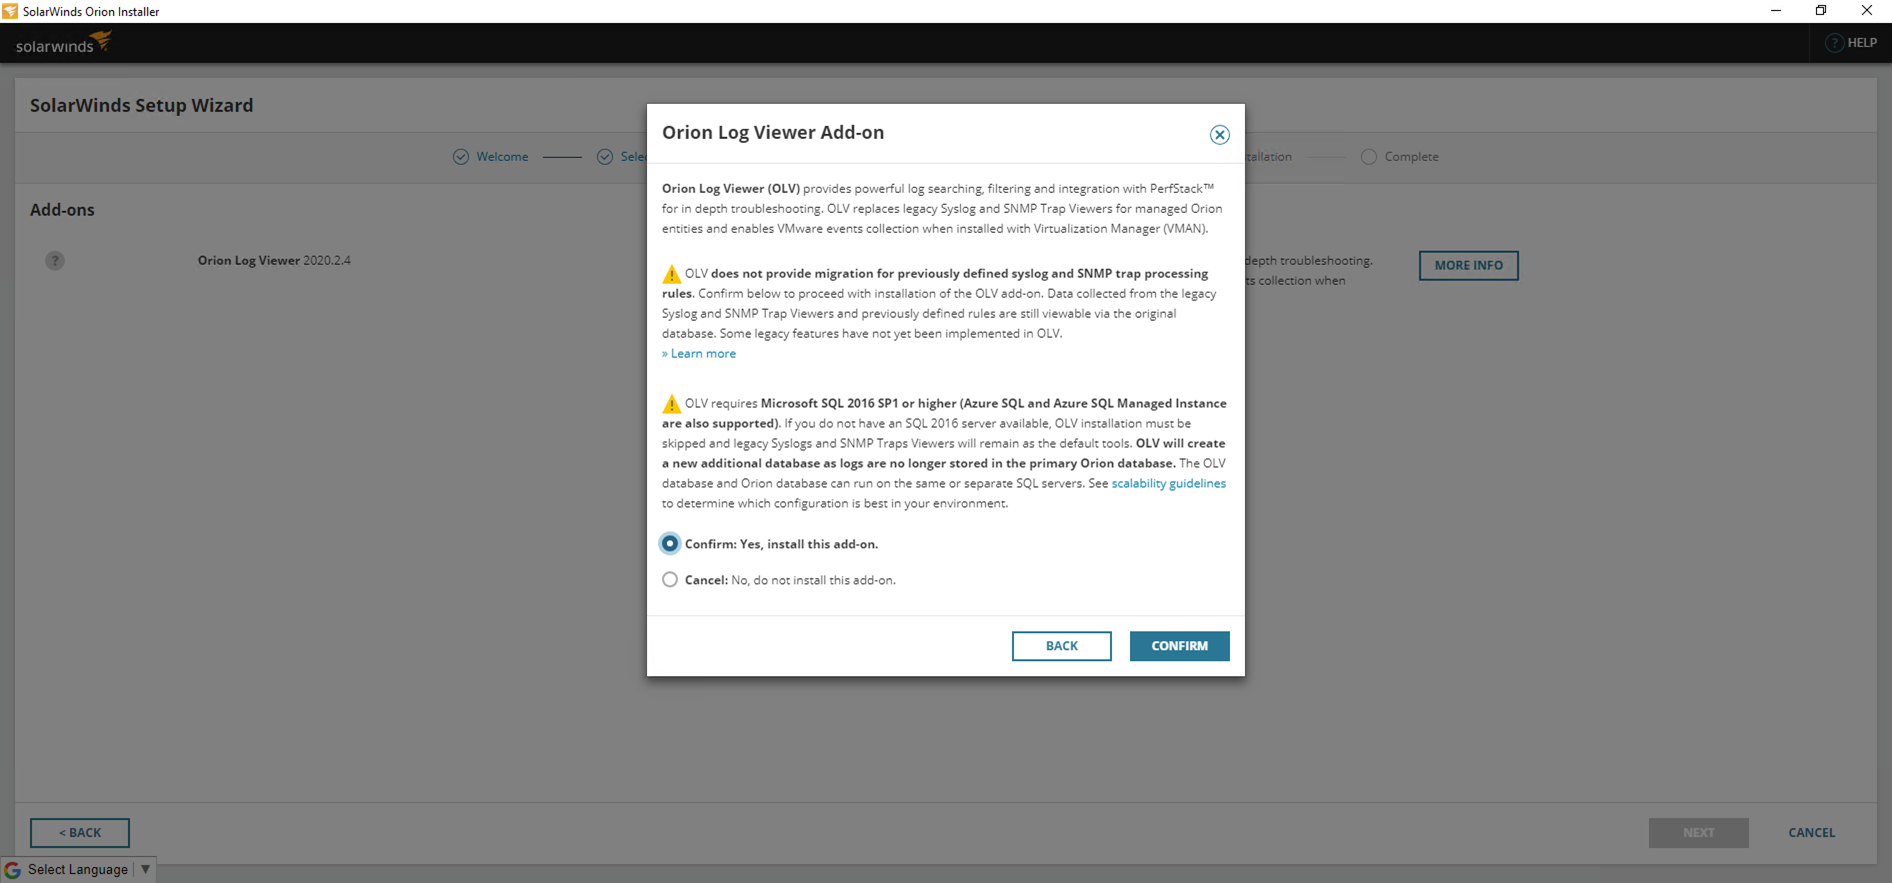
7.On the Add-ons page, click NEXT.
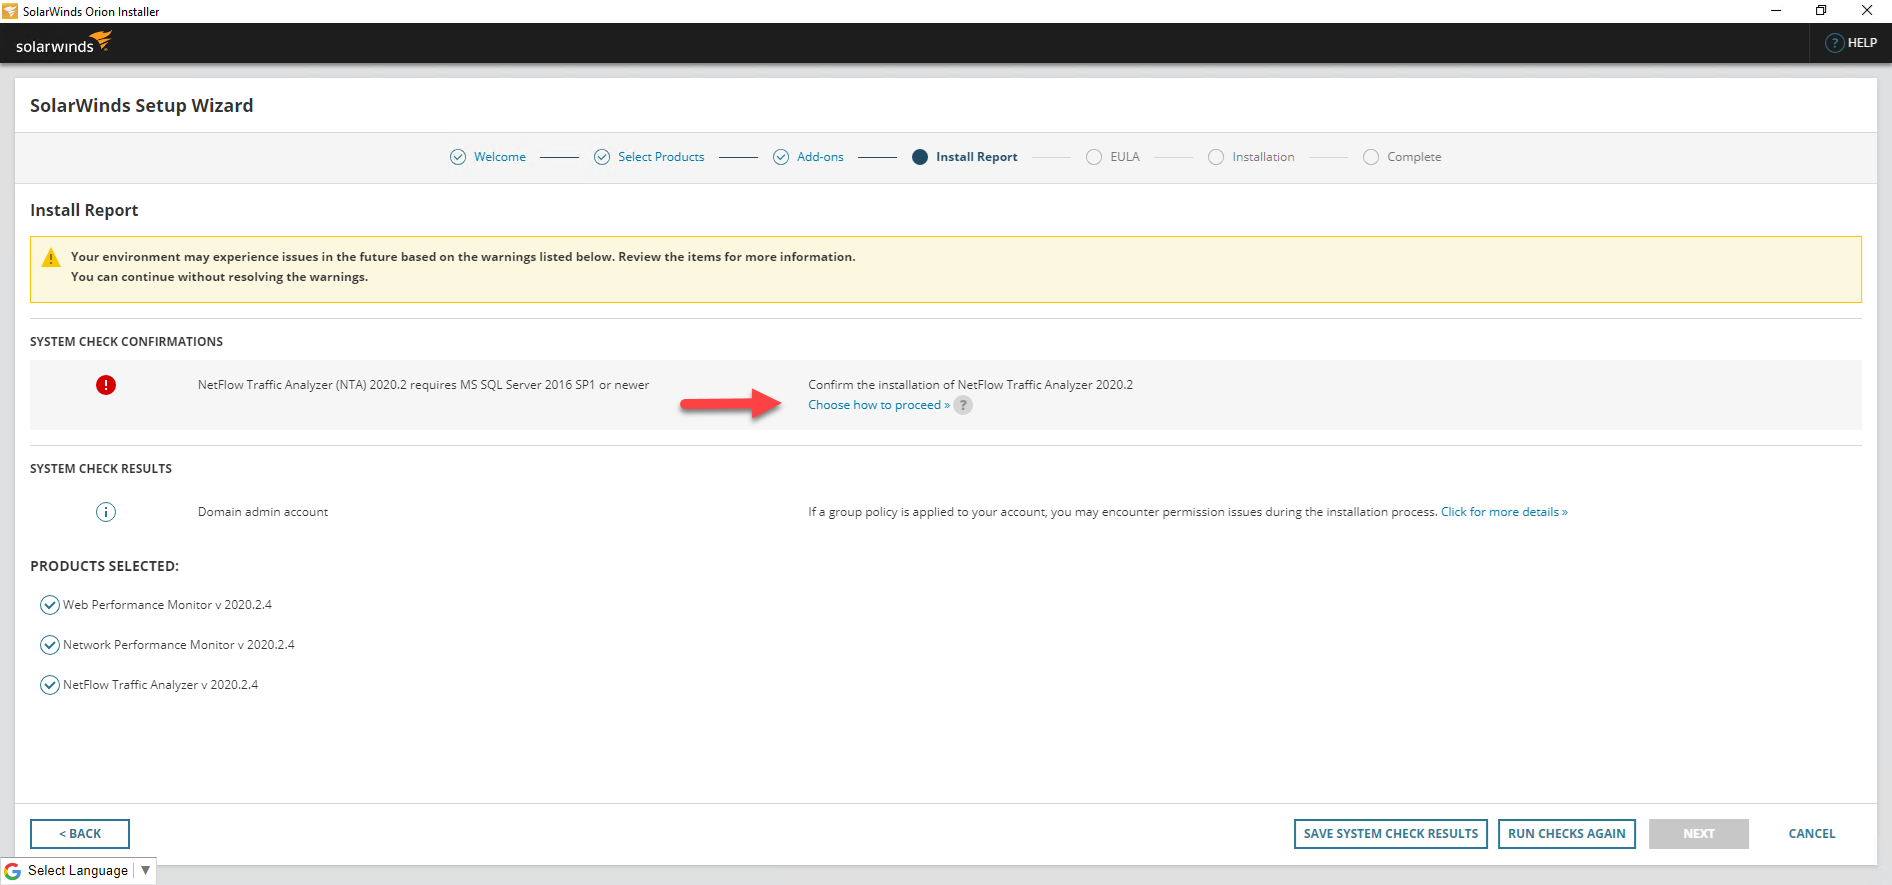
8.On the Install Report page, click Choose how to proceed at SYSTEM CHECK CONFIRMATIONS.
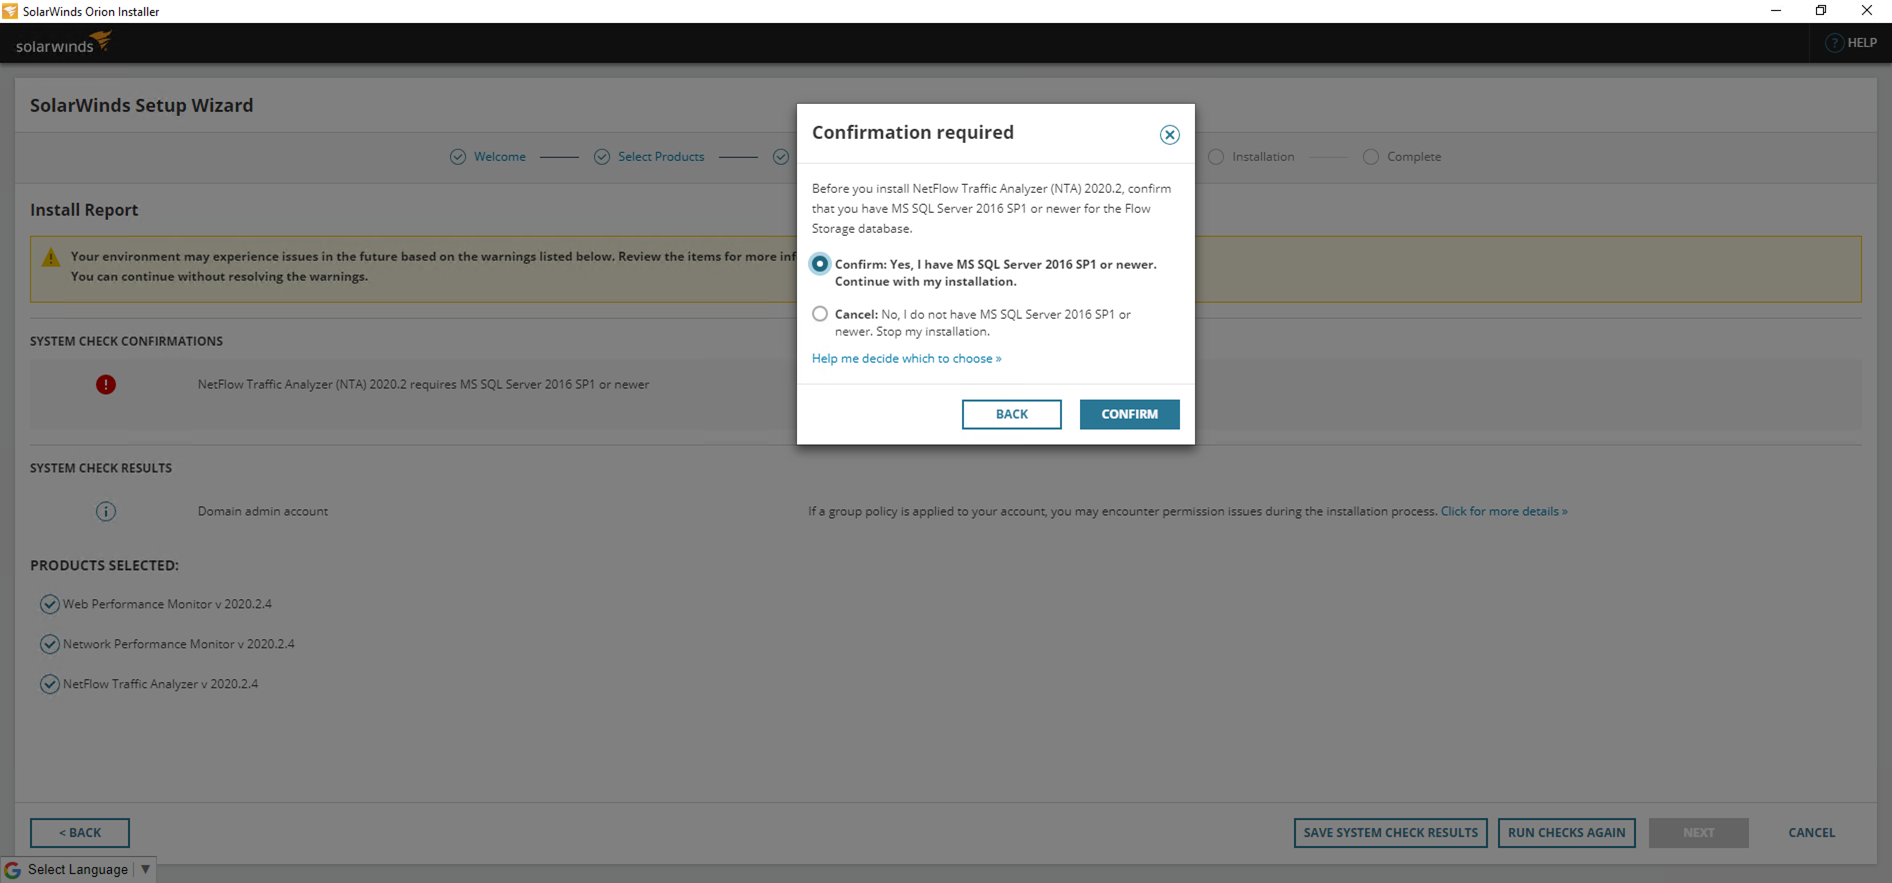
9.On the Confirmation required page, select Confirm: Yes, I have MS SQL Server 2016 SP1 or newer. Continue with my installation, click CONFIRM.
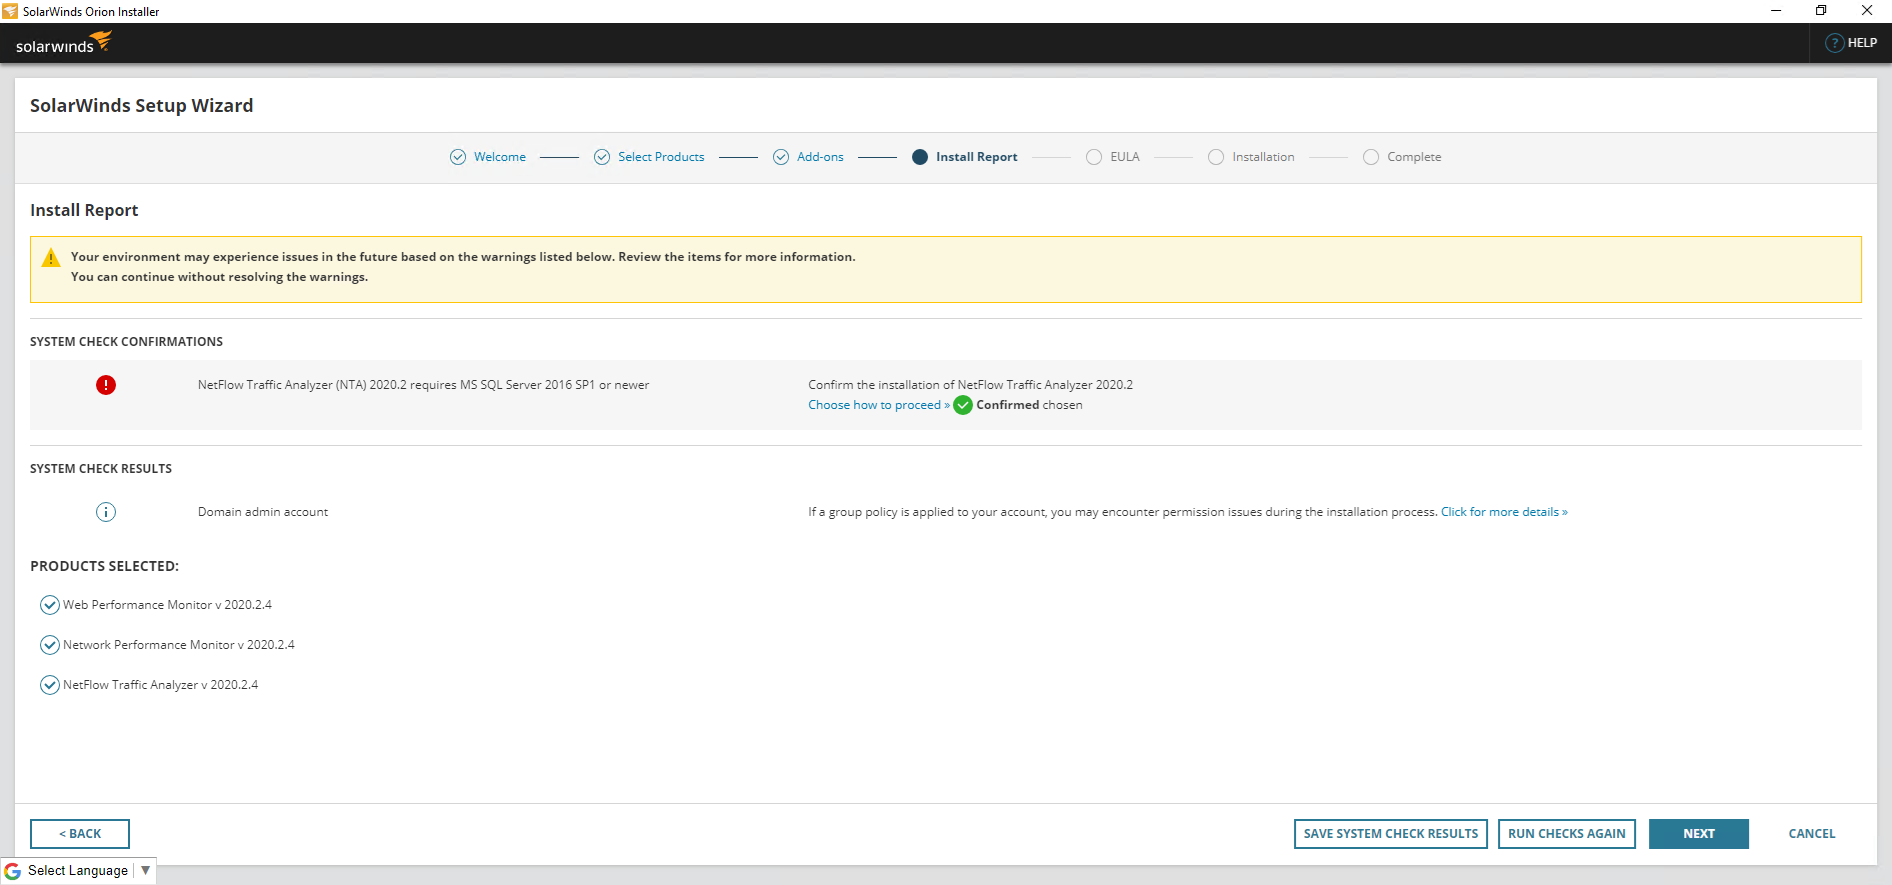
10.On the Install Report page, click Next.
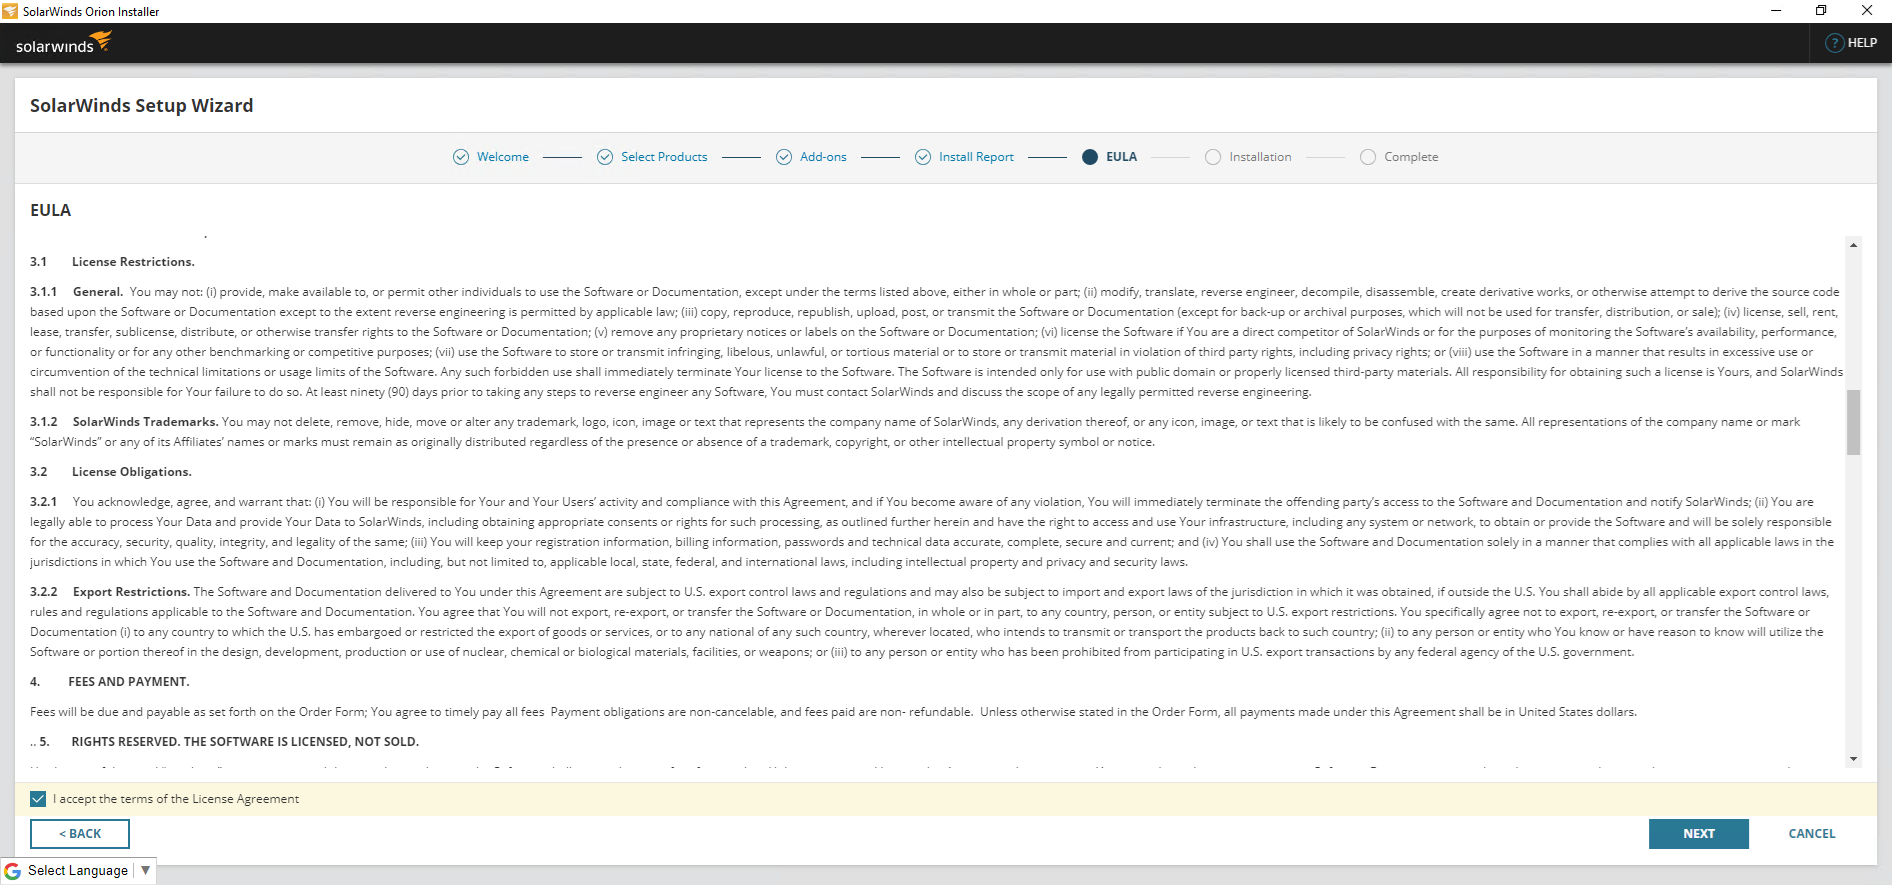
11.On the EULA page, select I accept the terms of the License Agreements, click Next.
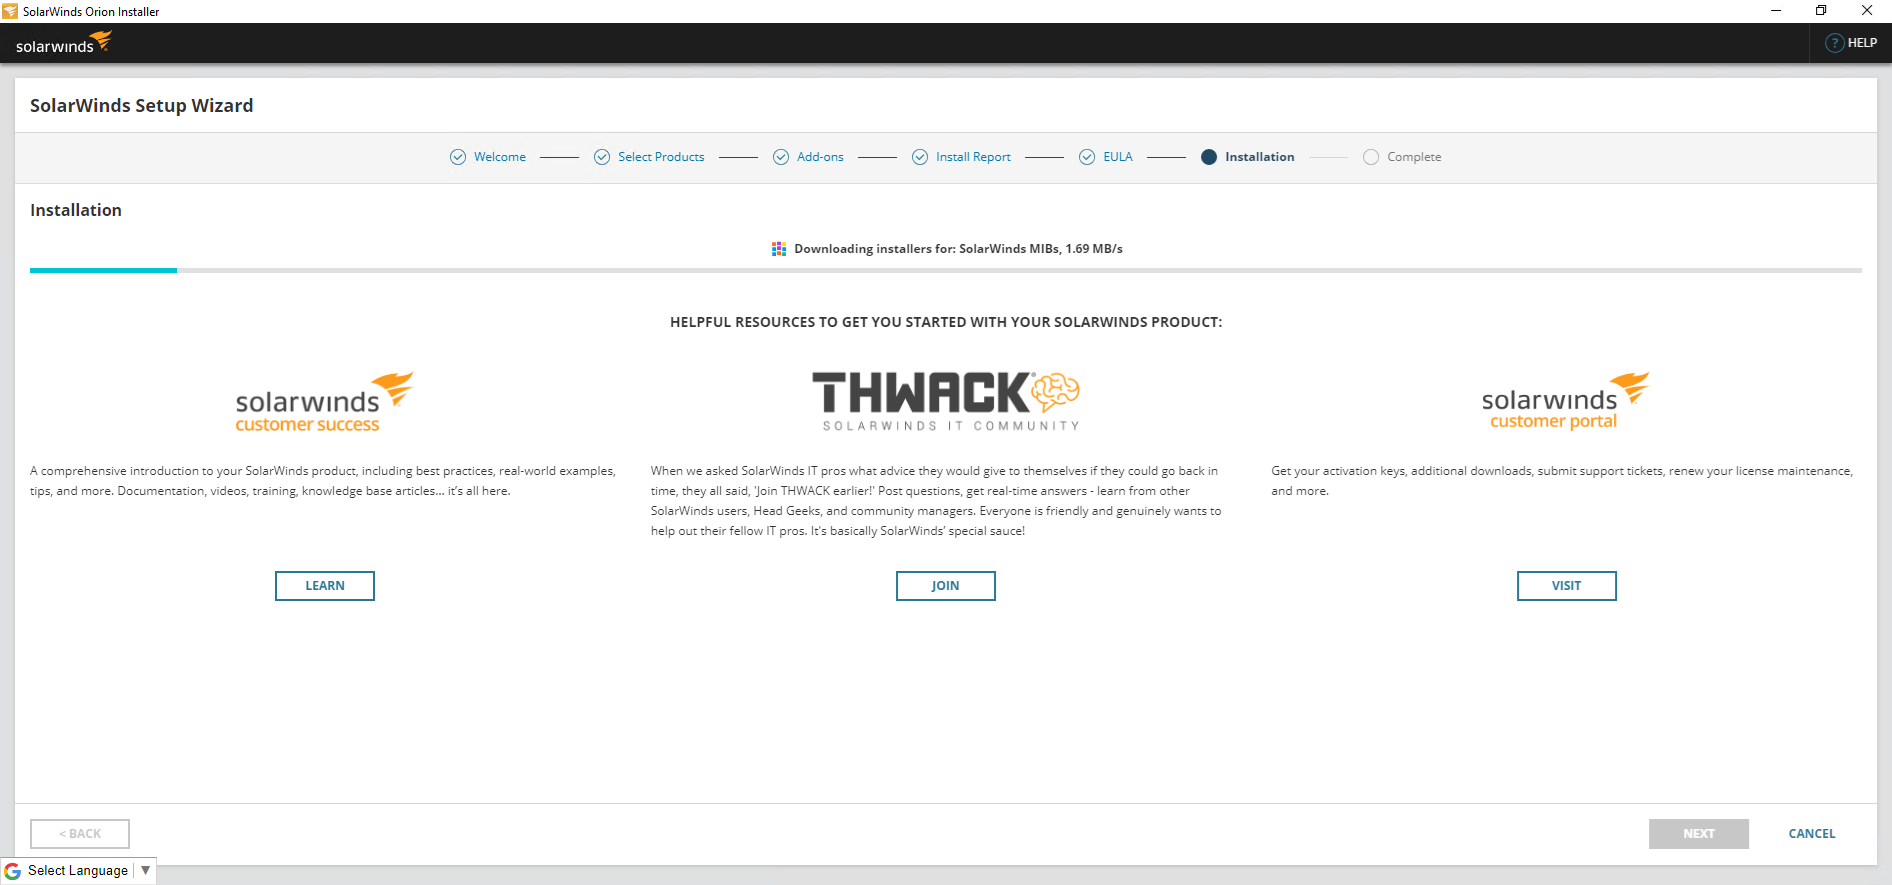
12.The Installation page displays progress messages. The installer might run multiple product installations before running the Configuration wizard.
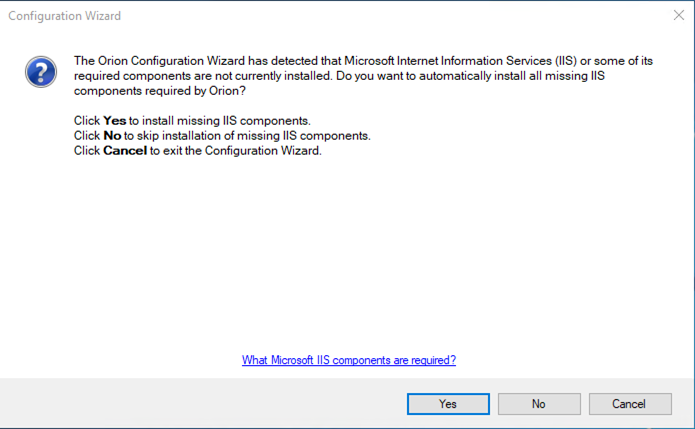
13.On the Configuration Wizard page, click Yes to install missing IIS components.
14.On the SolarWinds Configuration Wizard Welcome page, click Next.

15.On the Database Settings page, If you performed a Standard installation with an existing SQL Server database, select one of the following for authentication, click Next.
- Authenticate as currently logged in user: Pass through authentication to the database server using the account currently logged in for installing the Orion Platform product.
- Switch user: Provide credentials automatically detected as either SQL or Windows credentials, allowing Windows authentication for the initial setup even if the Orion server is not joined to a domain or the current account does not have permissions to the database server.
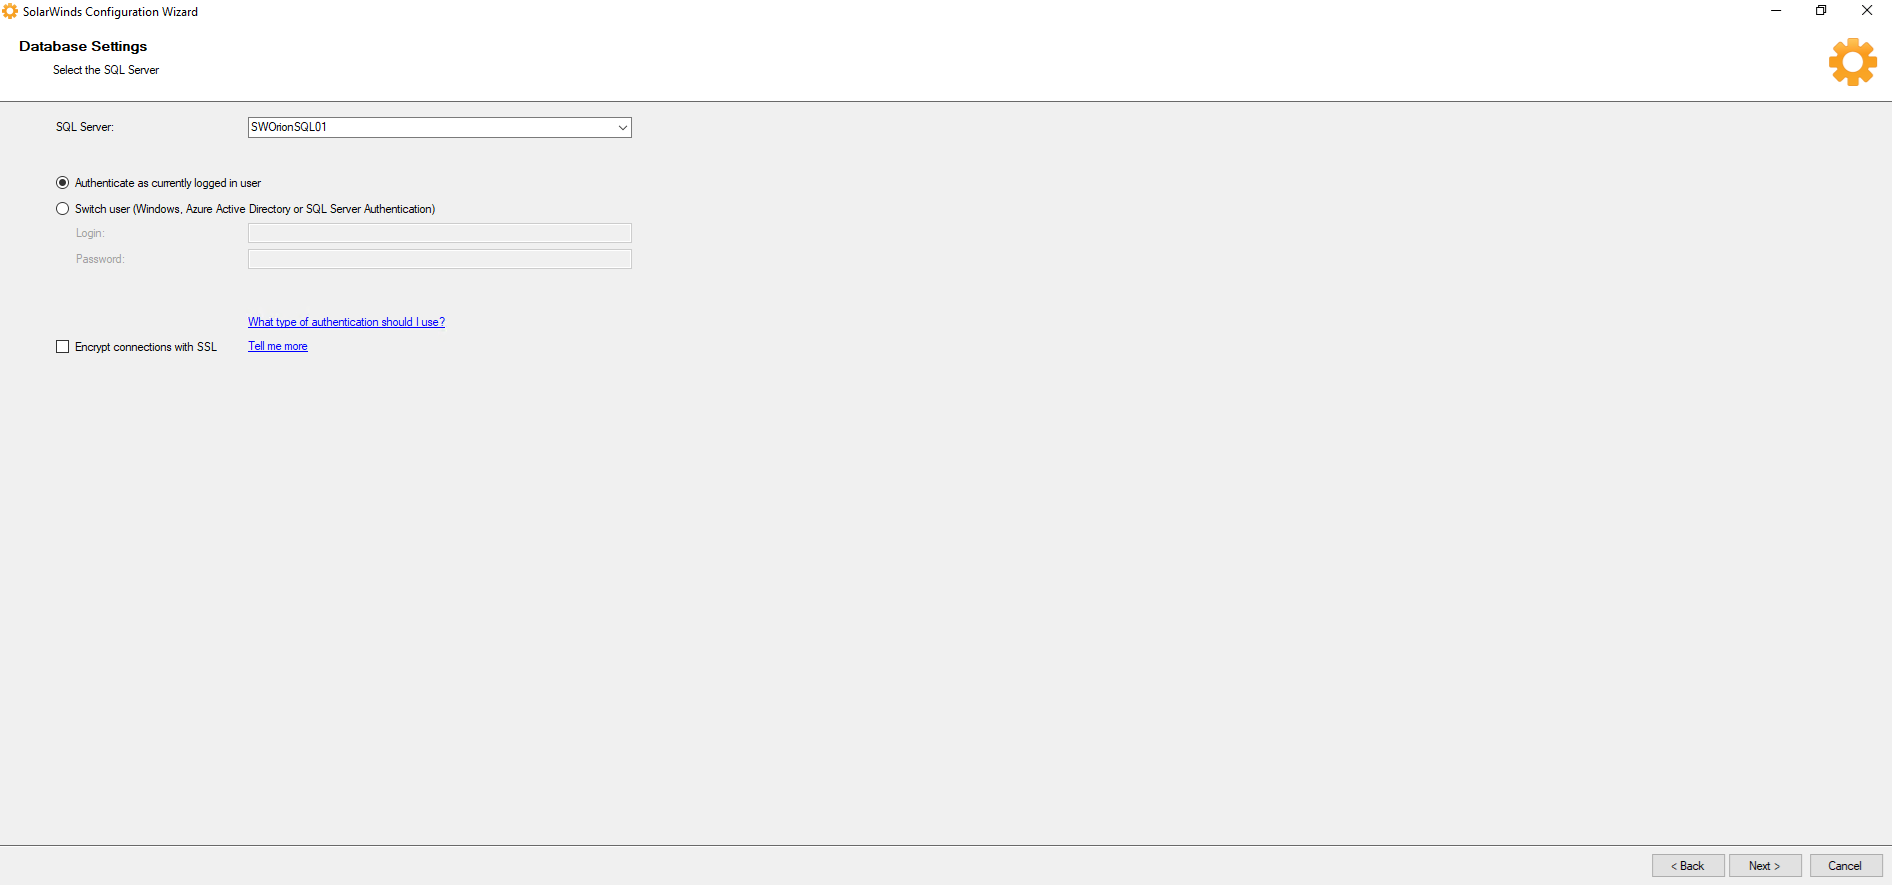
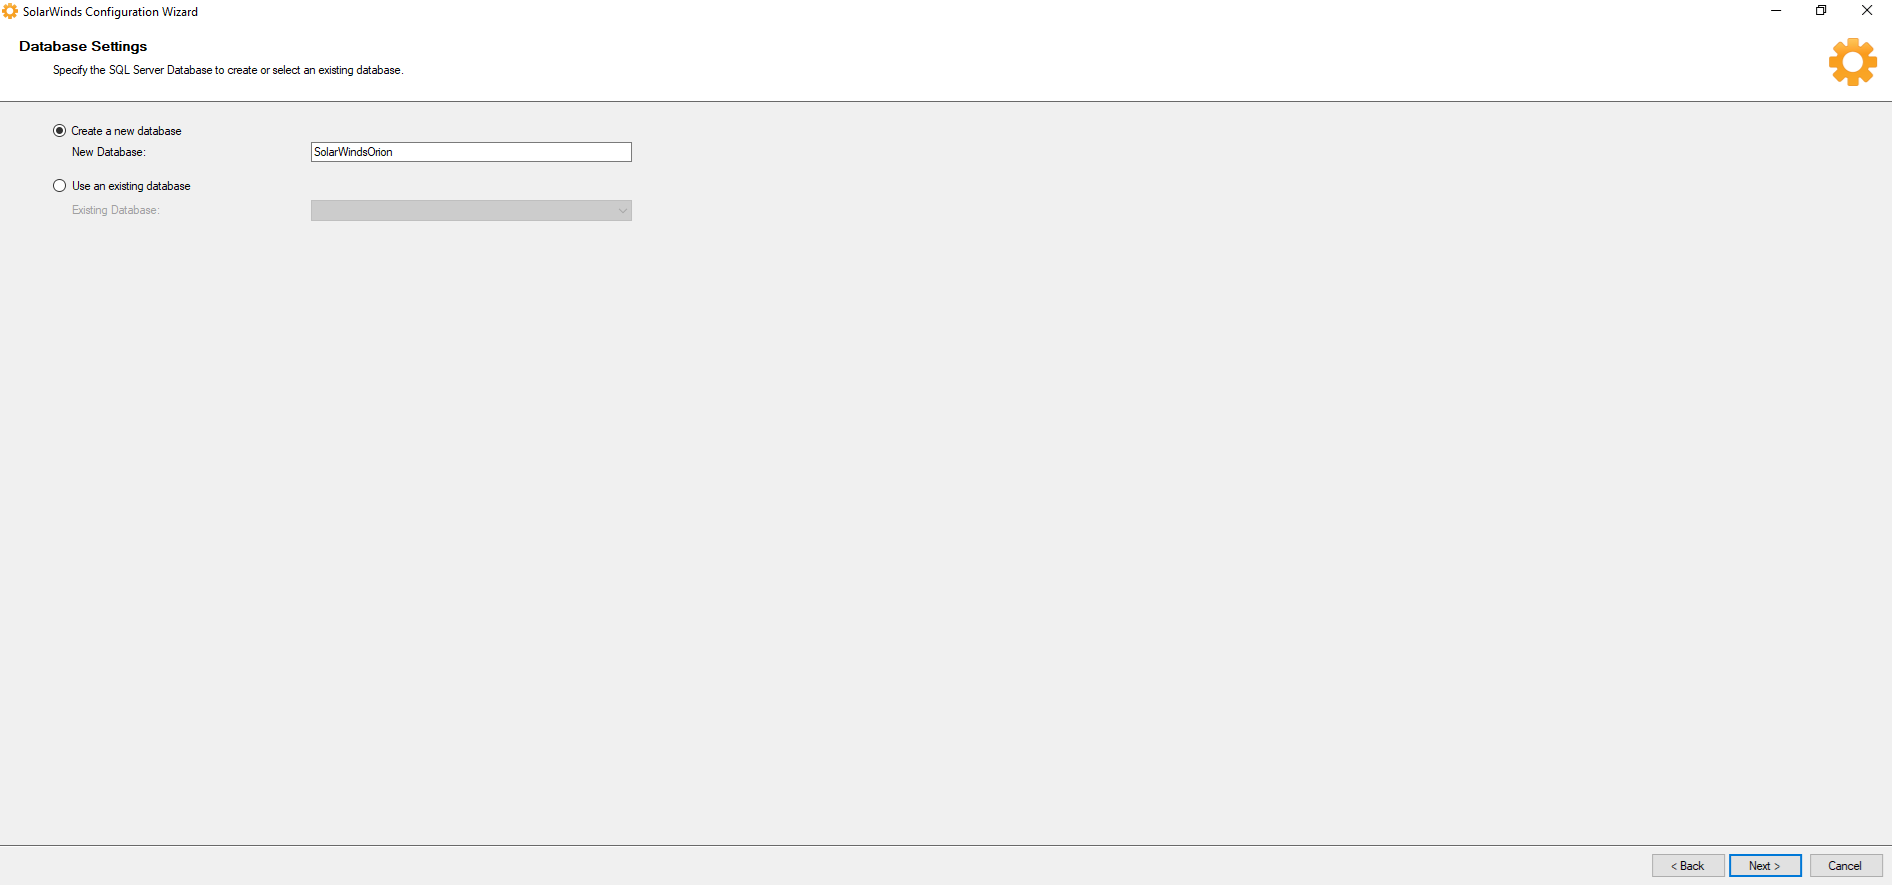
16.On the Database Settings page, select your existing Orion database, or create a new database for a new installation, and click Next.
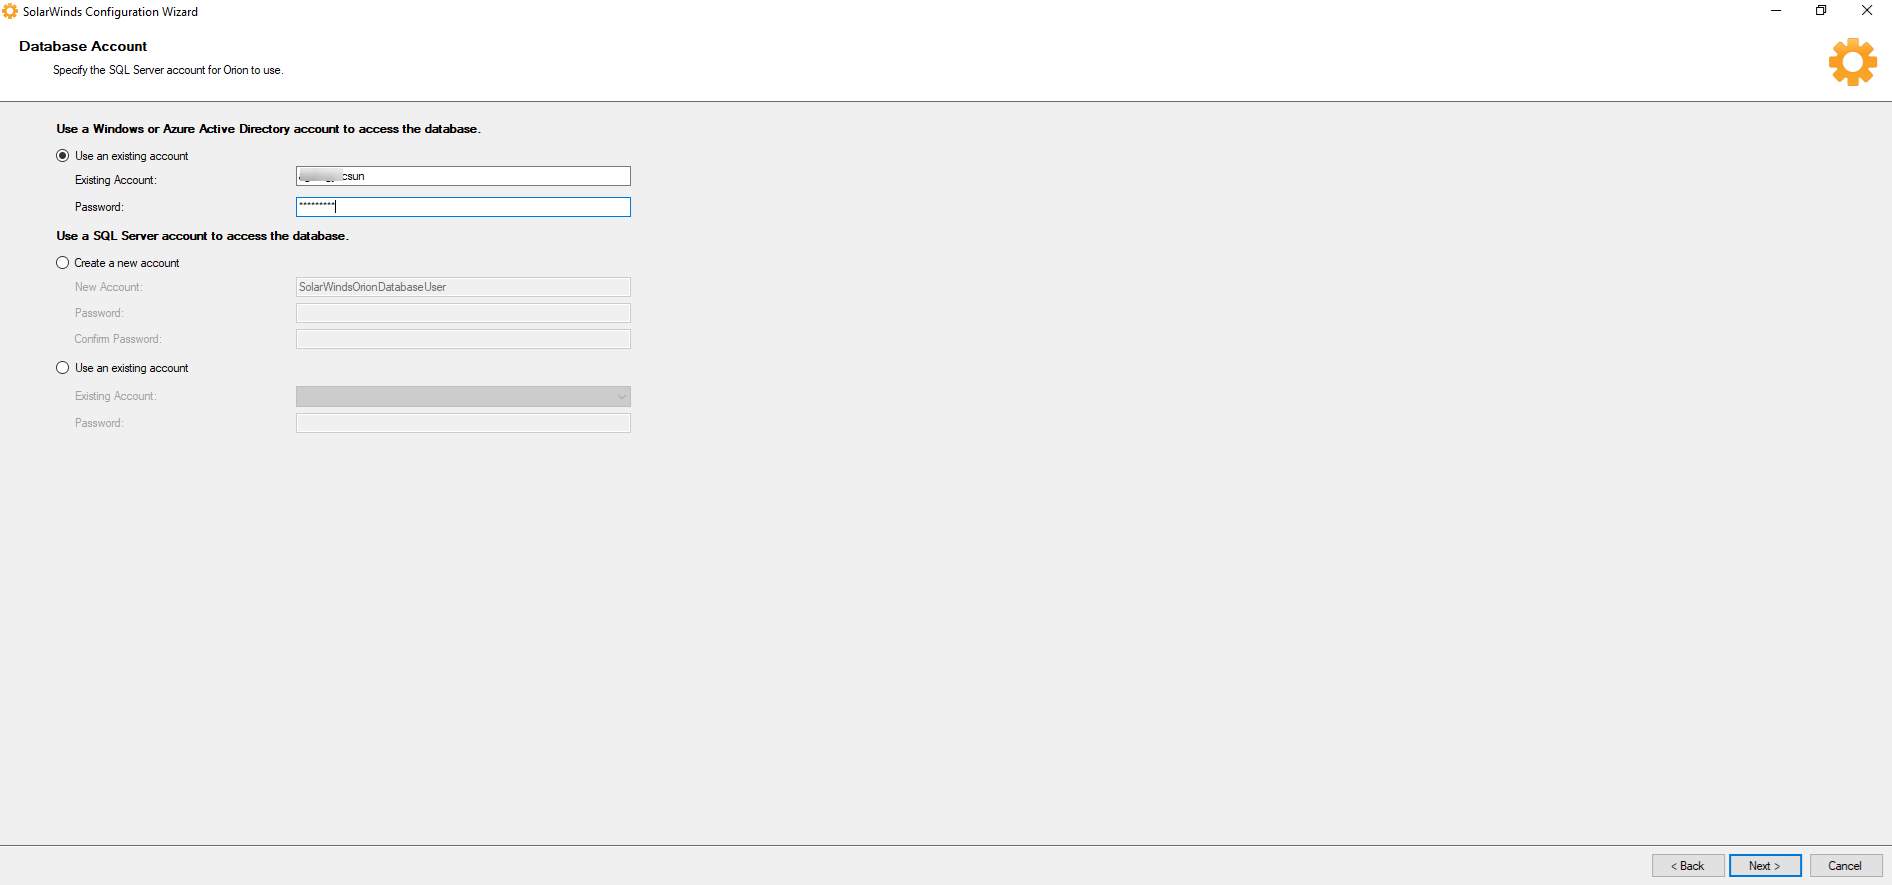
17.On the Database Account page, create an account or specify an existing account that the polling engine and Orion Web Console will use to access the database. The account can be a Windows or SQL Server account.
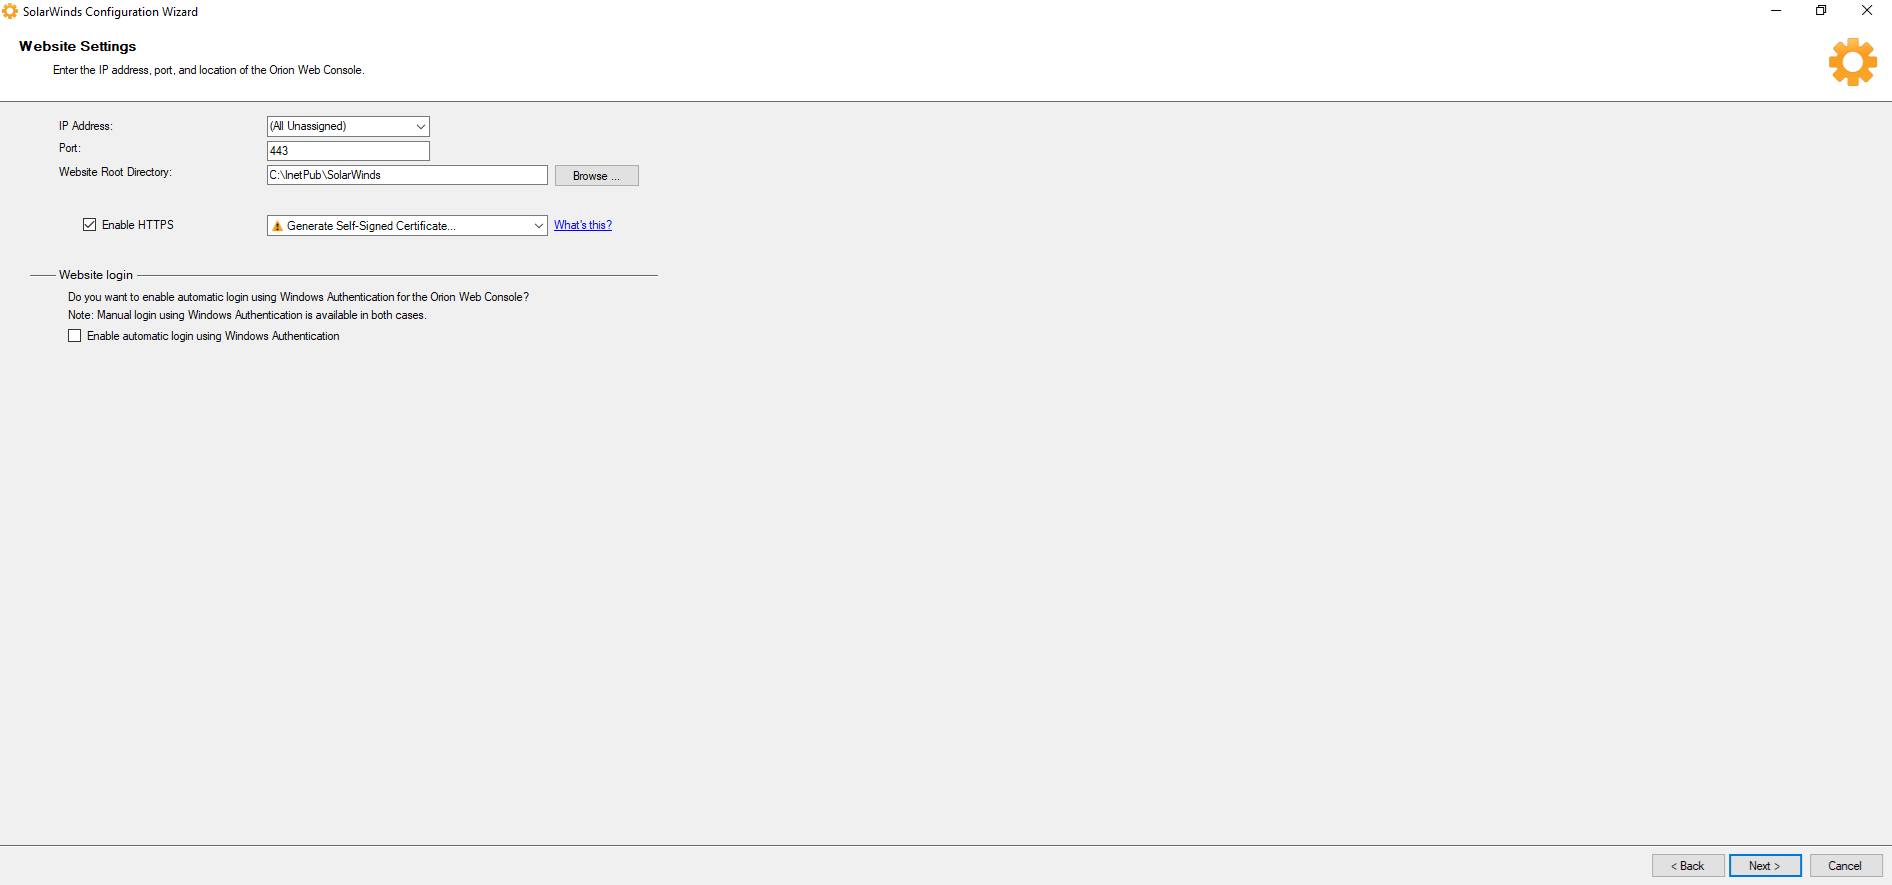
18.On the Website Settings page, change Port from 80 to 443, select Enable HTTPS, click Next.
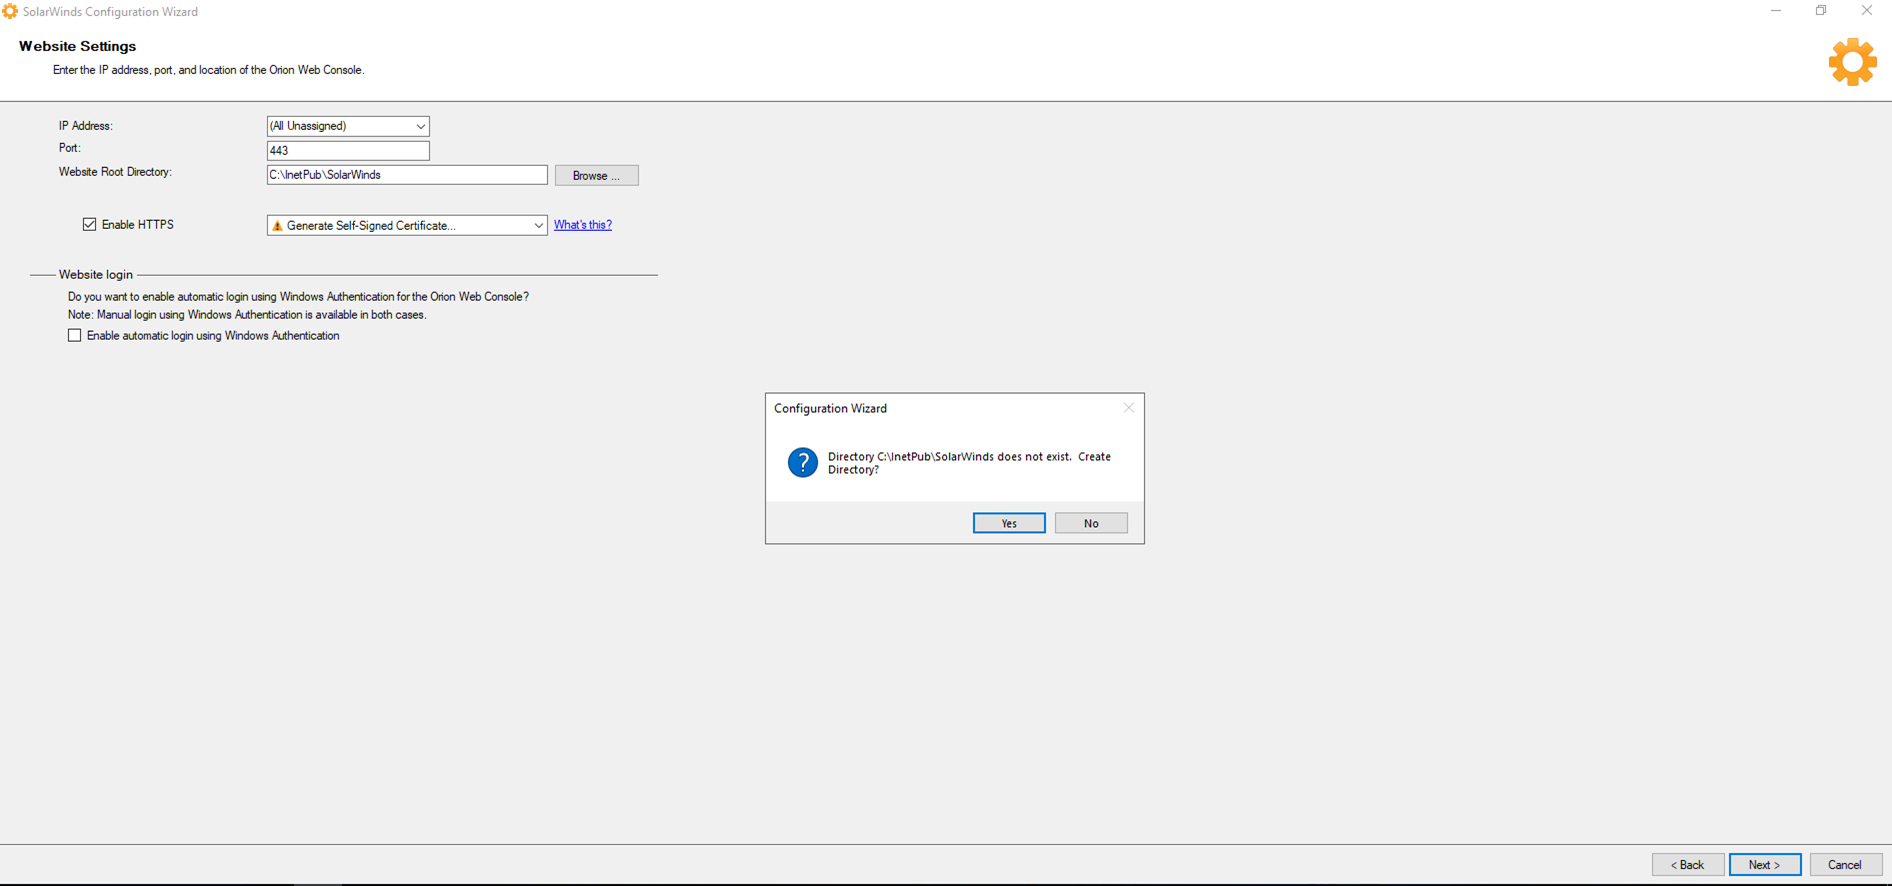
19.If prompted to create a directory or website, click Yes.
20.On the Service Settings page, click Next.

21.On the NTA Flow Storage Configuration, Selected the SQL Server for NTA Flow Storage page, select Authenticate as currently logged in user or specify an existing account that the NTA Flow Storage will use to access the database.
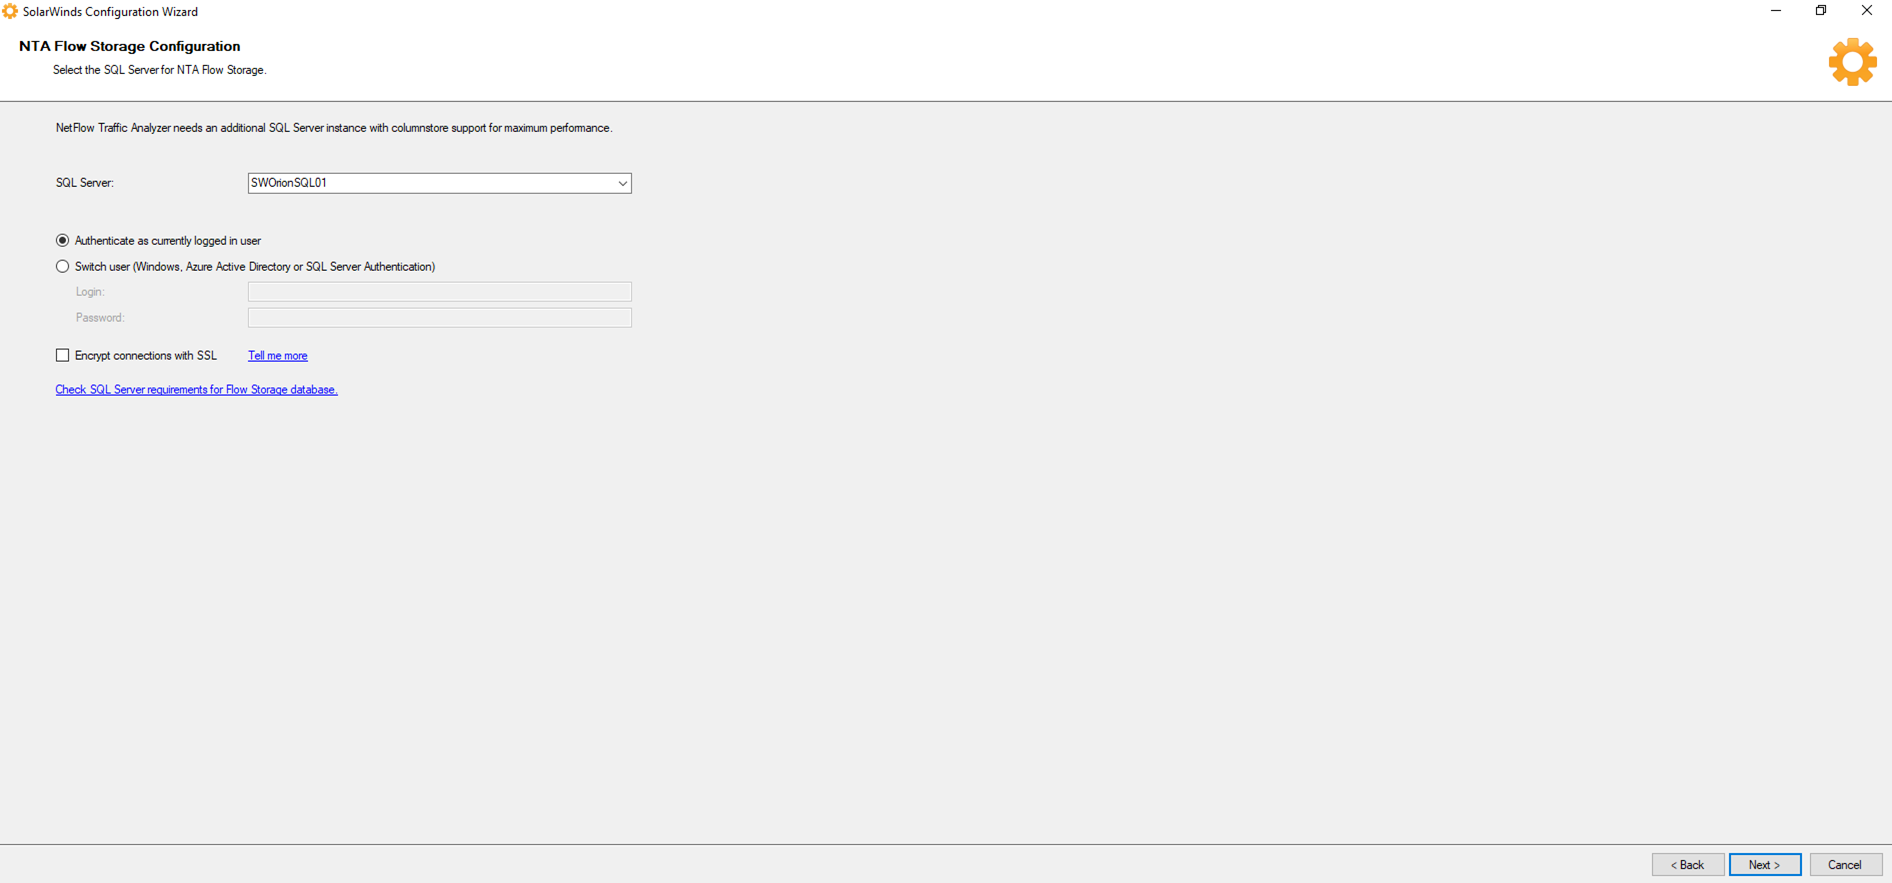
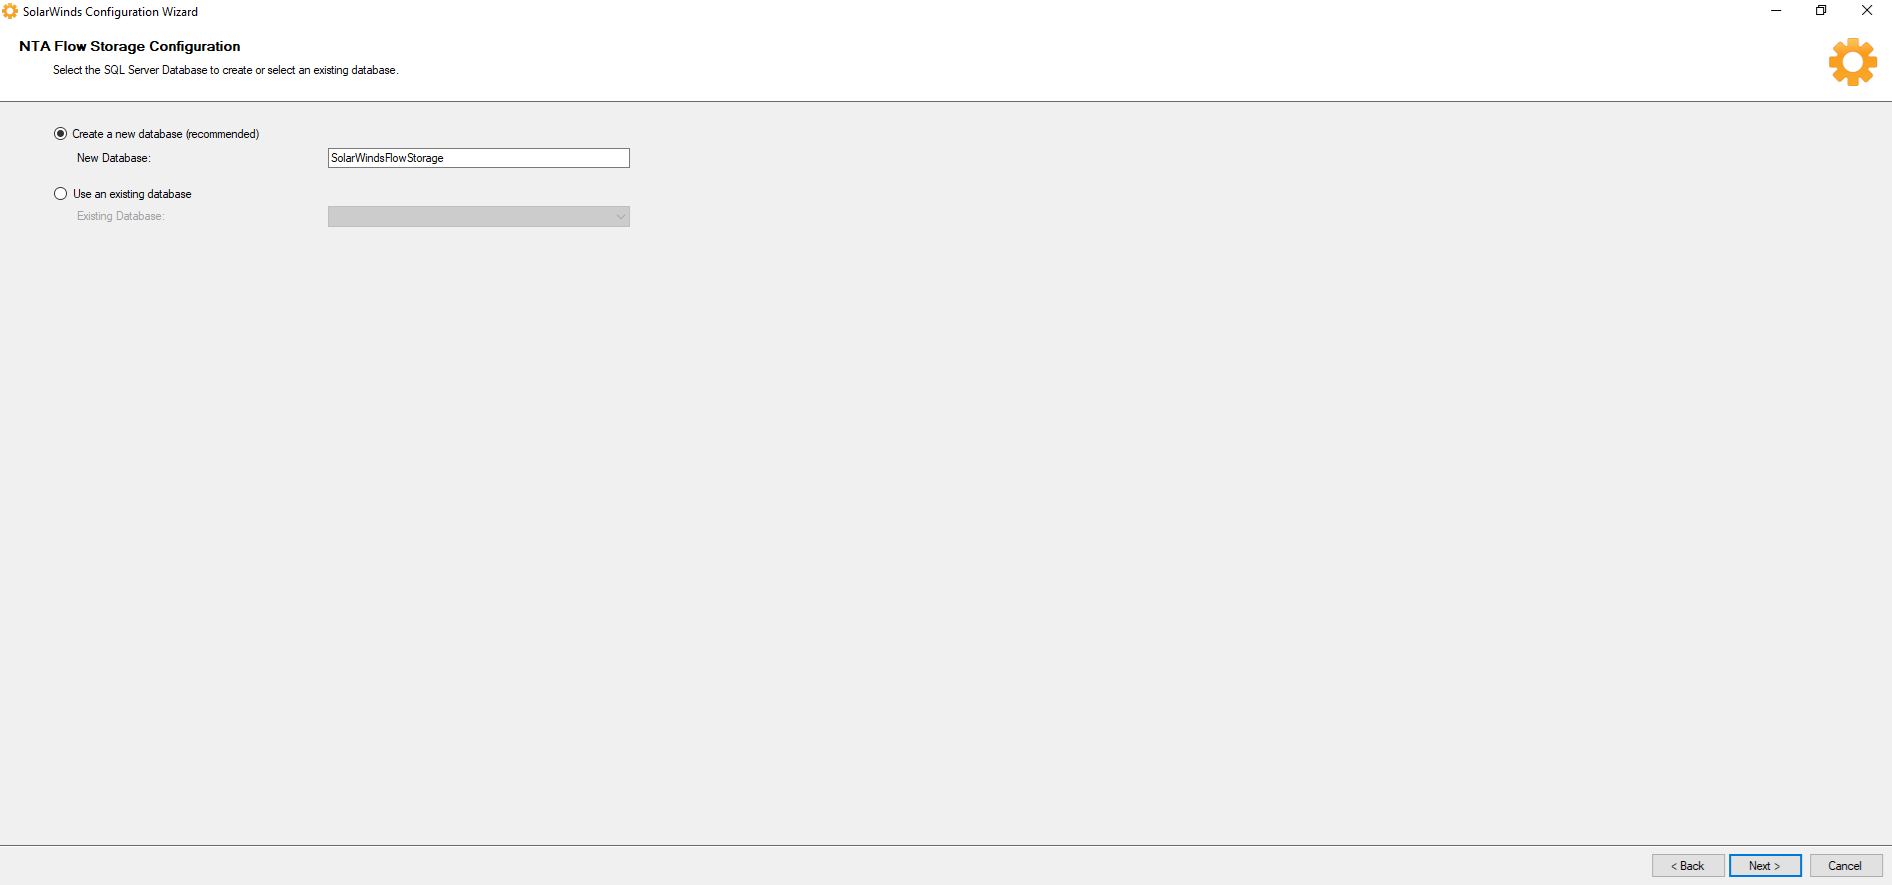
22.On the NTA Flow Storage Configuration, Selected the SQL Server Database to create or select an existing database page, select Create a new database (recommended), click Next.
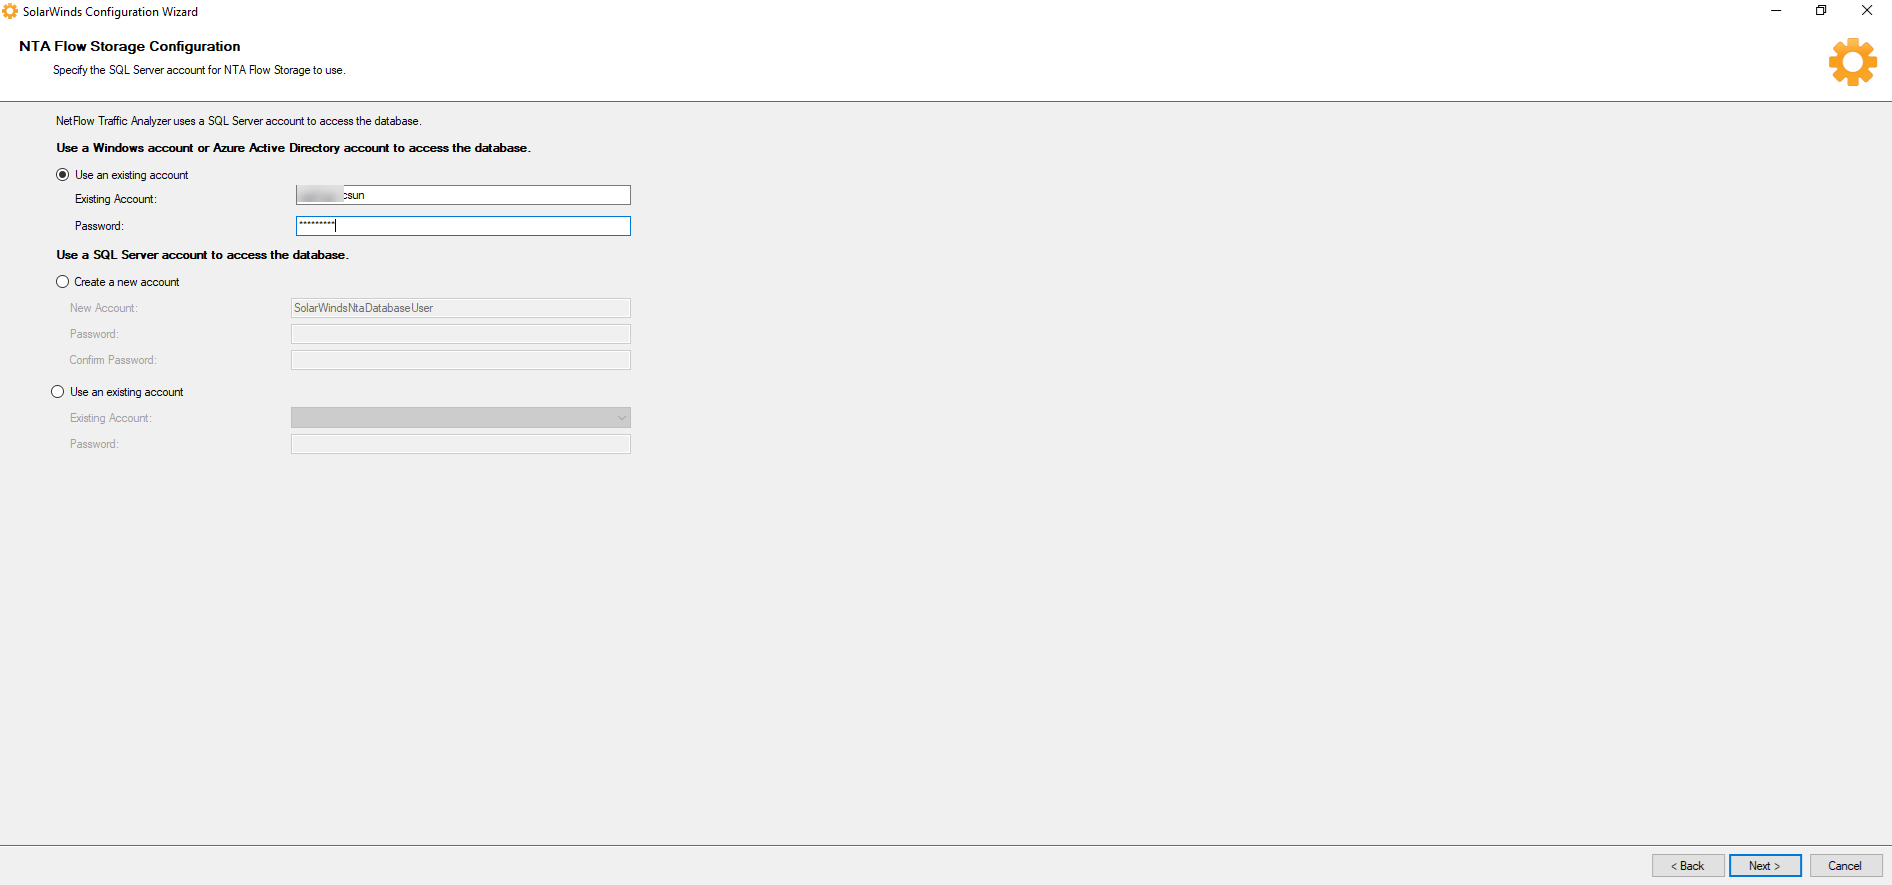
23.On the NTA Flow Storage Configuration, NetFlow Traffic Analyzer uses a SQL Server account to access the database page, select Use and Existing account, type the existing account name and password, click Next.
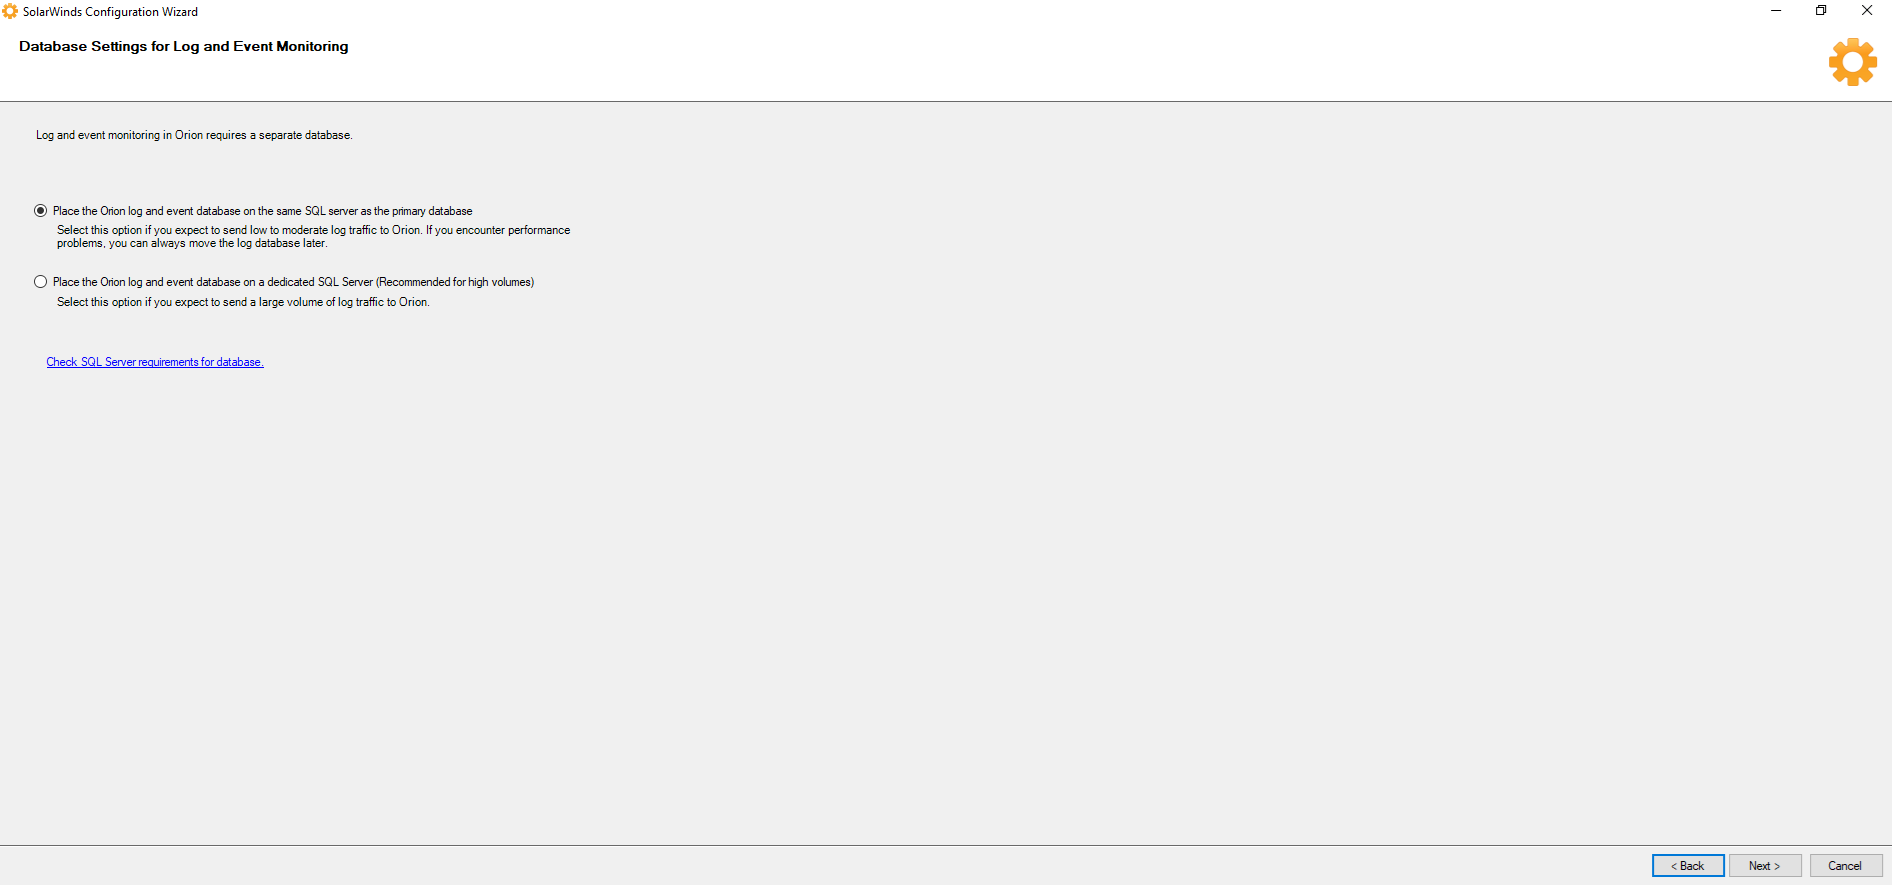
24.On the Database Settings for Log and Event Monitoring, Log and event monitoring in Qrion requires a separate database page, select Place the Orion log and event database on the same SQL server as the primary database, click Next.
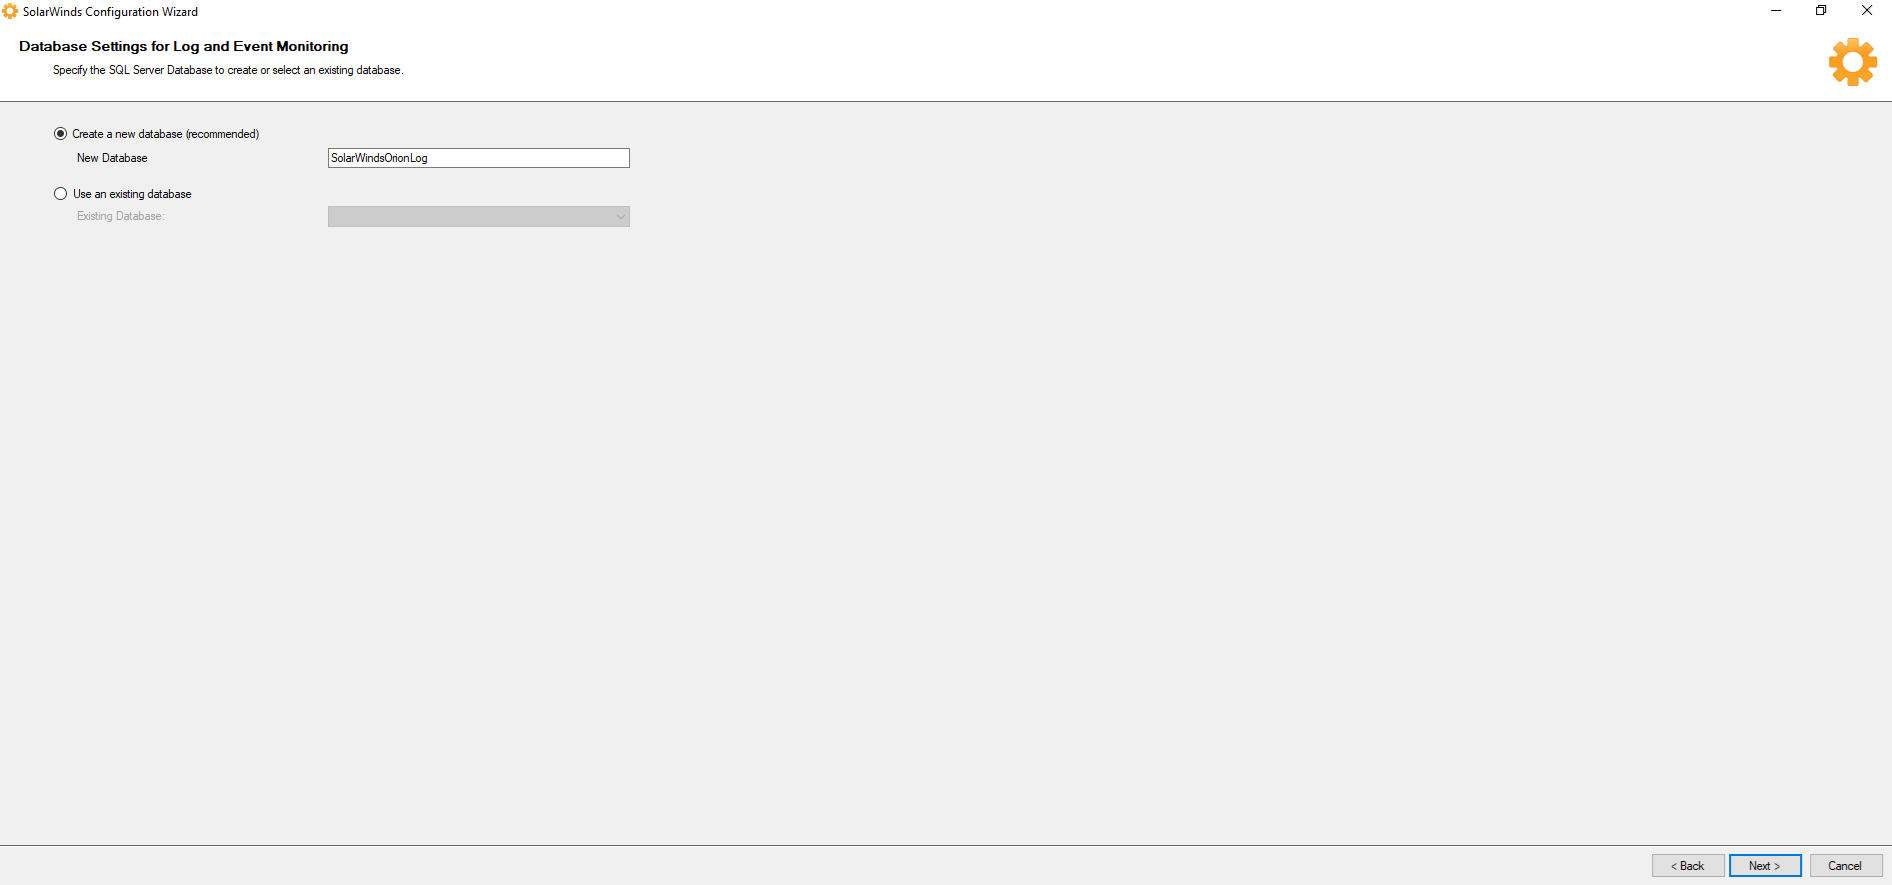
25.On the Database Settings for Log and Event Monitoring, Specify the SQL Server Database to create or select an existing database page, select Create a new database (recommended), click Next.
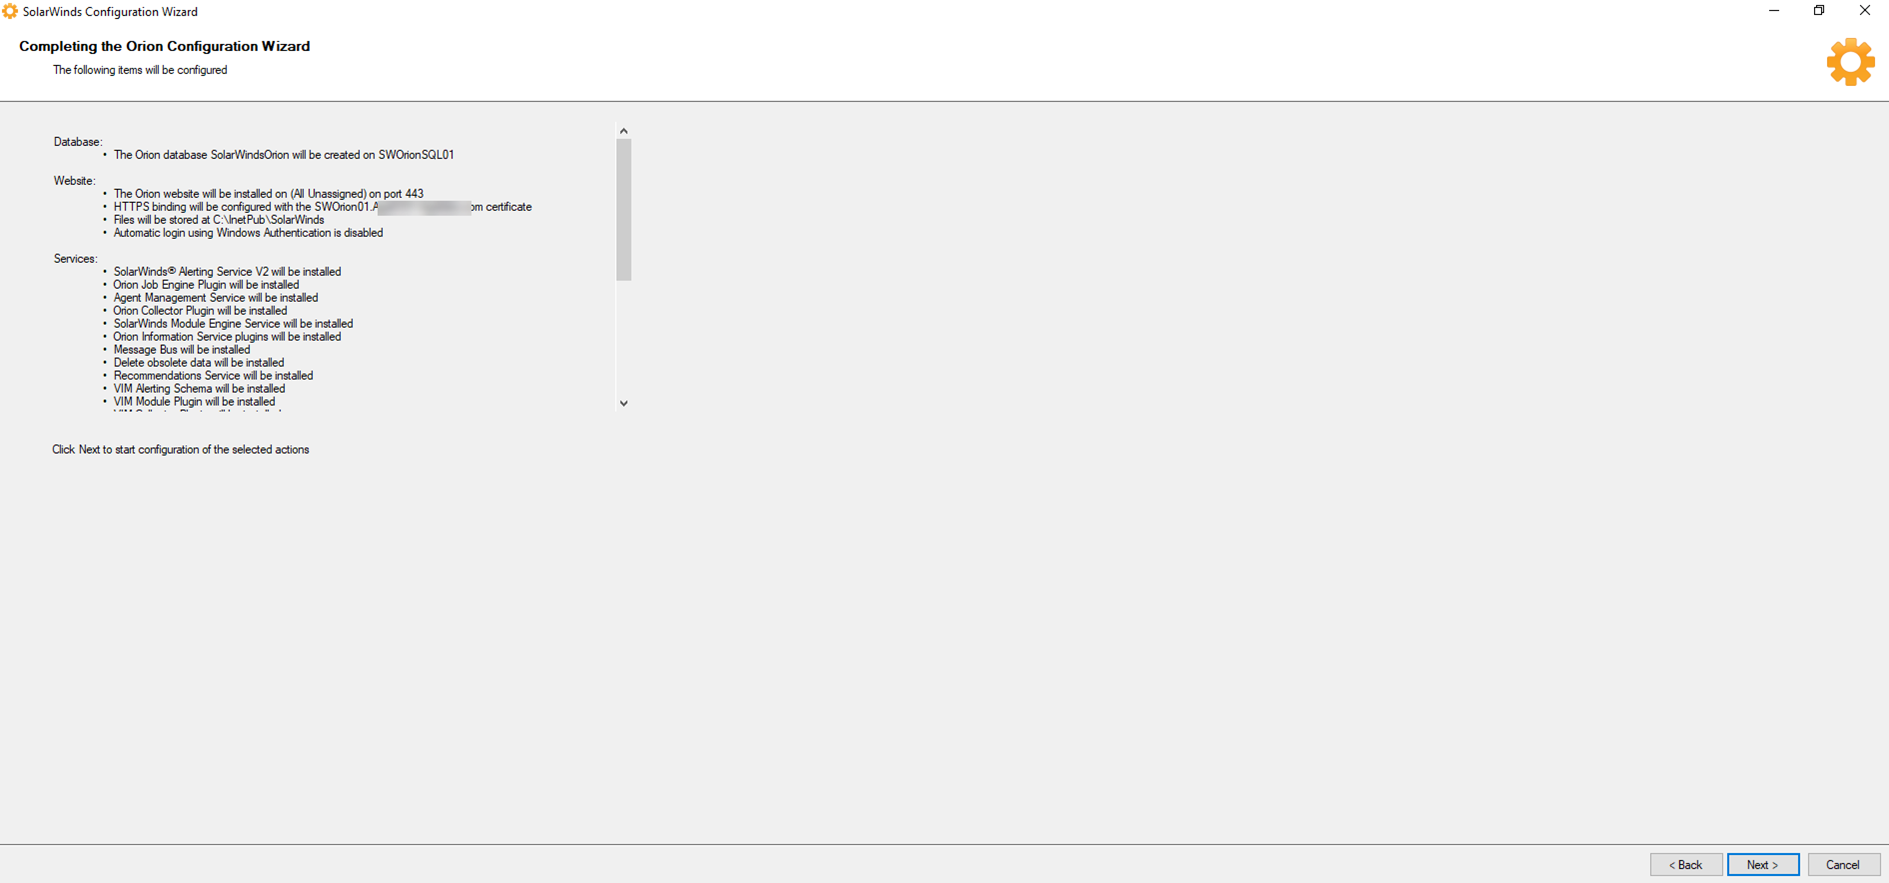
26. On the Completing the Orion Configuration Wizard page, click Next.
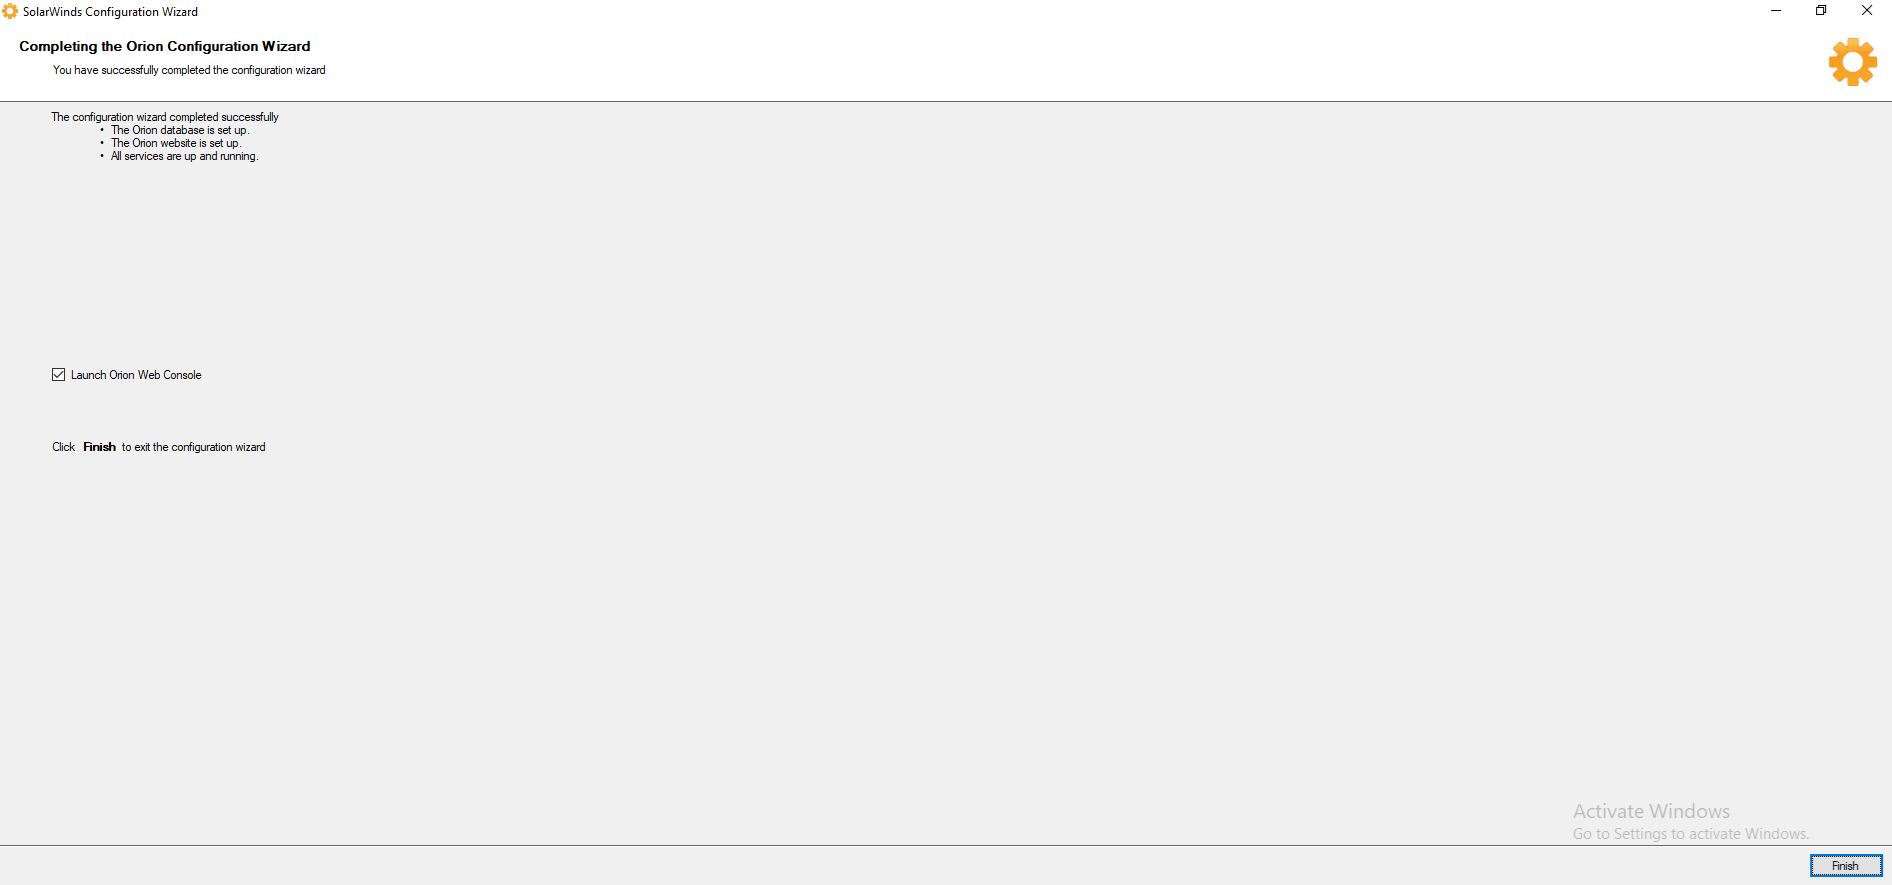
27.On the Completing the Orion Configuration Wizard page, click Finish.
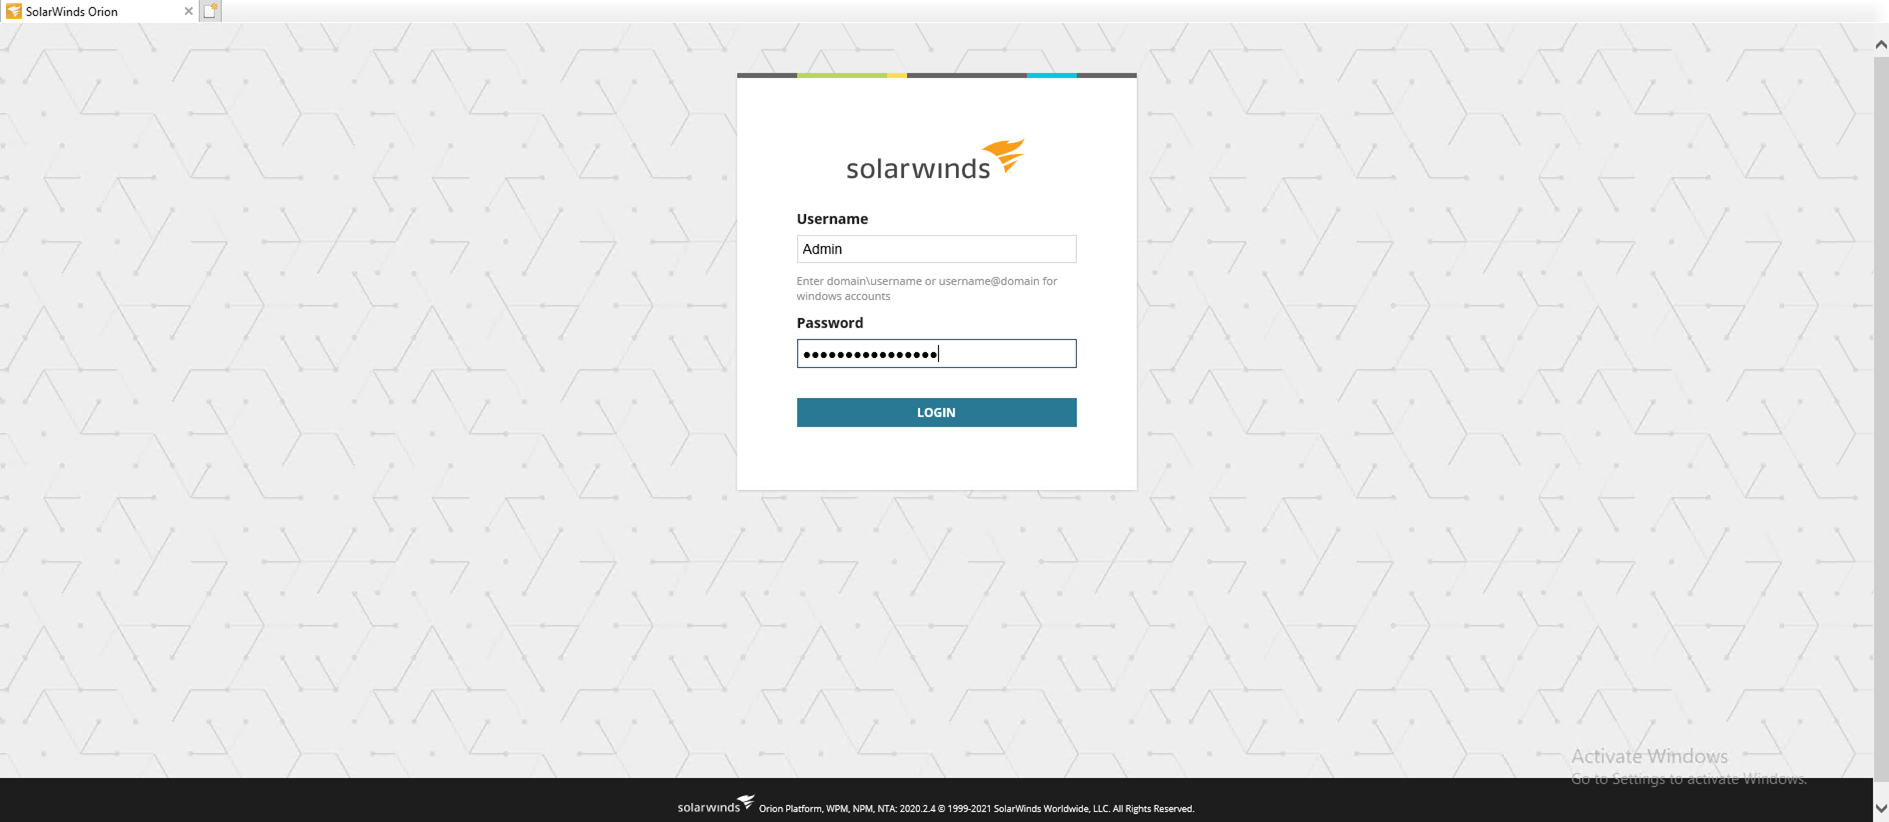
28.Configured Admin password and login to Orion Web Console.
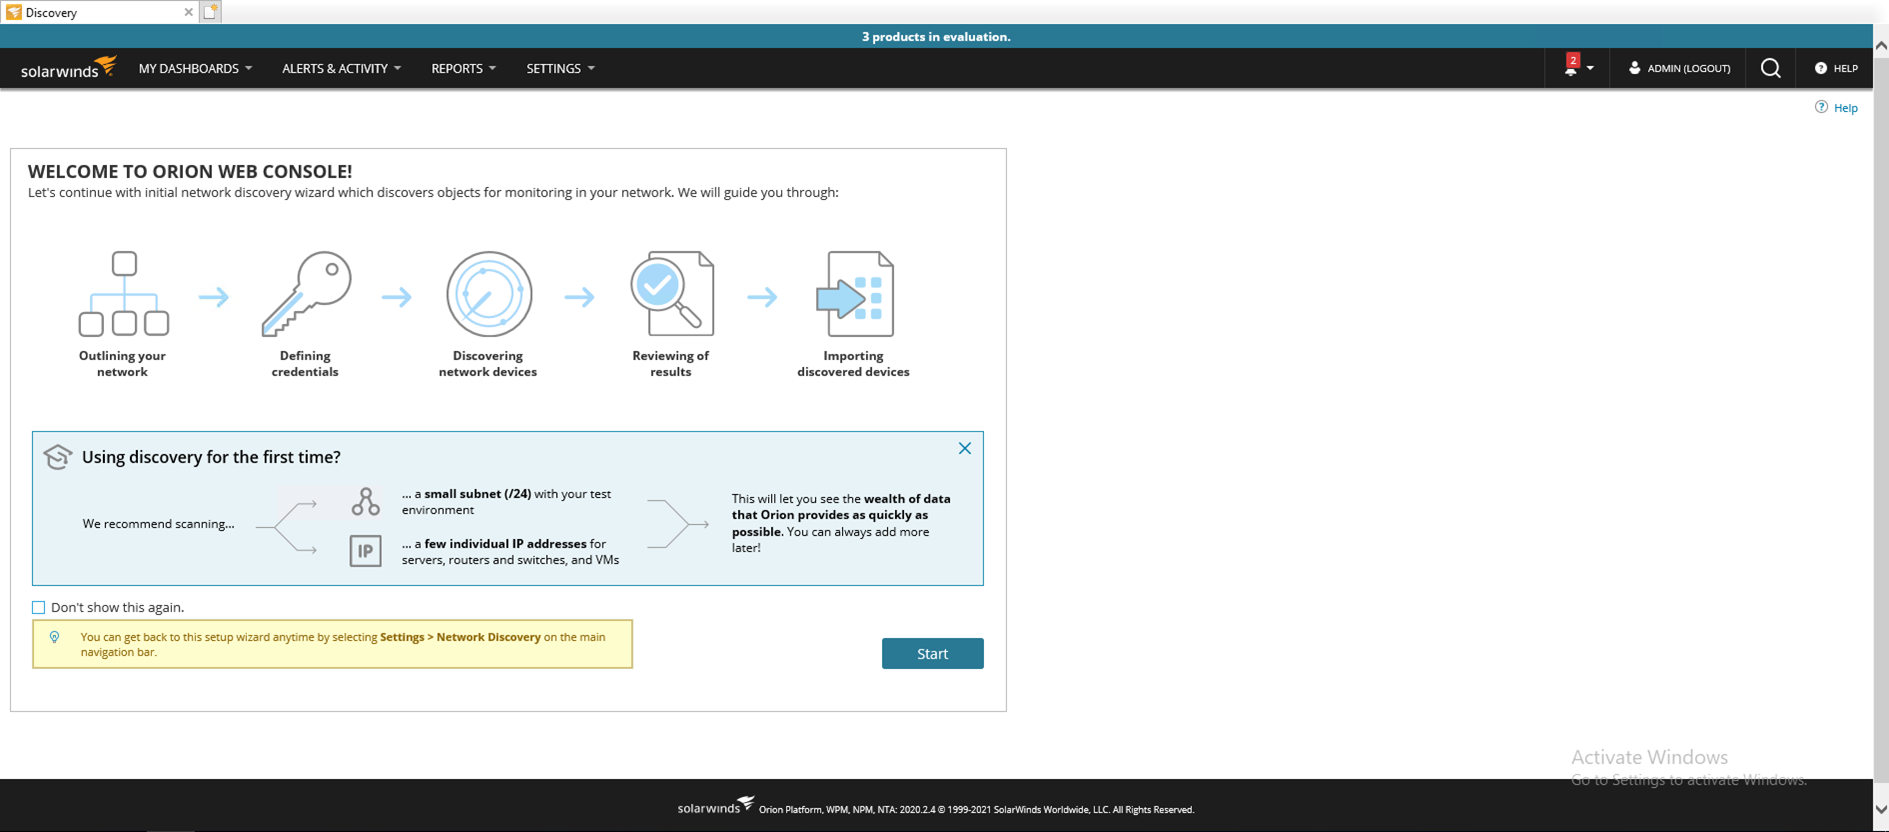
29.On the WELCOME TO ORION WEB CONSOLE page, click Start.
Hope you enjoy this post.
Cary Sun
Twitter: @SifuSun
Web Site: carysun.com
Blog Site: checkyourlogs.net
Blog Site: gooddealmart.com
Author: Cary Sun
Cary Sun has a wealth of knowledge and expertise in data center and deployment solutions. As a Principal Consultant, he likely works closely with clients to help them design, implement, and manage their data center infrastructure and deployment strategies.
With his background in data center solutions, Cary Sun may have experience in server and storage virtualization, network design and optimization, backup and disaster recovery planning, and security and compliance management. He holds CISCO CERTIFIED INTERNETWORK EXPERT (CCIE No.4531) from 1999. Cary is also a Microsoft Most Valuable Professional (MVP), Microsoft Azure MVP, Veeam Vanguard and Cisco Champion. He is a published author with several titles, including blogs on Checkyourlogs.net, and the author of many books.
Cary is a very active blogger at checkyourlogs.net and is permanently available online for questions from the community. His passion for technology is contagious, improving everyone around him at what they do.
Blog site: https://www.checkyourlogs.net
Web site: https://carysun.com
Blog site: https://gooddealmart.com
Twitter: @SifuSun
in: https://www.linkedin.com/in/sifusun/
Amazon Author: https://Amazon.com/author/carysun
