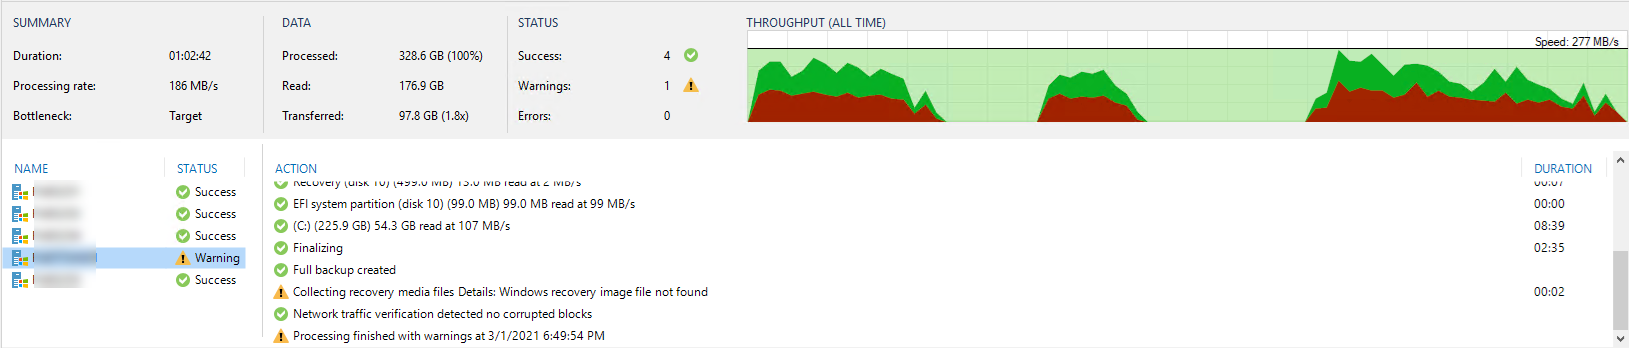
Did you try to use Veeam Agent for Windows feature to backup physical machines? Have you been noticed the exiting backups with a warning “Collecting recovery media files Details: Windows recovery image file not found”? Today, I am going to show you how to fix the issues.
Veeam Agent for Windows runs the Recovery Media collection process at the end of the backup job. The process enables Veeam Agent for Windows to generate the Veeam Recovery Media for the machine.
The Recovery Media collection process is based on the Windows RE/PE components that may be missing. For example:
- Starting from Windows 10 version 1809, the WinPE component is an add-on to the Windows Assessment and Deployment Kit (ADK).
- Veeam Agent machine has a hardware recovery partition instead of the system partition.
As a result, the backup job fails to process the WinRE image and displays the warning.
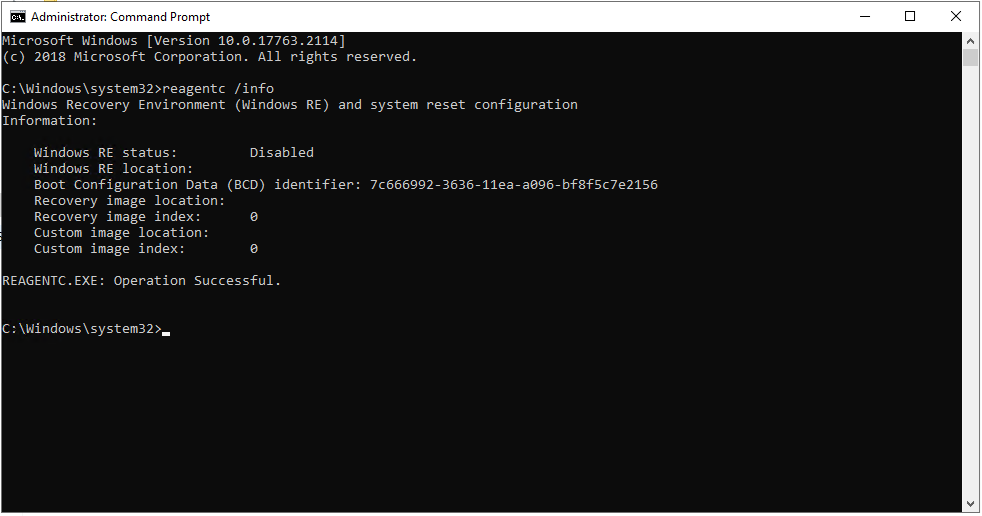
Check the status of the Windows RE components with the following command:
1.Start the command prompt.
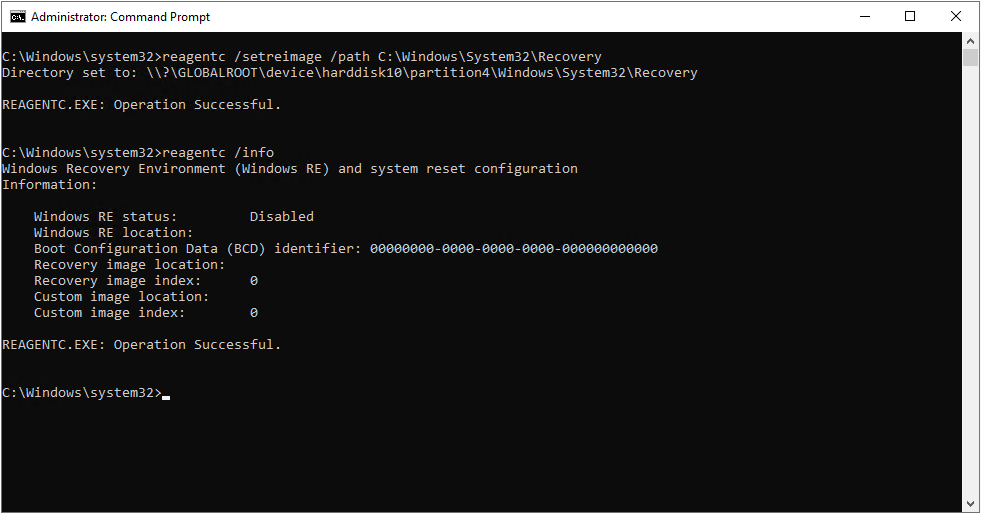
2.Run the command: reagentc /info.
- If the command returns Enabled, there is a possibility that system might be corrupted. It is worth checking system integrity. Use the dism.log command that may point to a possible cause.
- If the command returns Disabled, it is most likely that the Windows RE/PE components are not installed or configured on the Veeam Agent machine.
If Windows RE/PE components are not installed or configured on the Veeam Agent machine, fix the Recovery Media collection process as shown here:
Veeam Recovery Environment is built off the Windows Recovery Environment, and the Recovery Environment is made from the Windows Preinstallation Environment.
If a system is missing the Windows PE/RE components, Veeam Recovery Media will fail to create.
The missing Windows Recovery Environment files will need to be copied from the Windows Installation media to the running system to resolve this issue.
Solution 1:
You should perform the following steps on the machine which is having the issue.
1.Mount the Windows Installation ISO, or insert the installation media
2.Using Windows Explorer, check the “sources” folder on the Windows install media:
- If install.wim is present, skip to step 4
- if install.esd is present, proceed to step 3
3.Using the DISM Export-Image function, extract the install.wim from the install.esd file in the install media:
*How to export install.wim from install.esd file
First, using the DISM Get-ImageInfo function, determine which Index ID inside the install.esd matches the installed version of Windows.
Modify file paths as needed for your environment.
dism /get-imageinfo /imagefile:D:\sources\install.esd
In this example, the machine had Windows 10 Pro installed, and using the previous command, Index #6 matched that version.
The /Compress switch must be included, if not the resulting wim file will fail to mount using DISM.
Dism /Export-image /SourceImageFile:D:\sources\install.esd /SourceIndex:6 /DestinationImageFile:C:\tempsources\install.wim /Compress:fast /CheckIntegrity
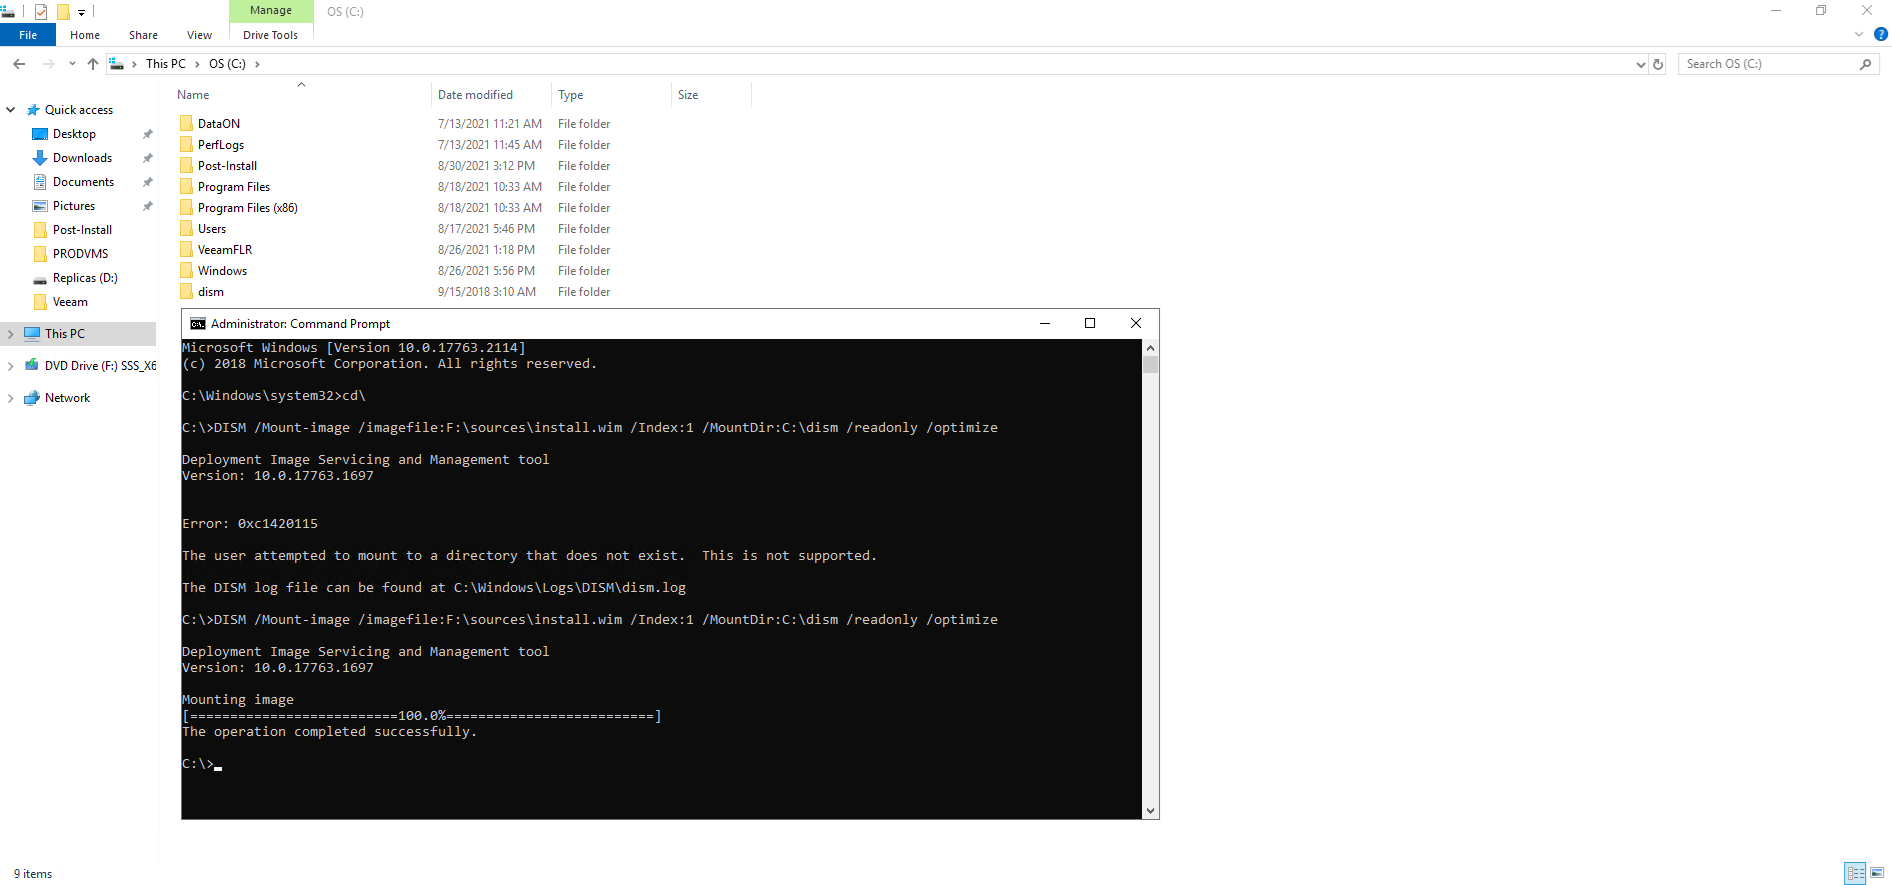
4.Using the DISM Mount-Image function, mount the install.wim:
Correct file paths as needed depending on the location of the install.wim.
- Create dism folder at C drive.
- DISM /Mount-image /imagefile:F:\sources\install.wim /Index:1 /MountDir:C:\dism /readonly /optimize
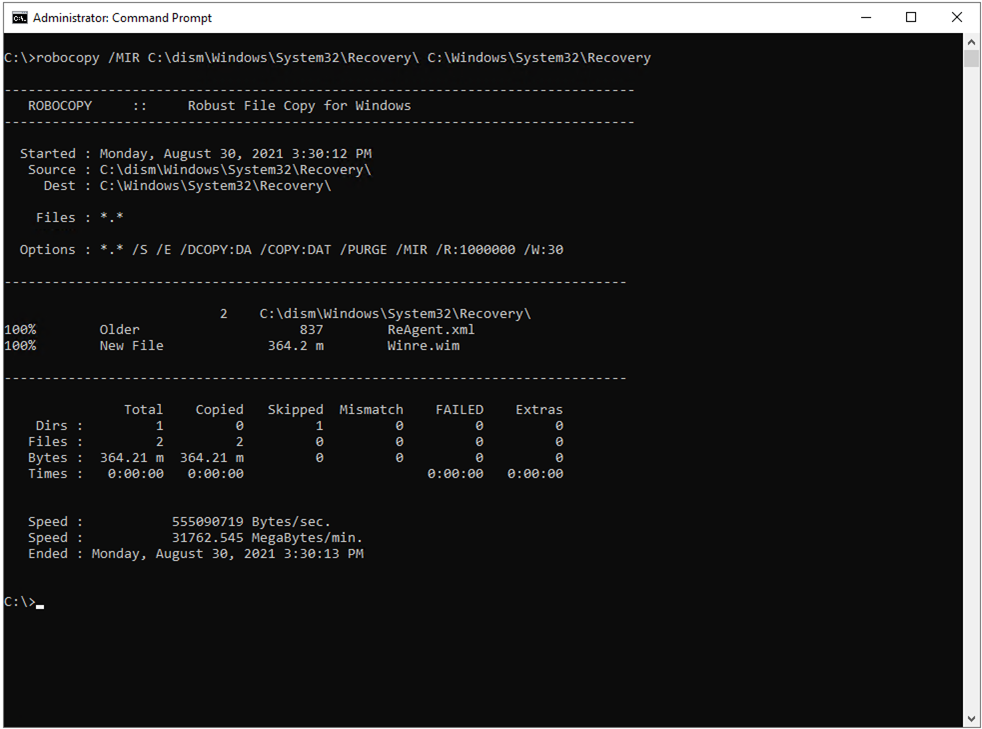
5.Copy WinRe.wim and ReAgent.xml files from the mounted image to the system’s C:\Windows\System32\Recovery folder:
Note: The example command will overwrite all data in the C:\Windows\System32\Recovery folder with content from the mounted image.
(WinRe.wim is a system file and is hidden by default, as such, you won’t be able to see the file once it’s copied to the target location.)
robocopy /MIR C:\dism\Windows\System32\Recovery\ C:\Windows\System32\Recovery
6.Enable Recovery image using REAgentC
reagentc /setreimage /path C:\Windows\System32\Recovery
7.Using the DISM Unmount-Image function, unmount the image mounted in Step 4.
Note: If the install.wim was extracted from an install.esd file, you can manually delete it during this step.
Dism /Unmount-image /MountDir:C:\dism /discard

Solution 2:
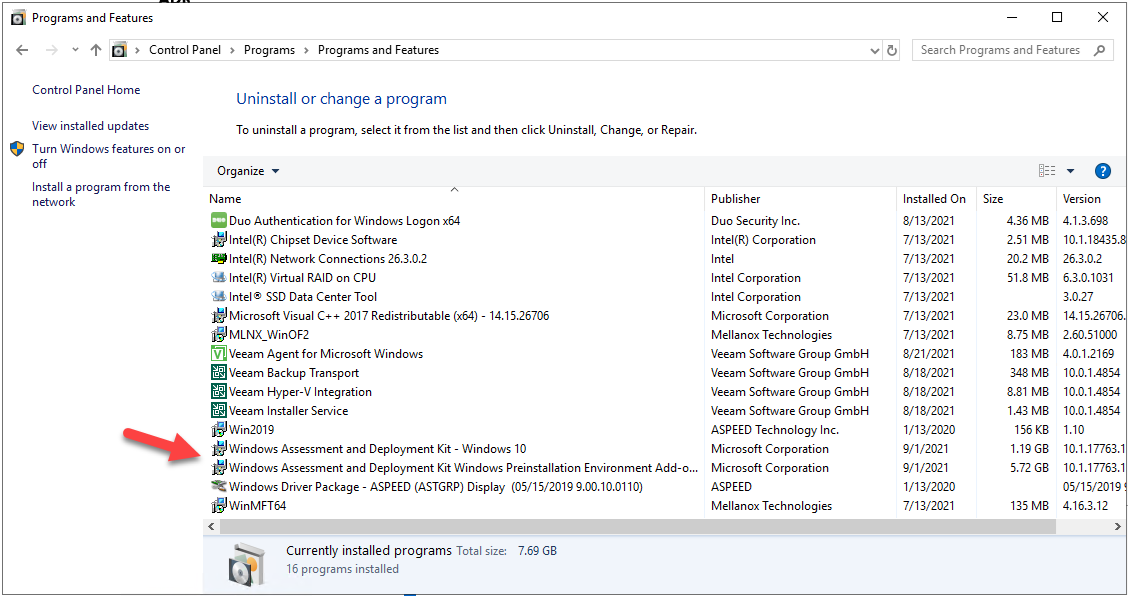
If it’s still not working, download and install ADK and Windows PE add-on with default settings as following link.
https://docs.microsoft.com/en-us/windows-hardware/get-started/adk-install
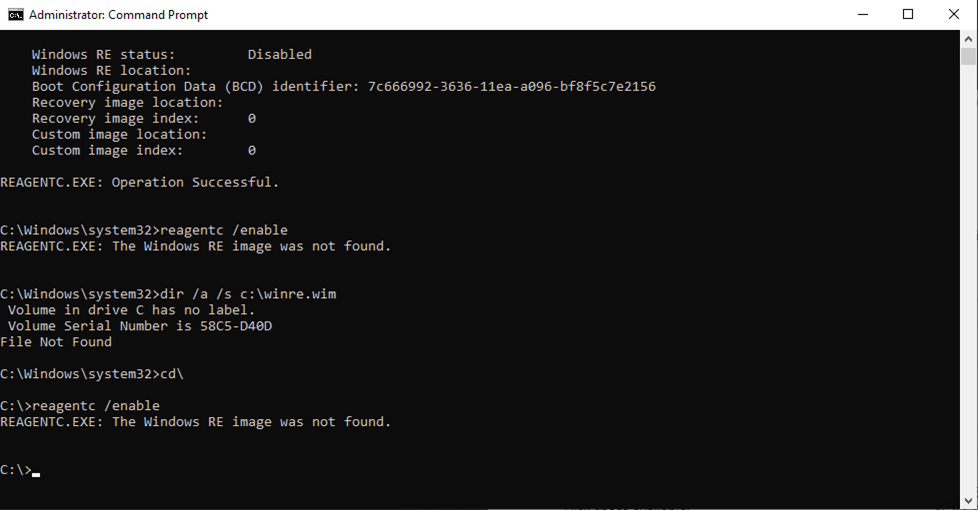
1.Run following command to verify WIN RE Image status.
reagentc / enable
dir /a /s c:\winre.wim
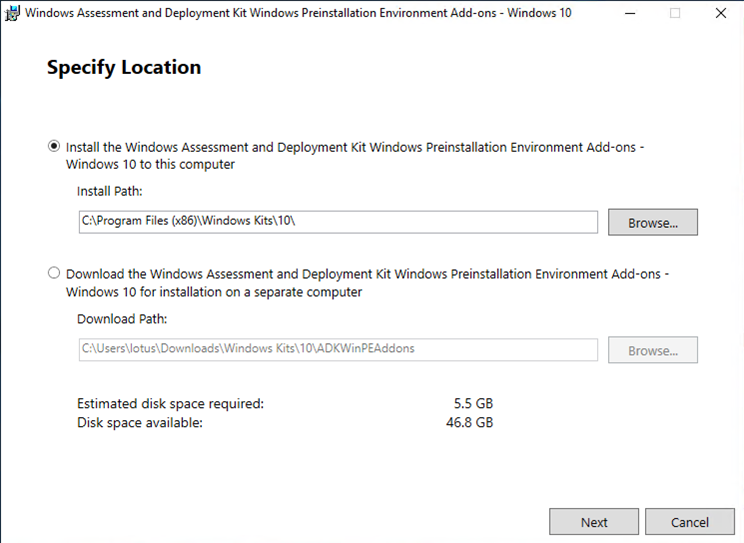
2.Run adkwinpesetup,exe to install ADK.

3.On the Specify location page, click Next.
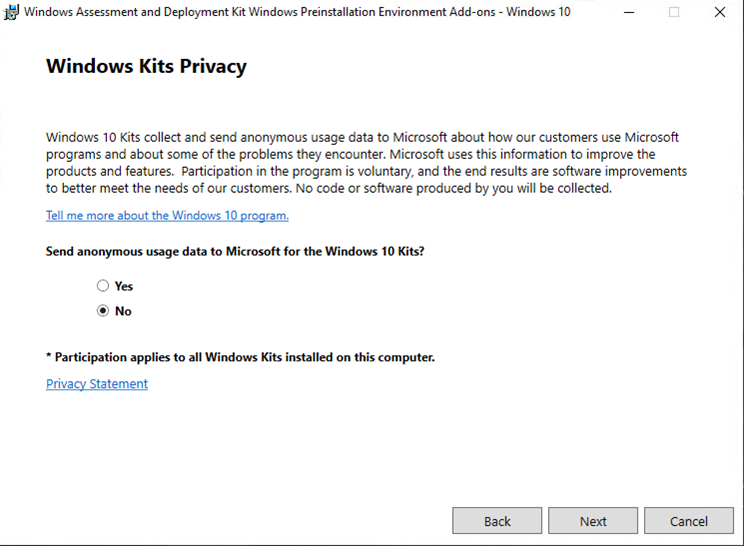
4.On the Windows Key Privacy page, click Next.
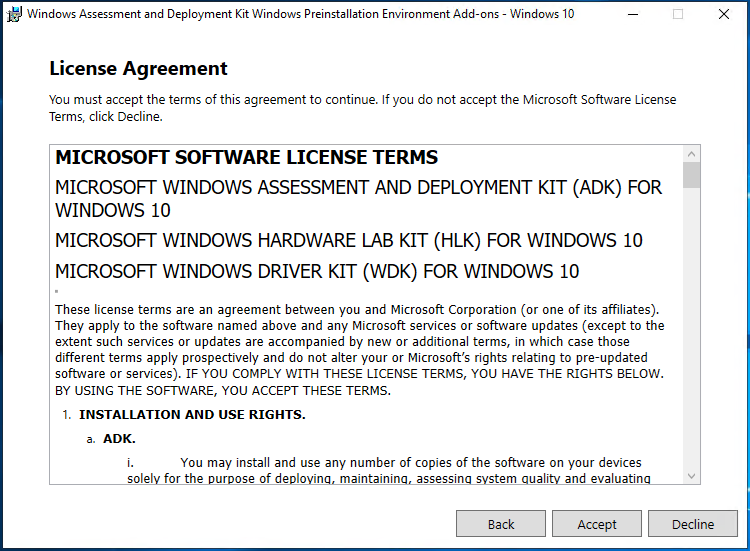
5.On the License Agreement page, click Accept.
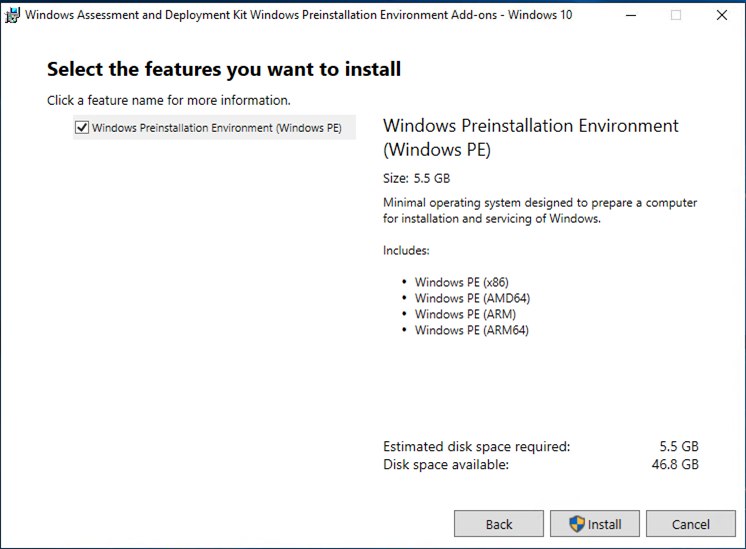
6.On the Select the features you want to install page, select Windows Preinstallation Environment (Windows PE), click Install.
7.On the User Account Control page, click Yes.
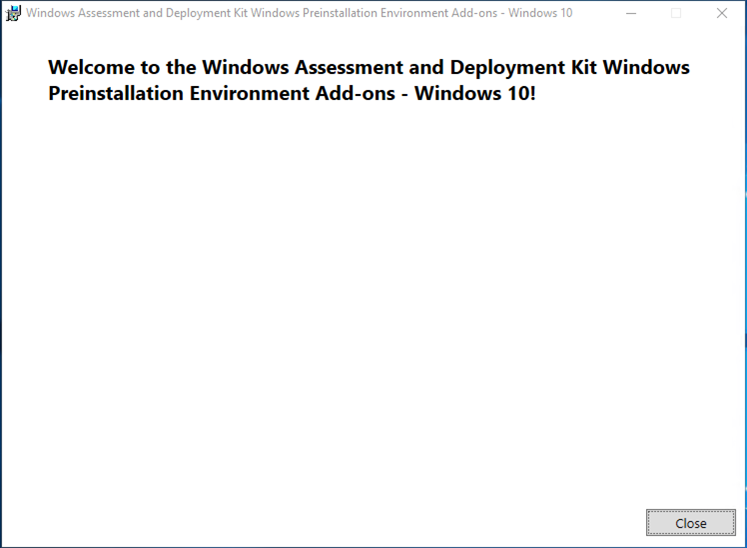
8.On the Welcome page, click Close.
9.Open Regedit.
10.Browse to “HKEY_LOCAL_MACHINE\SOFTWARE\Veeam\Veeam Endpoint Backup”
11.Right-click Veeam Endpoint Backup, select New, click DWORD (32-bit) Value.
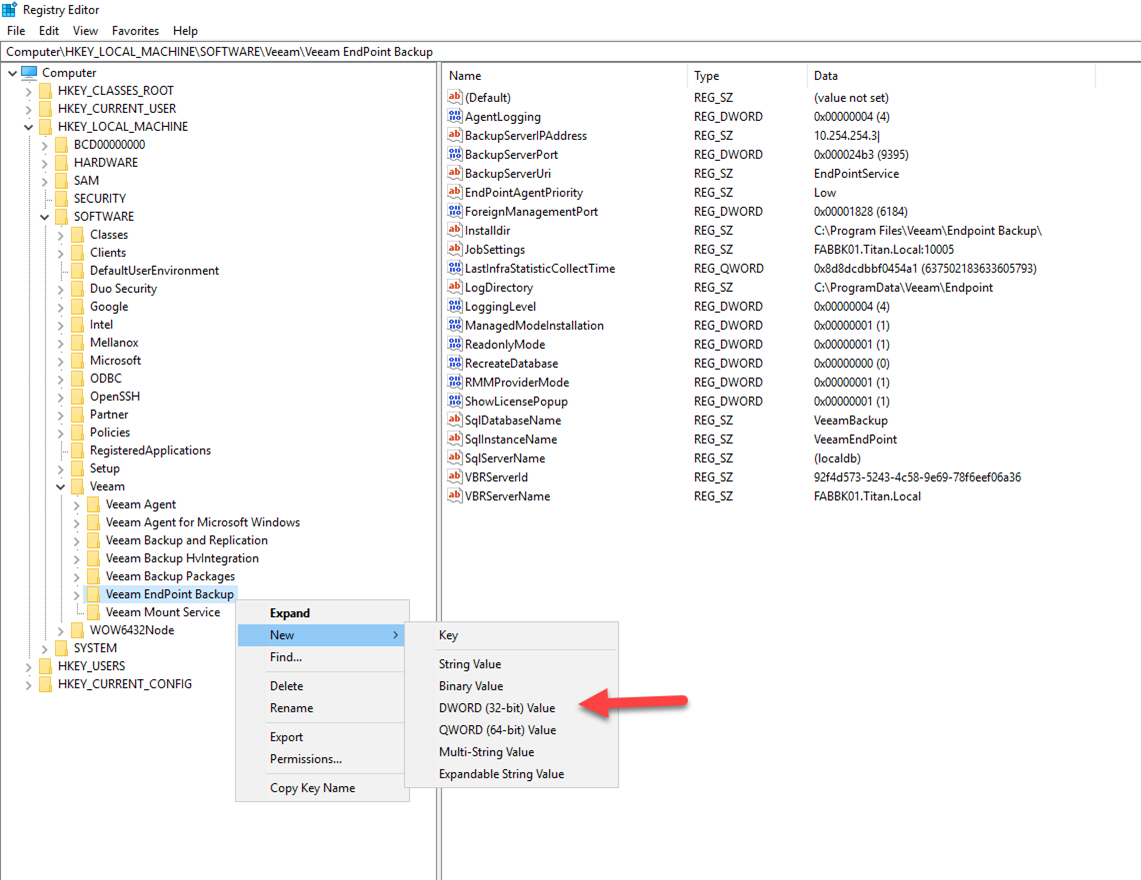
12.Edit DWORD (32-bit Value key with these details, click OK.
Name: ForceUseAdkForRecoveryMedia
Base: Hexadecimal
Value data: 1

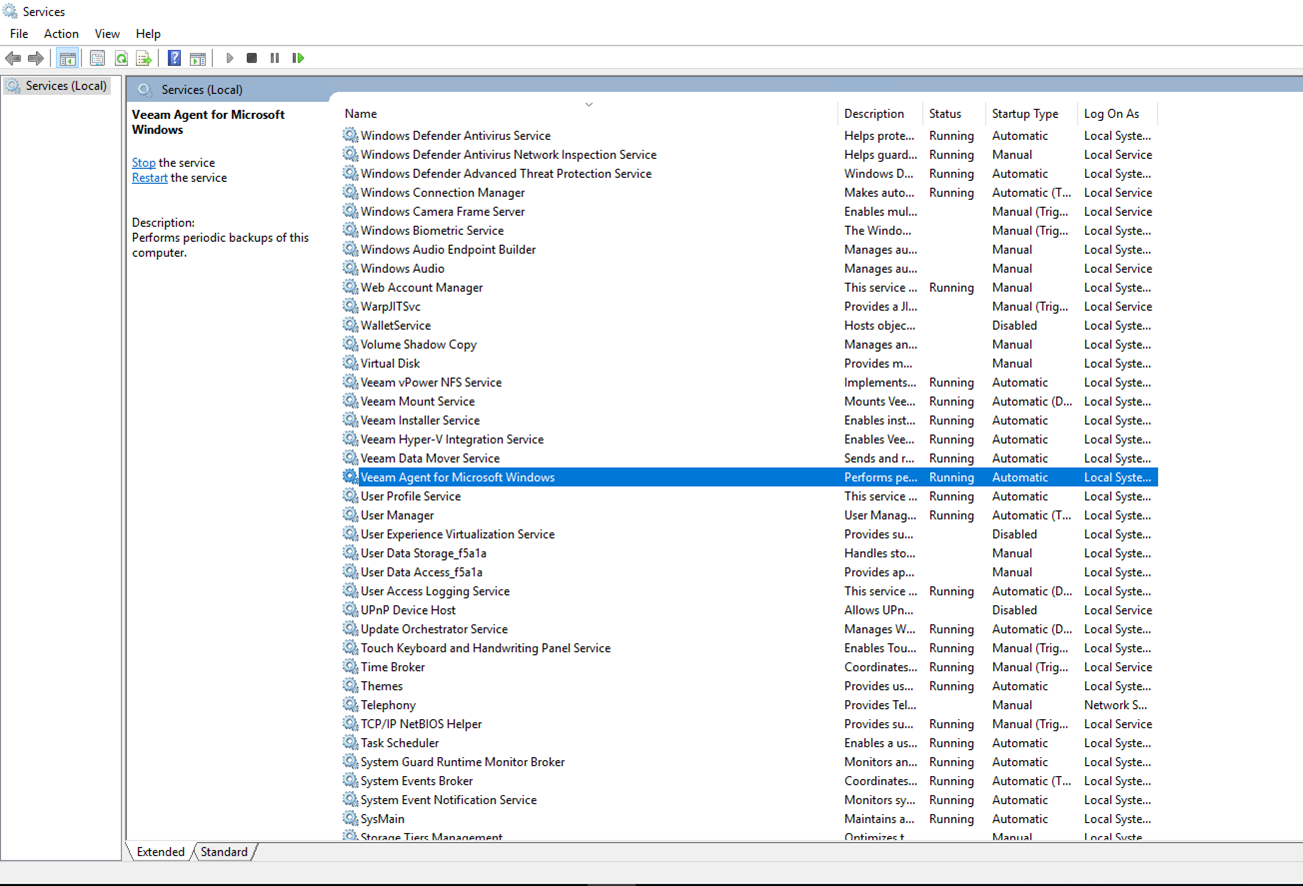
13.Restart the “Veeam Agent for Microsoft Windows” service.
Solution 3:
If you want to eliminate the warning, exclude the Veeam Agent machine from the Recovery Media collection process. Add the following registry key:
1.Run regedit.exe.
2.Locate the HKEY_LOCAL_MACHINE\SOFTWARE\Veeam\Veeam EndPoint Backup key.
3.Add the following value under the key:
Name: DisableRECollection
Type: REG_DWORD
Value: 1
4.Go to Control Panel > System and Security > Administrative Tools > Services.
5.Restart the Veeam Agent for Microsoft Windows service.
After the registry key is created, Veeam Agent for Windows does not start the Recovery Media collection process at the end of the backup job.
Hope you enjoy this post.
Cary Sun
Twitter: @SifuSun
Web Site: carysun.com
Blog Site: checkyourlogs.net
Blog Site: gooddealmart.com
Author: Cary Sun
Cary Sun has a wealth of knowledge and expertise in data center and deployment solutions. As a Principal Consultant, he likely works closely with clients to help them design, implement, and manage their data center infrastructure and deployment strategies.
With his background in data center solutions, Cary Sun may have experience in server and storage virtualization, network design and optimization, backup and disaster recovery planning, and security and compliance management. He holds CISCO CERTIFIED INTERNETWORK EXPERT (CCIE No.4531) from 1999. Cary is also a Microsoft Most Valuable Professional (MVP), Microsoft Azure MVP, Veeam Vanguard and Cisco Champion. He is a published author with several titles, including blogs on Checkyourlogs.net, and the author of many books.
Cary is a very active blogger at checkyourlogs.net and is permanently available online for questions from the community. His passion for technology is contagious, improving everyone around him at what they do.
Blog site: https://www.checkyourlogs.net
Web site: https://carysun.com
Blog site: https://gooddealmart.com
Twitter: @SifuSun
in: https://www.linkedin.com/in/sifusun/
Amazon Author: https://Amazon.com/author/carysun